
It’s amazing what you can accomplish with an idea, a few talented people, and some incredible tools.
I wanted to create a vintage-inspired image of a boxer and was able to enlist the phenomenal talents of make-up artist Jen Brown (http://www.jenbrownmakeup.com) and my mustachioed friend Stephe.
For this shoot I was working with a P30+ and Phase one 645 DF+ and we built a small corner of a boxing ring in my studio that we lit with three Profoto acute heads.
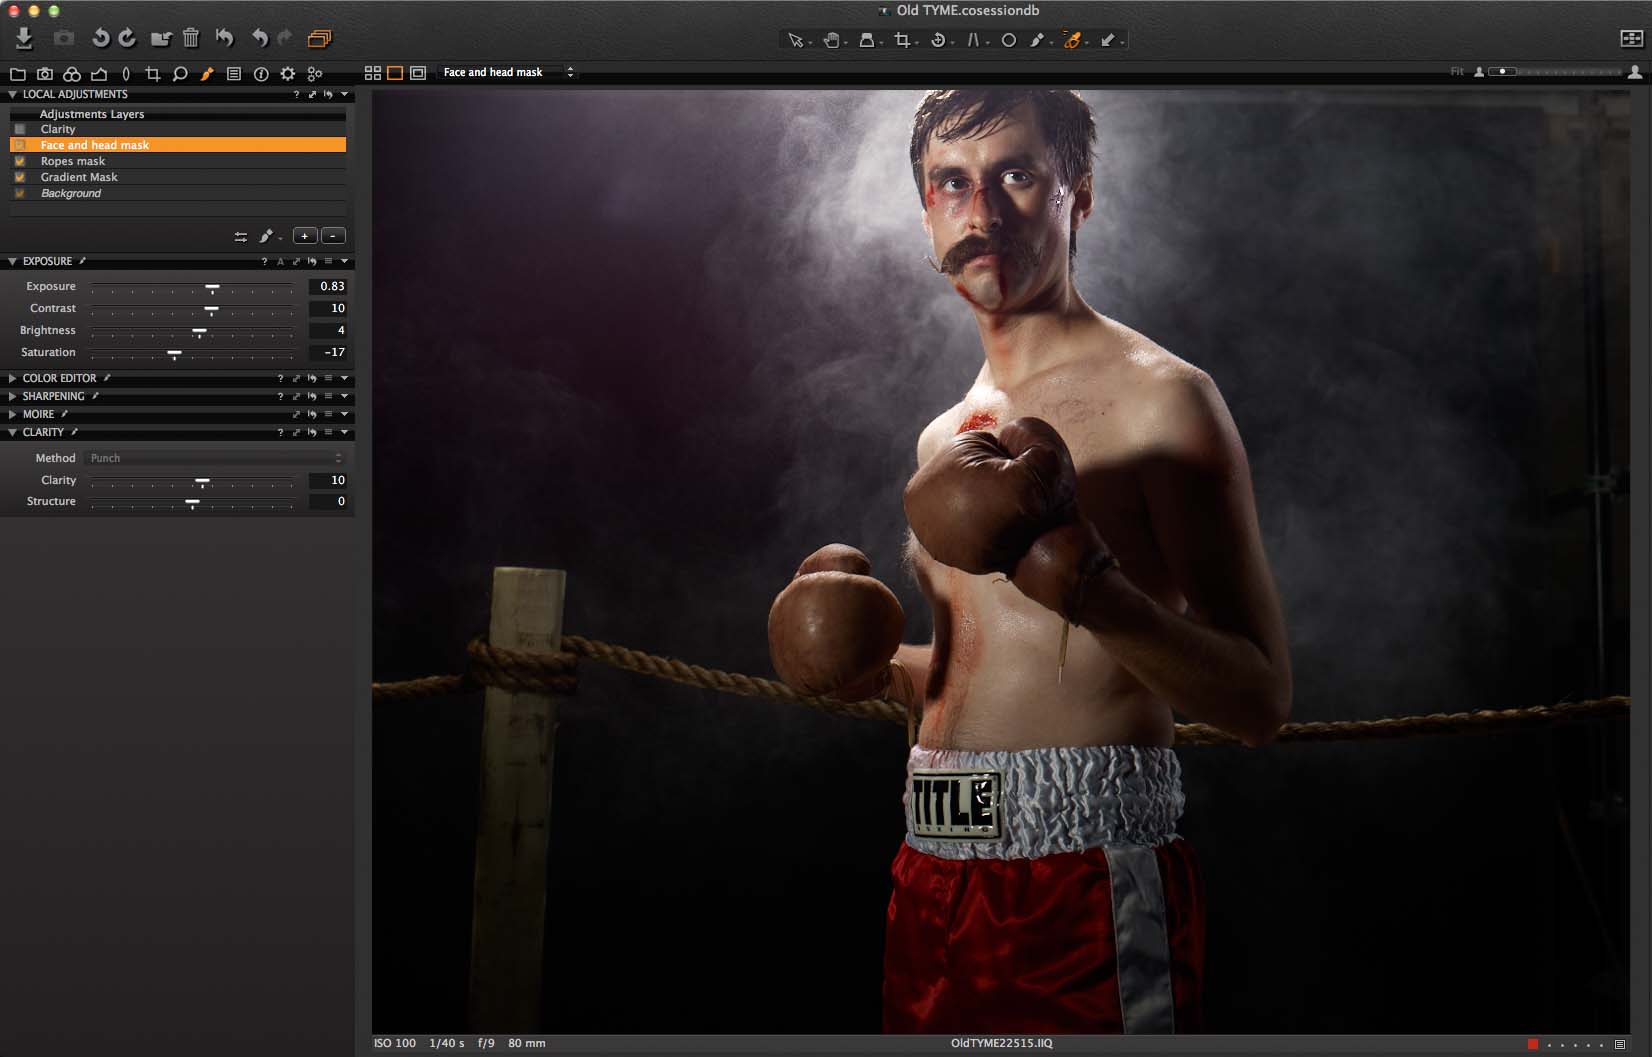
I selected this image out of the bunch we shot, because of the aggressive cinematic feeling of the crop, his expression and the way the smoke behaved behind him. Right from the start we would then have a well-exposed slightly dramatic photo that we could push even further to achieve the dramatic results I was looking for.
Creative use of adjustment layers
Immediately I can tell there are things I’d like to emphasize and some distracting elements I’d like to tone down. Most of those adjustments will be made using the Local Adjustment Tools and the masks.
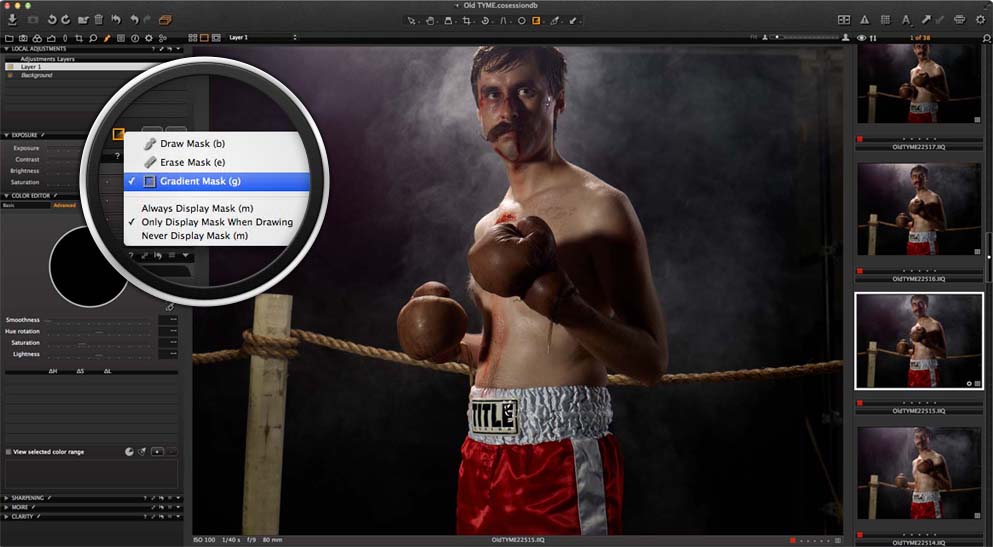
Creating a new layer and selecting the Gradient Mask Tool, I click, drag, and pull a mask for the bottom fourth of the frame.
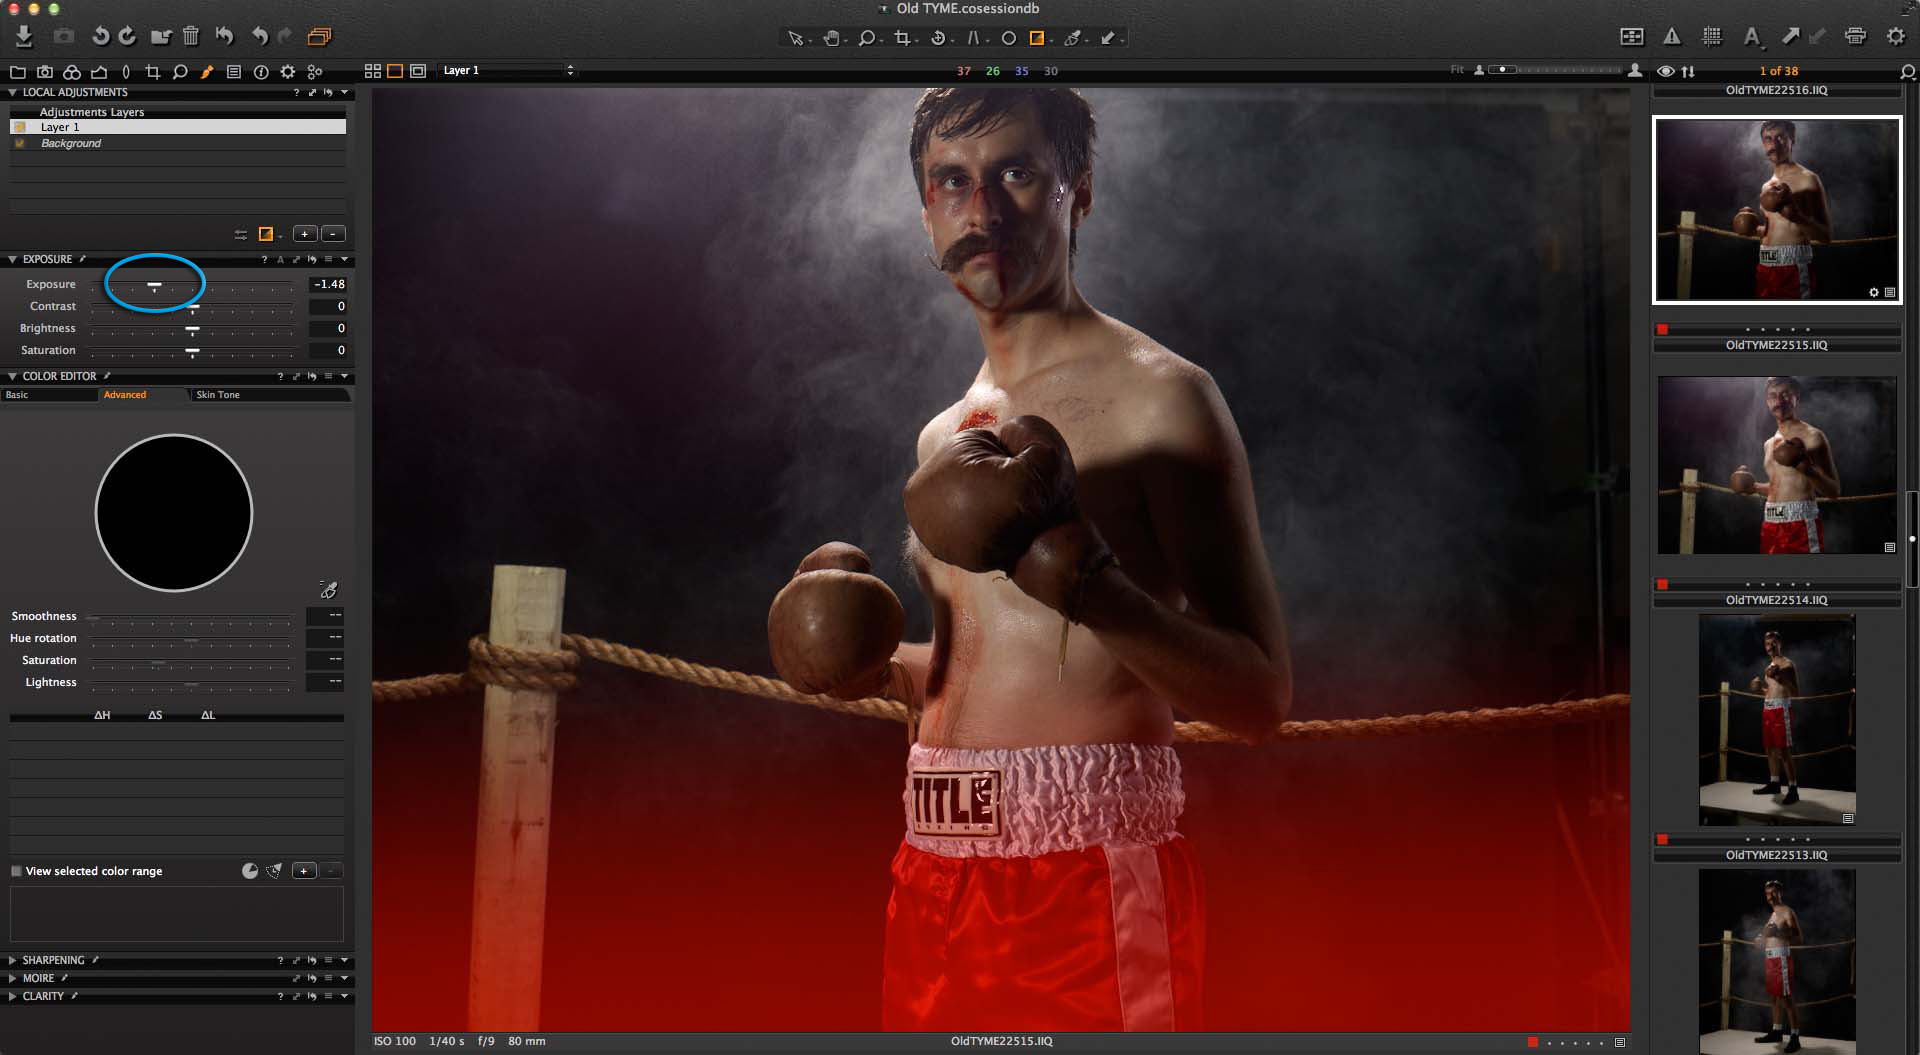
By pulling the Exposure Slider to the left I bring the exposure down in the area occupied by the mask, reducing the glow of his bright red shorts.
Next I use the Brush Mask Tool to draw a mask over the ropes of the ring – as they are a bit too bright and distracting.

I prefer making this adjustment in Capture One Pro 7, as I can take full advantage of the wide dynamic range offered by the RAW files generated by the P30+.
The strategy I like to employ when I need to work quickly is to check the “Auto Mask” check box in the Brush Settings.
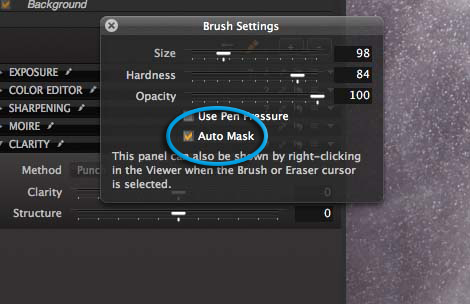 Capture One Pro 7 will actually help refine your mask when this setting is applied. Then you can go back and fine-tune even more with the Erase Mask Tool.

This additive/reductive technique is especially useful in allowing me to create more emphasis on his face.
I draw another a Gradient Mask from the top of the image, just like I did before with the bottom the image, only this time I move the Exposure Slider to the right as his head is a bit darker than his torso and I’d like to increase the exposure.
This makes too much of the image brighter. To maintain the dramatic effect of the image, I erase parts of the Gradient Mask.
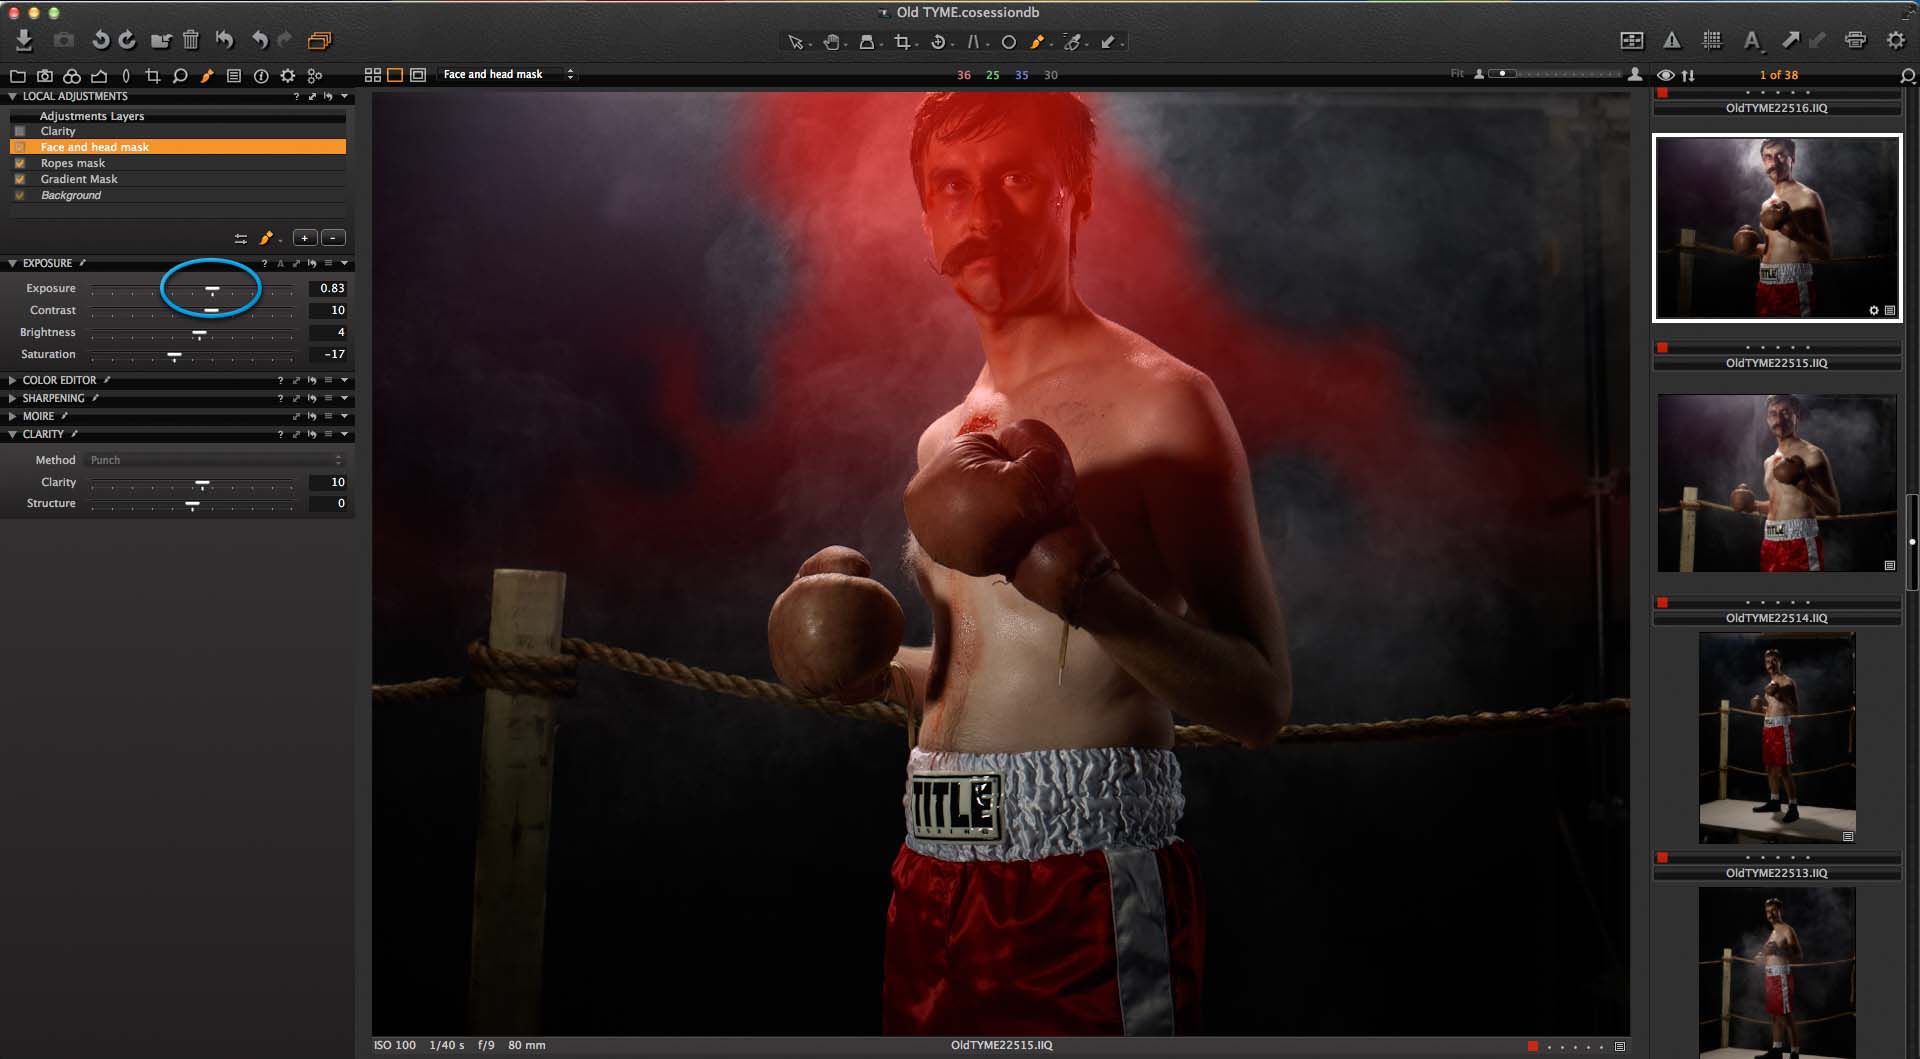
This makes the adjustment more believable and draws more attention to the fighter’s face.
I also want to bring up the clarity a bit to emphasize the tremendous amount of detail that we have in this image, so I will make another layer and paint a mask over the top two thirds of the image, leaving the ropes and his torso unaffected by the Clarity Tool.
 Before using the Clarity Tool
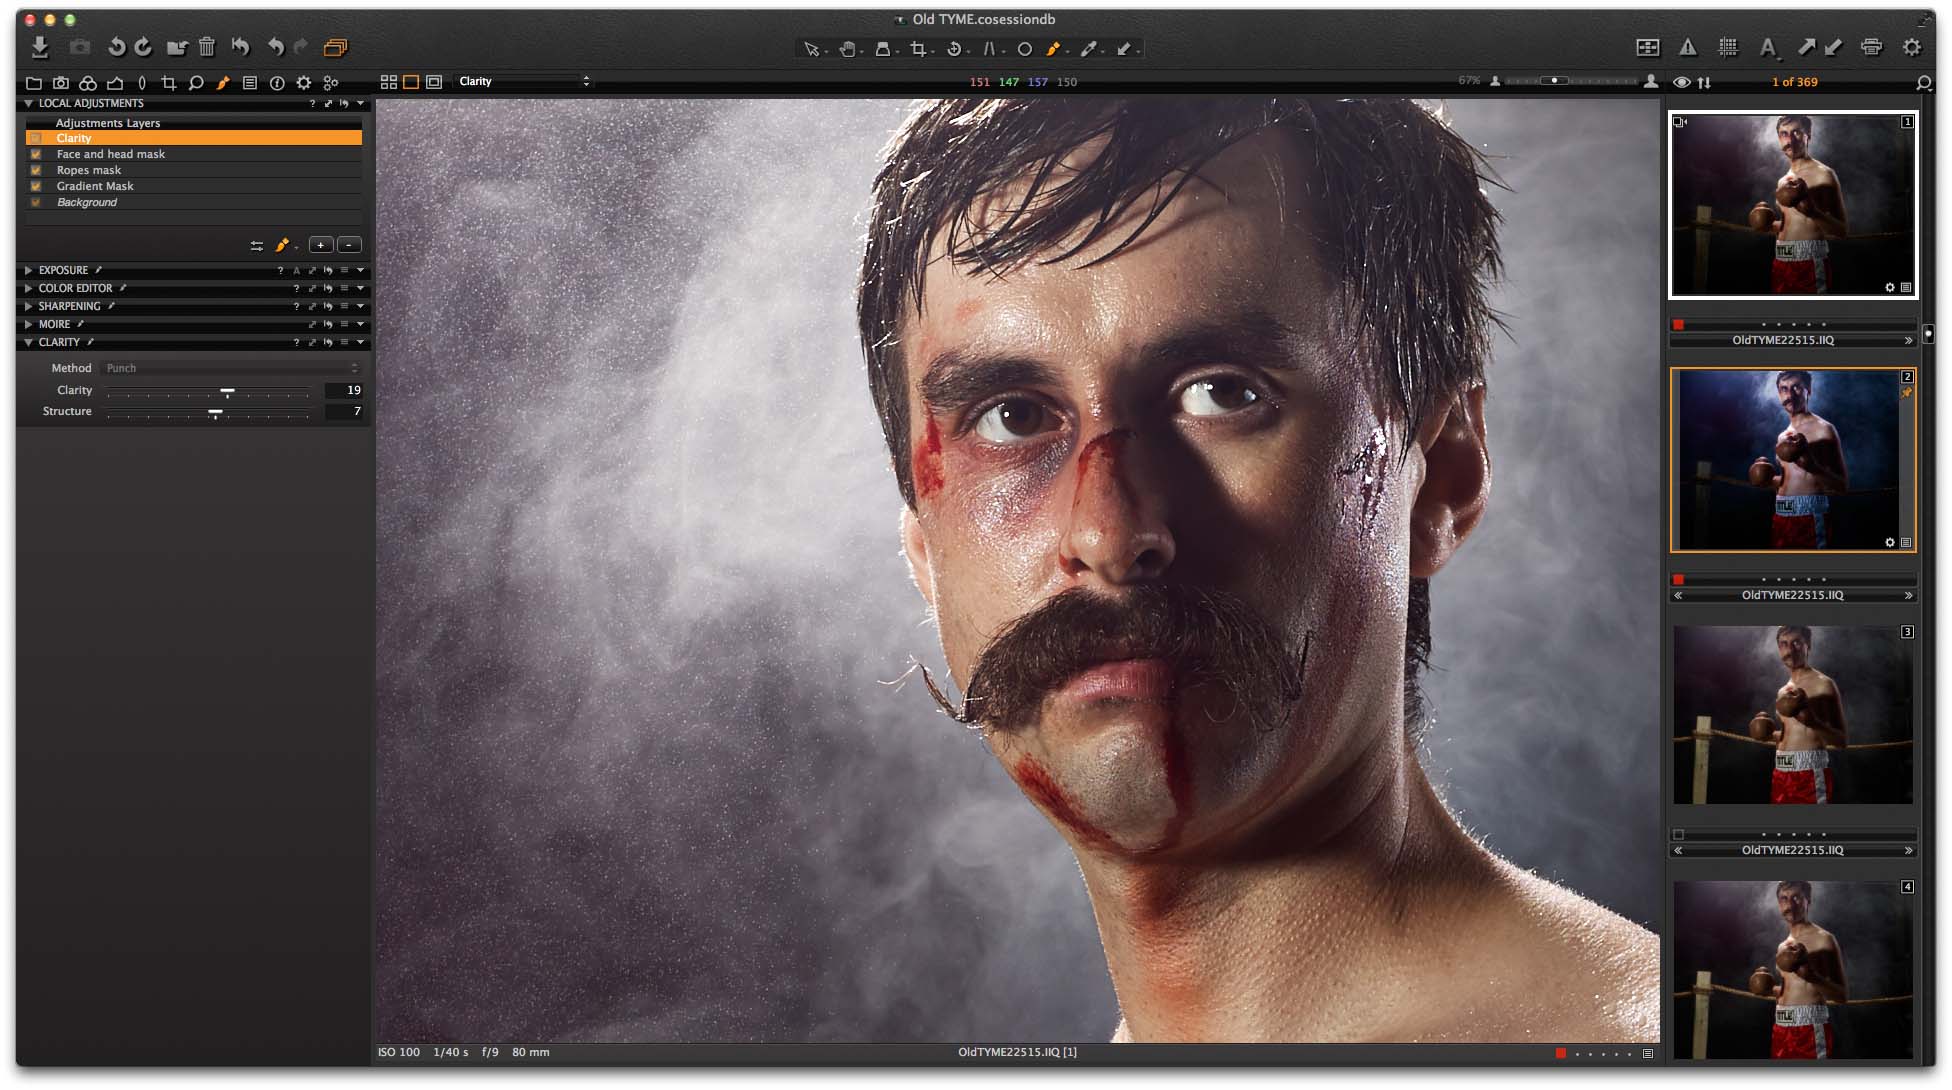 After using the Clarity Tool
Now that our overall image is looking fairly good, I am going to create a Variant so I can give the coloring of the image a final touch to manipulate the mood and emphasize the fantastic FX work of Jen Brown. Learn more on using Variants
I locate the Styles and Presets Tool, and apply a Color – Cross Blue to the entire image, then back off the saturation until the skin tones, although now cool in color, they are still looking natural and the red of his cuts really stands out.
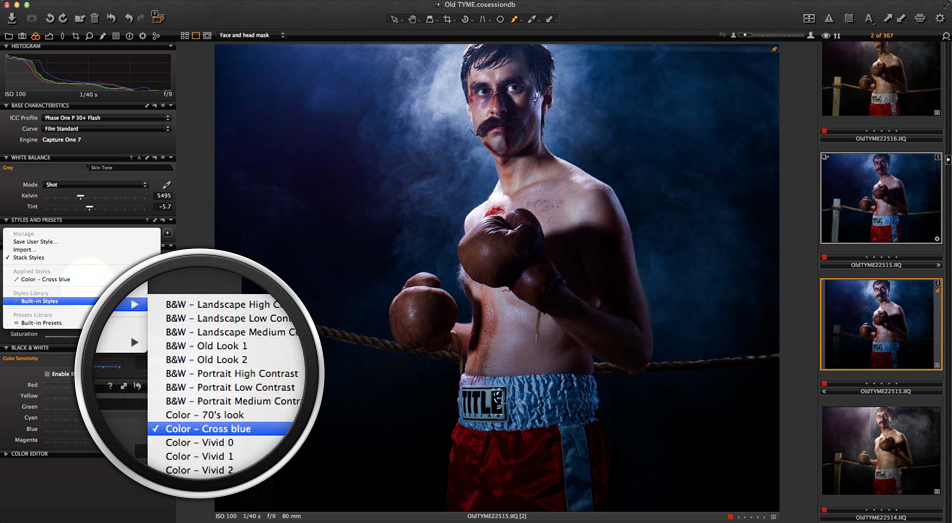
His bruises also look darker and deeper as well.
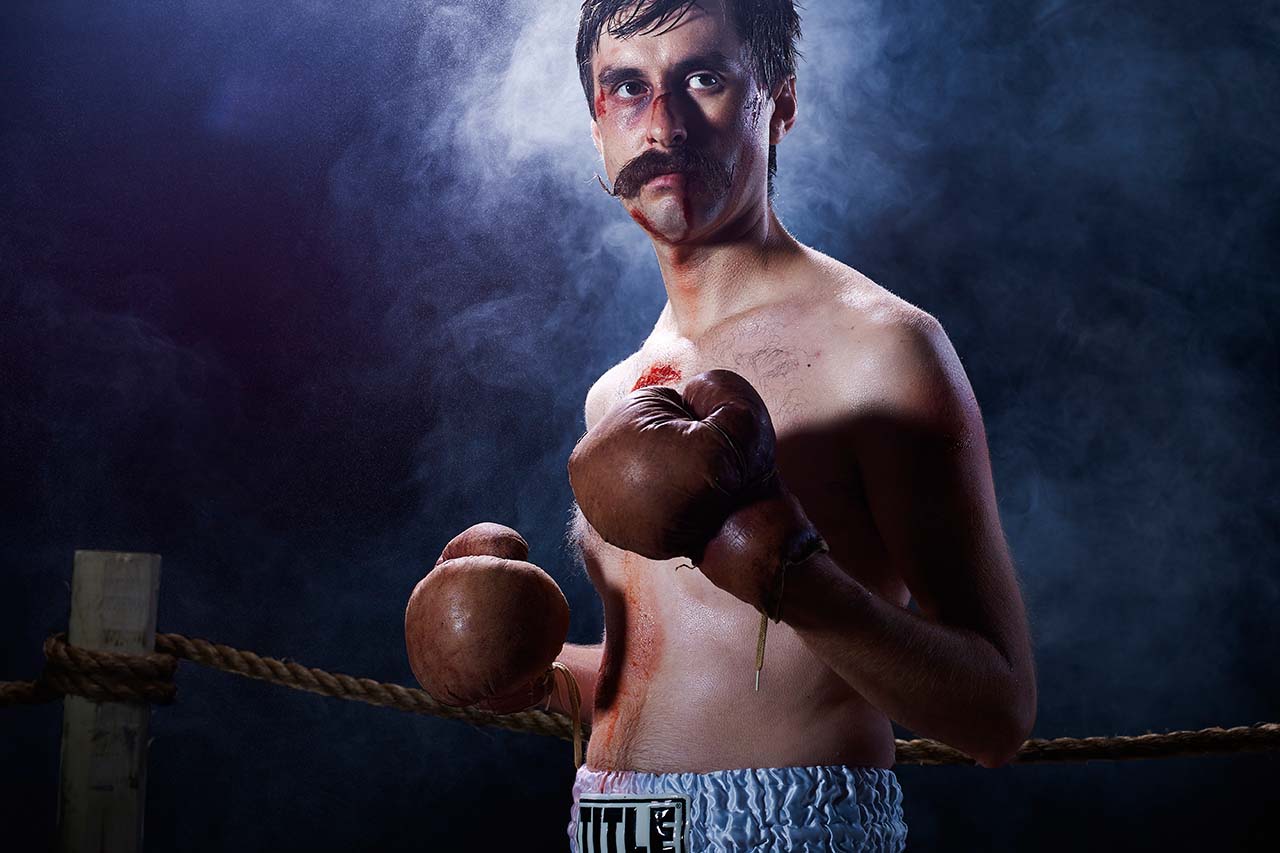
With a little wood, a few lengths of rope and some fake blood, excellent colleagues and Capture One, I was able to achieve the exact image I had envisioned. I hope you have found techniques I have shared useful to you in your own work.
Best,
Ross
Ross Floyd
Ross works as a full-time photographer for Wright, a Chicago-based auction house specializing in modern and contemporary design and post-war and contemporary art. Ross also takes on additional freelance commercial projects.


Thanks for this detailed article.
I tried the auto mask a few times already but too often see it fail to detect edges properly when there is no real clear contrast along the edge. Is there somethign that can be done to tune the sensitivity?
Hi Gerald,
Any time I encounter the same problem you have described, I use the Curve Tool – the one out side of the Local Adjustments panel – to increase the contrast in the image, return to the Local Adjustment panel and try to draw the mask again. After the mask is complete I reset the global curve tool to its default settings. This returns the image to its normal state but allows me to draw the mask more quickly. There may still be a bit of fine tuning using the additive/reductive technique I described, but it should get you closer.
Best,
Ross
This is great as I had no idea how much extra punch can be added to a photo.
Thanks for the tip Ross. I’ll try that as soon as the opportunity arises again.
I did not realize that any, already done adjustments affected the selection algorithm.
Thanks for the tip.
I enjoyed it very much. It shows me again how capable C1 in image editing is.
In many cases you don’t need any further editing in PS or PSE.