
First of all let’s clear up what the difference is between a Style and a Preset. It’s very simple!
Preset – An adjustment from a single tool, which can be saved for easy recall and application to any image. An easy example could be a particular Curve.
Style – A multitude of adjustments from several tools, which come together to create a Style. An easy example could be a Curve, a Color Balance adjustment and a Film Grain application.
Presets can be stacked together if you want to build a look in that way too. You can in fact stack a Style on top of another one(!). Check out how. This is not something I personally do as then I believe it gets confusing, but more on that later.
Presets and Styles can also be applied during Capture and Import. This is a very useful additional feature.
Creating a Preset
It’s a very simple process to create a Preset. Simply go to the tool you want to create a Preset for, adjust the tool and then save it.
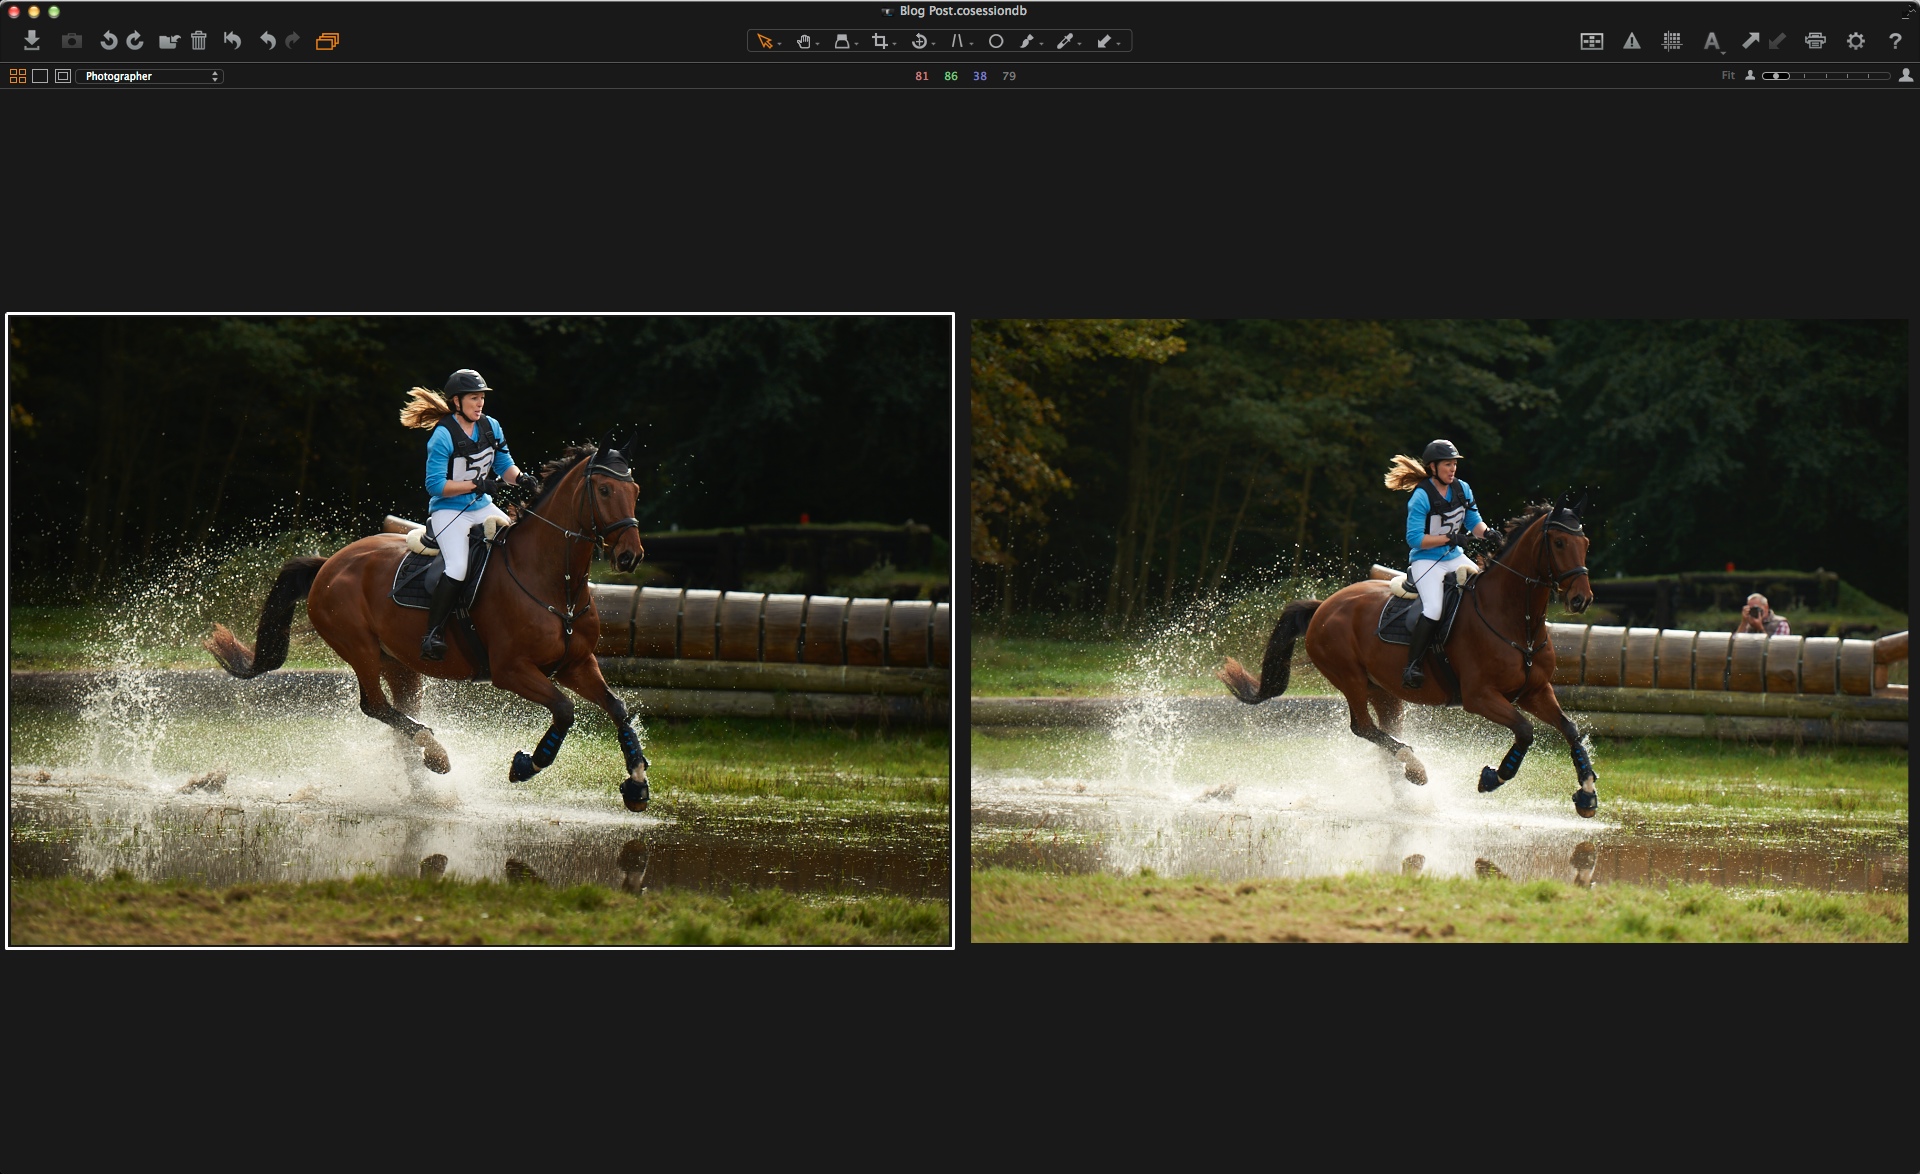
For example on some of my landscape images I like to have more Clarity and Structure. So in this example I have set the values accordingly:
Then it is a simple case of using the tool contextual menu to save it as a Preset:
You will be prompted for a name, so call it something recognizable. This Preset will then be available on any other image from the same menu in the tool. Hovering over the Preset also gives you a preview of what it will look like. This is very handy if you are comparing different Presets:

Presets can be recalled from the Styles and Presets tool. More on that later.
Creating a Style
A Style is a very similar concept except it allows you to save and control more than one tool adjustment.
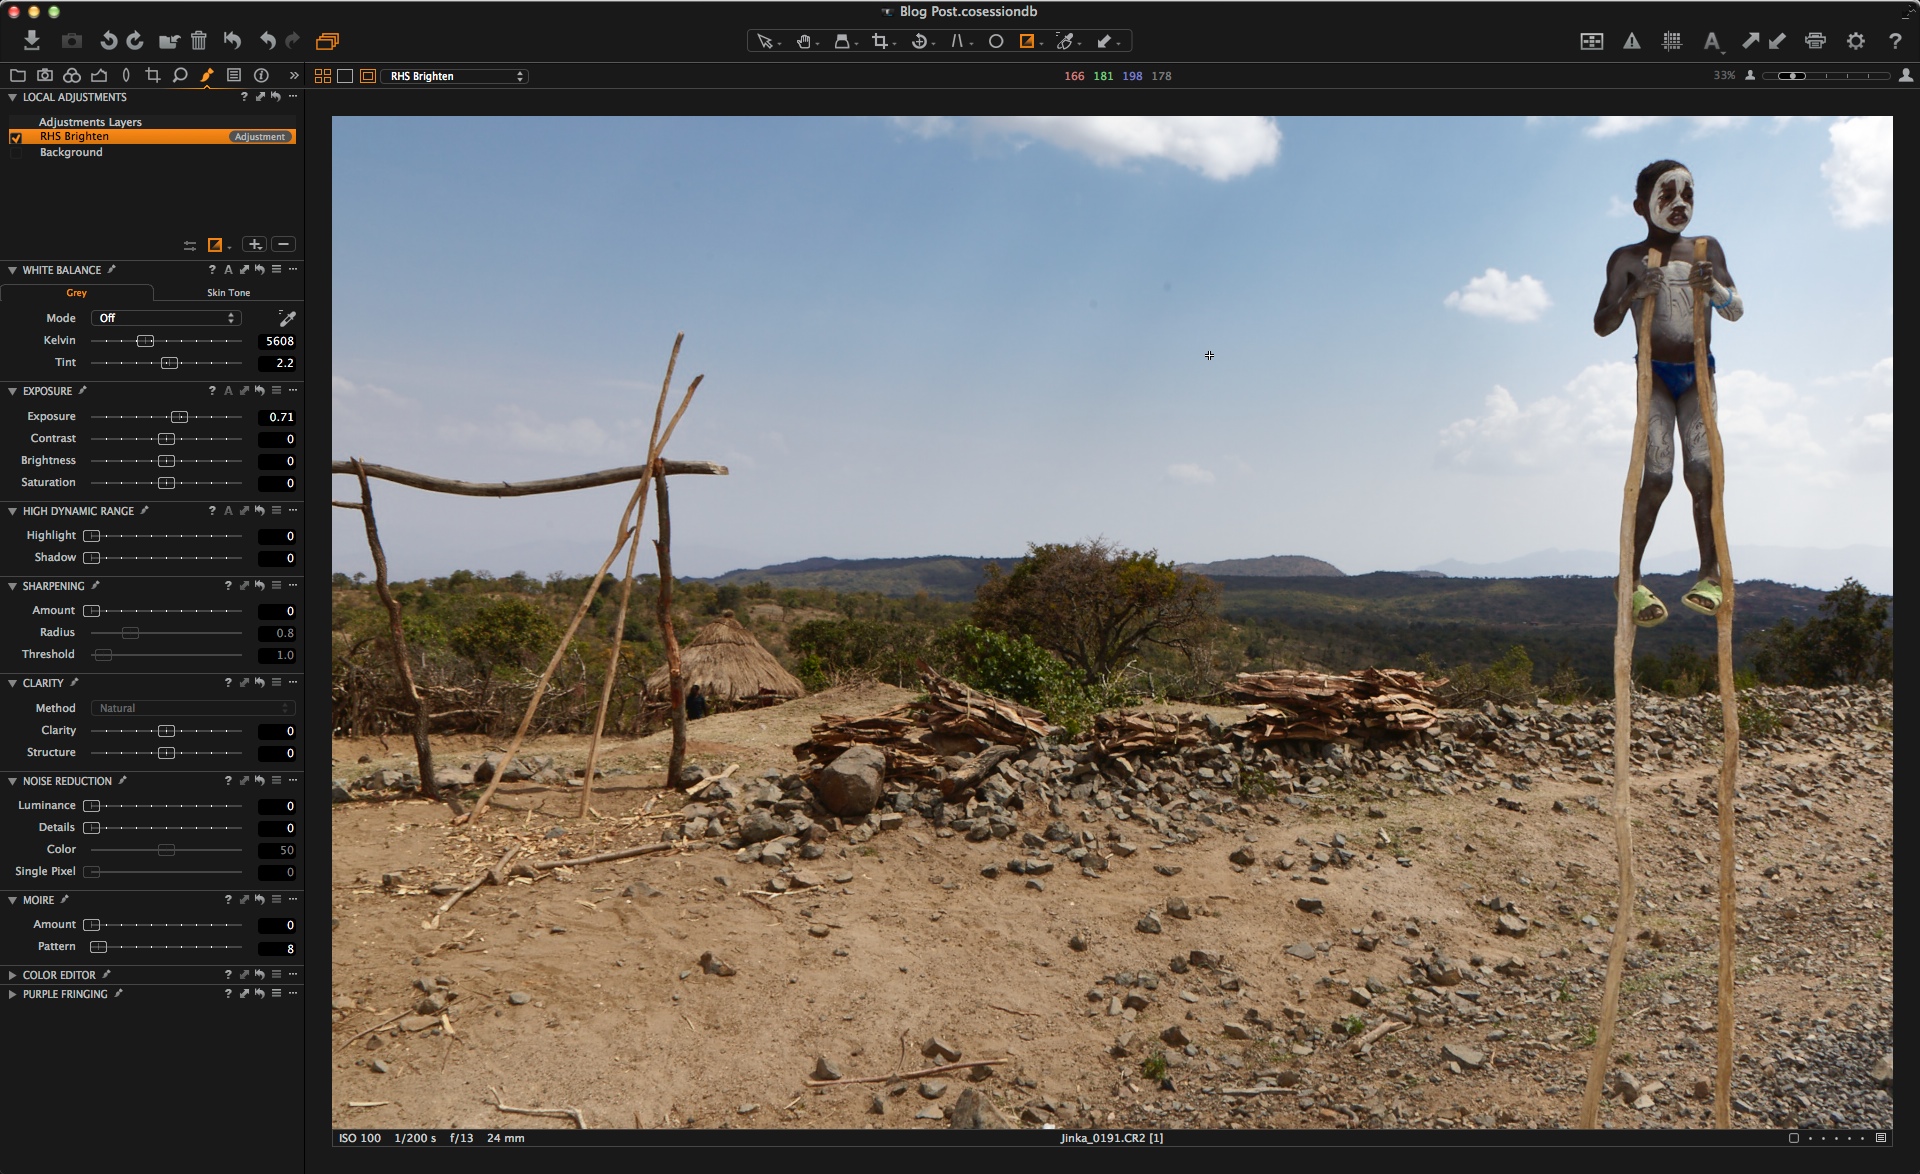
Let’s continue on with the same landscape image and add a few more touches that I could conceive might be general starting points for other landscape images. But it’s important to note that no Style is set in stone, once applied it can always be adjusted further.
I have reduced saturation a little, added a simple Curve and some minor adjustments to the 3-way Color Balance tool. Now, some of the adjustments might not be suitable for other images, for example Levels adjustments. The beauty of saving a Style is that you can pick and choose what elements on the current image will be included in the Style, omitting the ones that won’t be suitable.
Styles can be created in the Styles and Presets tool. By default this sits in the Adjustments tool tab.
To save a Style, click on the plus icon in the tool:
The subsequent menu lets you pick and choose what current adjustments should be saved into the style. I have collapsed some of the menu items, which contain no adjustments at all to save a bit of space here:
If we scan down this list, a few things would not make sense to save in the Style. For example, Exposure compensation, Levels and Rotation. Therefore we simply have to uncheck them and then click Save:
Think of a name for your Style and Save it:
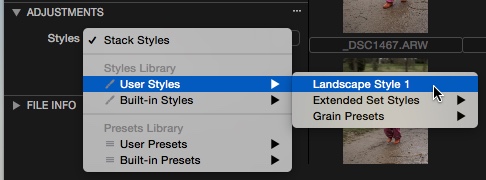
Now this Style can be applied on any image:

Remember, you can always use these as starting points for further adjustments. I also tend to normalize Exposure and White balance before attempting to apply them.
As I mentioned earlier on in this post, you can also recall Presets from this tool as well.

Here it could be useful to choose a bunch of Presets on an image. Note that the ‘Stack Styles’ option is checked which allows us to stack Styles and Presets.
I personally don’t stack Styles together but building a look from different Presets can be a useful exercise!
If you want to experiment with some existing Styles, there are a number included already in Capture One. Look in the Built-in Styles section of the library and try them out! There are also a few third party companies that sell some Capture One Styles to try.
Don’t forget that you can also apply Styles and Presets on import and also during a tethered Capture Session.
In the Import Dialog, look in the Adjustments section…
I personally use this to apply a Metadata Preset to all images on import…..Like Name, Address, Copyright information, etc. Just save this as a Preset in the Metadata tool.
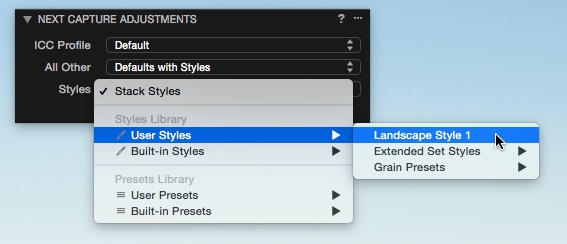
During tethered capture, a Style can be applied on each shot as chosen in the Next Capture Adjustments tool:
I hope you can see that saving different Styles can be a fun way to experiment with the various tools in Capture One, or a way to achieve consistent looks over a variety of images.
As I mentioned earlier, you can’t always expect different images to behave the same way with a certain Style. The final result will also be influenced by the image content. So use your Styles as a good starting point to develop further from or use them to accelerate workflow by applying a number of adjustments that you know you will do by default.
Best regards,
David Grover


I use C1 for a long time ( now I use third ‘big’ version).
I’ve mentioned that few times, but I’ll say it again:
Hiding preset/styles in sub/sub menu make this feature totally un-useful. Take a look at LR – one clik, and preset applied. In C1 you have to click ones, than track to sub menu, than find your preset and click again. Meybe if somebody prepare 1 image per hour , it makes no difference, but I think that most people produce more images in 1 hour, and it makes difference. Second issue is with copying and applying settings from one image to another : Crop and rotation properties are the less common used setting to being same from one image to another, and user can not define as default to not apply them. Each copy/apply user has to open sub menu and unclick those settings. Is it so hard to listen to users and make this great engine more usefull and ergonomic?
I whole-heartedly agree with Maciej. The preset styles menu system in Capture One is absurd. There needs to be a quicker and more direct way to access presets, especially for digital techs who are trying to apply a particular preset during a shoot.
Absolutely agree here with you! I’ve got used to apply adjustments before I do crop or other “individual” changes, but you forget it easily and get series of crops from portrait to landscape (lol) or local spots of healed sensor dust etc … sometimes it happen unnoticed and I realize it only at the end working in Photoshop – oh dear! It is still a long way for C1 to go before it’s usability is superior to LR without exception. Admitted, the pros are already now outweigh the contras and I am fascinated by it’s possibilities.
I think Maciej has a point here…
It’s particular annoying to have to click yourself through several “Sub”-menues to reach the desired style only to cover half of your image with the opening windows.
Otherwise for me it’s a great tool, esp with the very vintage-looking film-styles.
In addition to the valid points above, there’s another major problem with the presets: applying them at Importing.
My problem as a case in point: I’ve created a preset for Base Characteristics to apply the Canon EOS-5D MkII Generic ICC profile and the Film Extra Shadow curve. For this discussion, let’s call said preset ‘5D2-Extra’. Doing the described sub-menu operation applies it. All well till this point. However, when I select that same preset under Adjustments in the Import dialog box, it NEVER gets applied. ALL the imported images are set to Generic and Auto. I have to manually do the sub-menu selection for one image and then Ctrl-Shift-C to copy, deselect it, select all the rest, and Ctrl-Shift-X to paste. ANNOYING and time consuming. It doesn’t end there: if I were to select all the images and do the sub-menu routine to select ‘5D2-Extra’ one of two things happen: 1) the preset is applied only to the active image (yes, all others are selected and the ‘Edit all selected variants’ button in the toolbox IS highlighted), or 2) the preset is indeed applied but it takes such a long time (as in minutes) that I begin to think the application has crashed.
Furthermore, as I was documenting this, I selected an image that had the ‘5D2-Extra’ previously applied and switched it to another preset I have, ‘Linear Render’ (ICC: Generic; Curve: Linear). The operation went smooth, but when I tried switching again to ‘5D2-Extra’, upon selecting it from the list, only the Curve was applied: the ICC profile remained stuck in Generic (!!). What gives?
This problem has been consistent throughout all versions of C1P I’ve used (from 7.x to 8.2).
Hi Henry,
As opposed to using the Ctrl-Shift-C to copy, have you tried the copy/ apply action in the Base Characteristics tool itself?
After import, select all images, then on the primary image, then SHIFT-click on the Copy/Apply icon in the Base C. tool itself. Its the second icon, the one after the ‘?’.
Base Characteristics will be copied to all images then, not affecting any other adjustments.
David
I don’t use Styles and Presets much although I do tend to work on a batch of images using a copy of one image and applying to the next – often including rotation information – frequently “re-setting” the basic adjustments as I work through a shoot.
However this approach is driven by necessity since most of my shoots are outdoors over extended periods using whatever light there is and it changes frequently. Almost everything is shot hand held or effectively hand held so most images as a degree or so off vertical/horizontal.
The thing is that NOT copy a rotation adjustment might be the right things to do for me BUT many images will need some adjustment – so in effect neither copy or not copying actually work to my advantage.
On balance the best compromise of to copy and adjust. Sometimes no extra adjustment is required for a block of images – the previous settings work well enough for my needs.
As for having to open sub-menus to access the Styles and presets – you can, up to a point, reorganise them. Perhaps just put them all in a single folder and reduce the drill down requirements.
With a Floating Styles and Presets tool you would only need to open the first window, select Styles or Presets and then at the next level have the list of Styles available to you.
Hovering the cursor over a name will show the results without overlying too much screen space. Even better of you are able to work with 2 screens.
Careful naming (or re-naming) of the Styles would allow you to “Group” them as if they were in folders if you feel that would be a convenient way to display them.
Do these suggestions offer any immediate ideas for improvement of your workflows?
Grant
Thank you Grant for your answer.
Unfortunately it doesn’t help in my case.
Most of my shots (80%) are correctly croped/rotated right from camera. But when I copy adjustments from rotaded/croped to nex one, each time I have to go to adjustment list menu and uncheck crop/rotation. For each 100-200 shots pack I dont have even 2 which requires same croping/rotation.
And about styles : I have them all in same folder, to make the ‘path’ shorter, but it doesn’t help too much. I work on 2 monitors, but I’m not able to have opened a list of styles/preset in side window, so I could apply them with one-click (like in LightRoom). I just don’t understand, why, thru 3 big version, no one listen to users feedback and this is still not reorganized/changed. I know a lot of people, who doesn’t use styles/presets becouse this sub-menu structure.
I totally agree… The current interface with its menus and submenus is not practical. I have even made myself a palette with Keyboaes Maestro to be able to access directly the few styles that I use the most…
It would be great to have all styles and presets in a list or two in a separate palette/window!
Hi! Do you mind elaborating on how you did this? I checked out the software and it looks awesome. How do you use it with c1 and styles? Thanks!
Sorry, typo… I meant “Keyboard Maestro”!
Would love to be able to play with presets, but like others above, they are just not practical with the UI choices in Capture One. It’s actually a little surprising, as it seems pretty obvious. I actually bought some a while back, and just couldn’t make them a part of my workflow. It’s a shame, as it would make Capture One a potential single solution for editing large sets of images.
Brian 100% agree with you. It’s just ignorance I believe, that cause this issue. I’ve asked support several times, and I’ve posted many comments about this problem, and always the same answer: This is only 2 clicks, than 2-3 (precise) hovers, than 1 click again. Simple as that… 😉 For me its just ignorance for profesional customers…