
With the addition of Linear and Radial Gradient Masks in Capture One, the possibilities for efficient layered workflows have expanded. Let’s go through two examples of how they can be used!
I’m not going to explain in detail how to use the tools, as I will focus more on the examples. In the end of this post, I’ll link to the tutorial to cover the tools themselves.
Example 1: Wedding Portrait
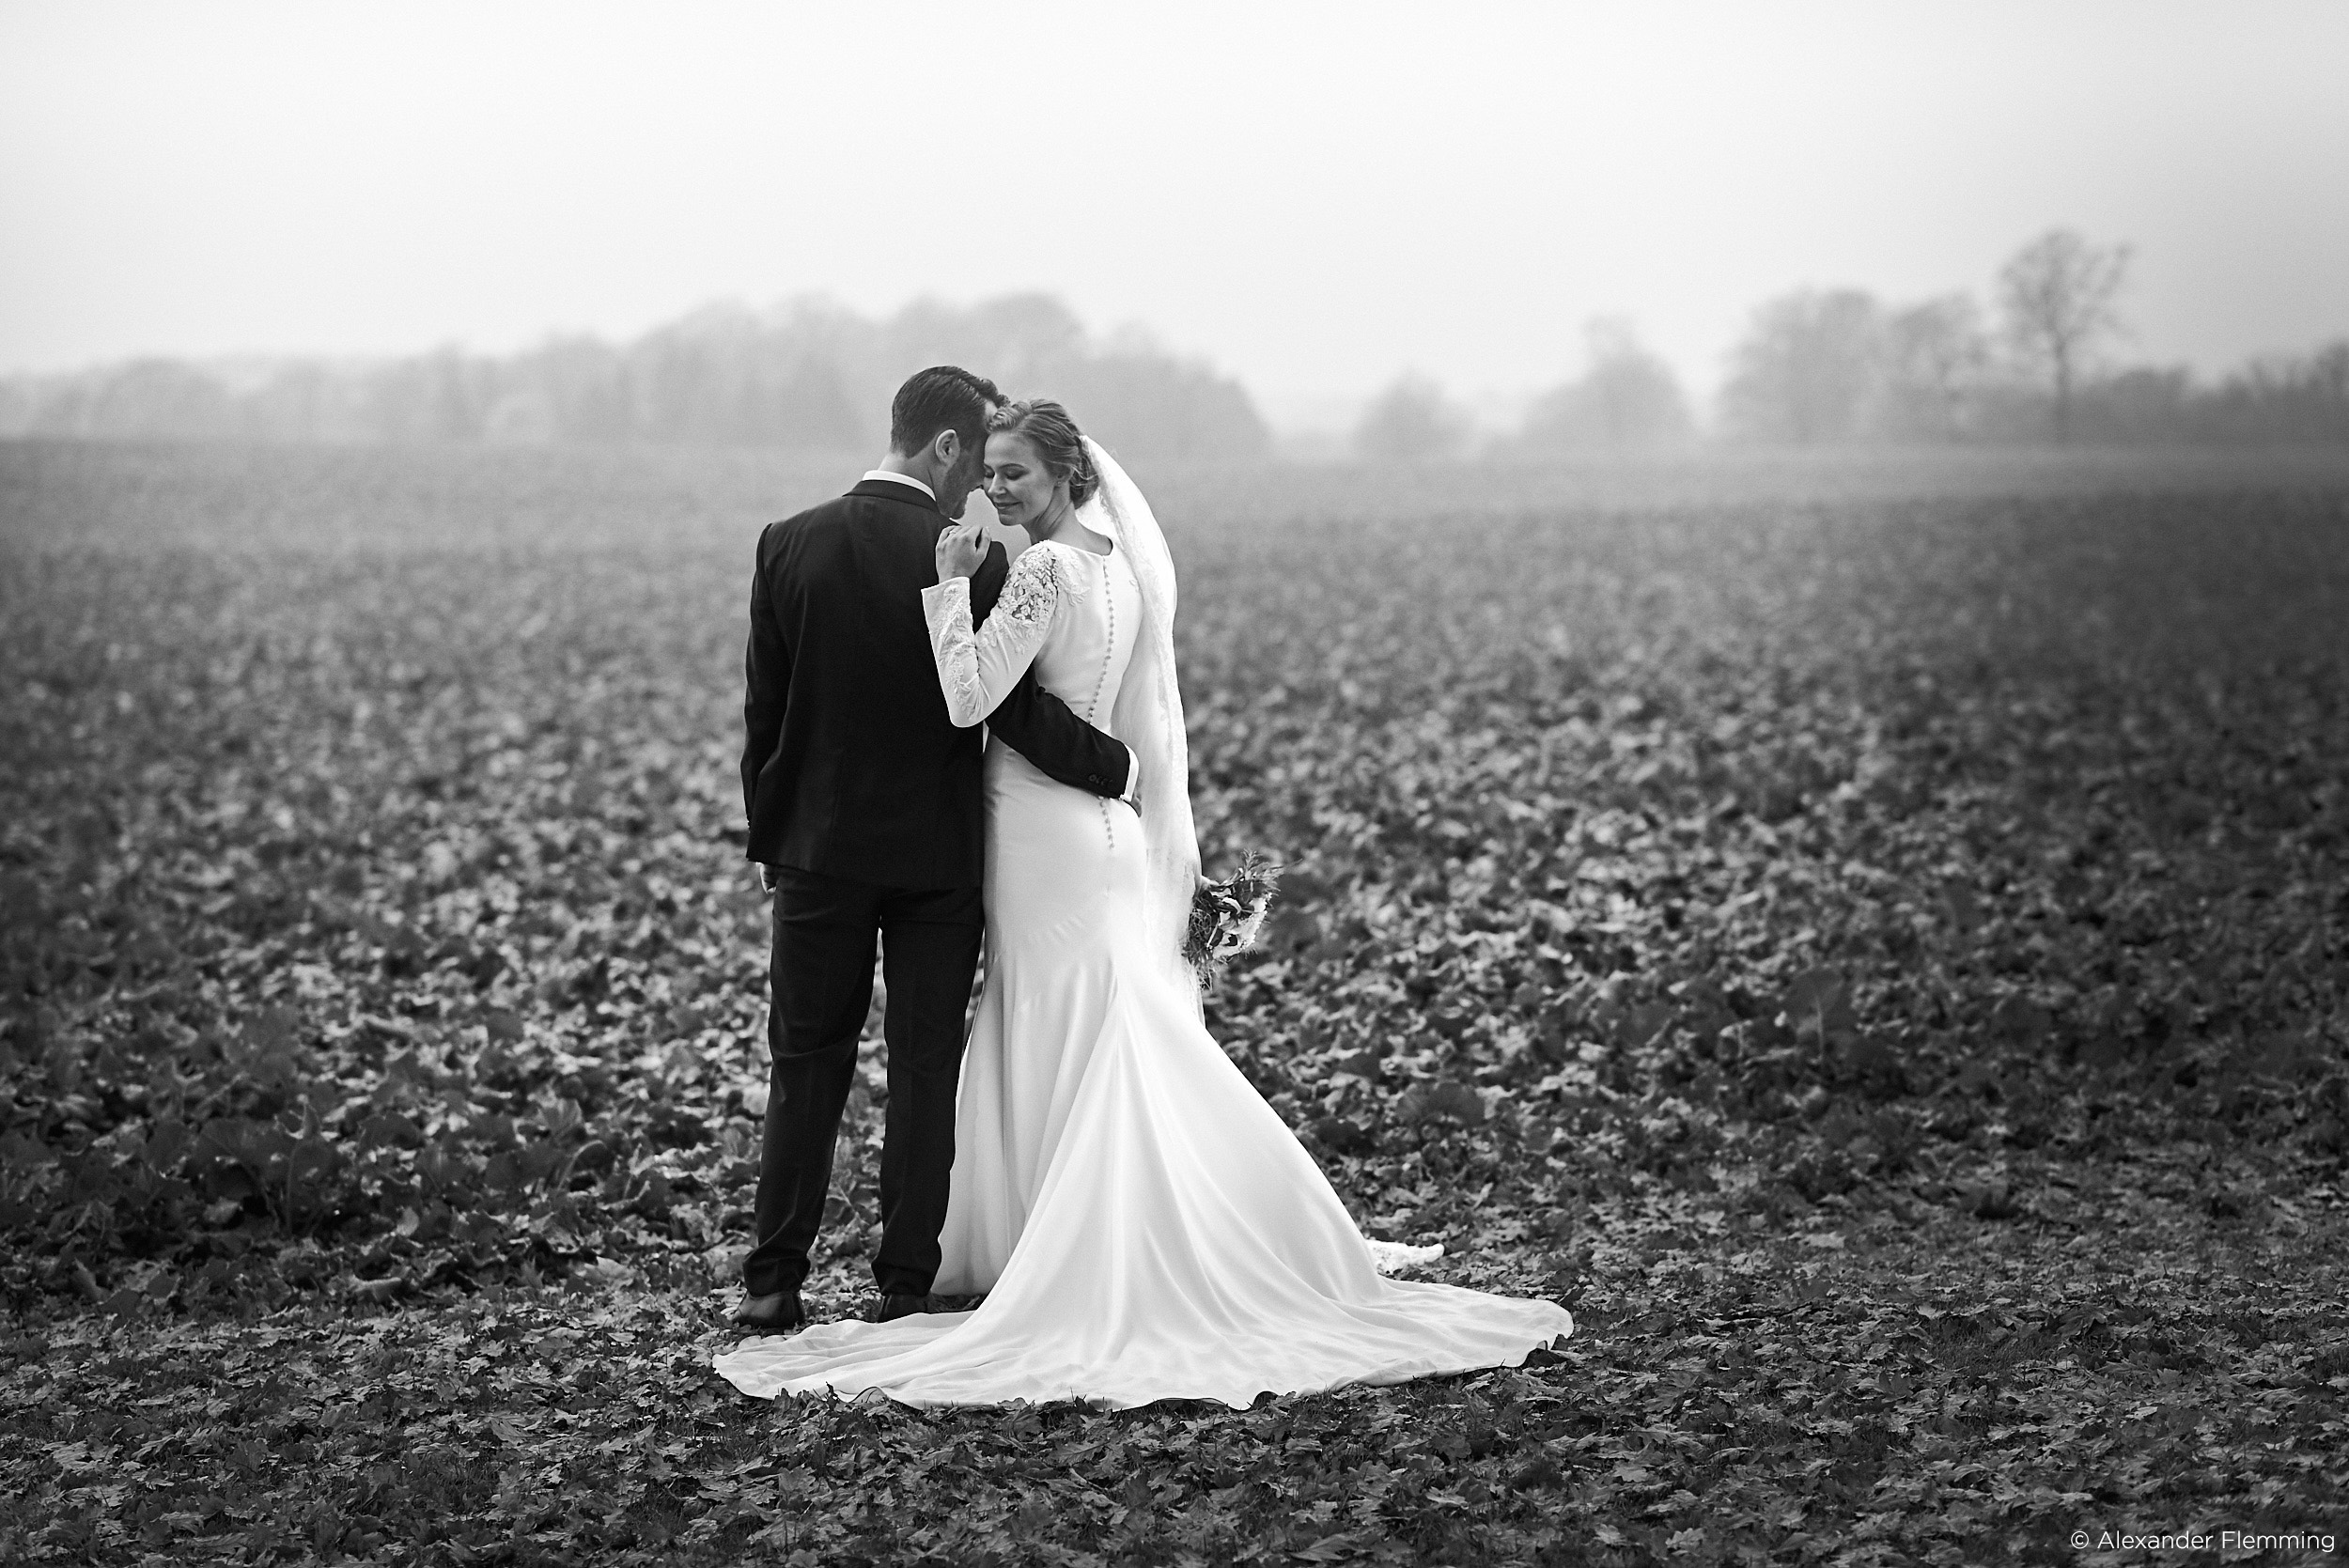
This image has three Layers with Gradient Masks applied to them. Let’s go through them one by one.
Radial Gradient #1

The first Radial Gradient is made very big with most of the top and left part left out of the image. It works like a vignette, but is off-center and focuses more on the foreground than the sky. I pulled down the exposure, contrast and clarity to enhance focus on the couple.
Radial Gradient #2
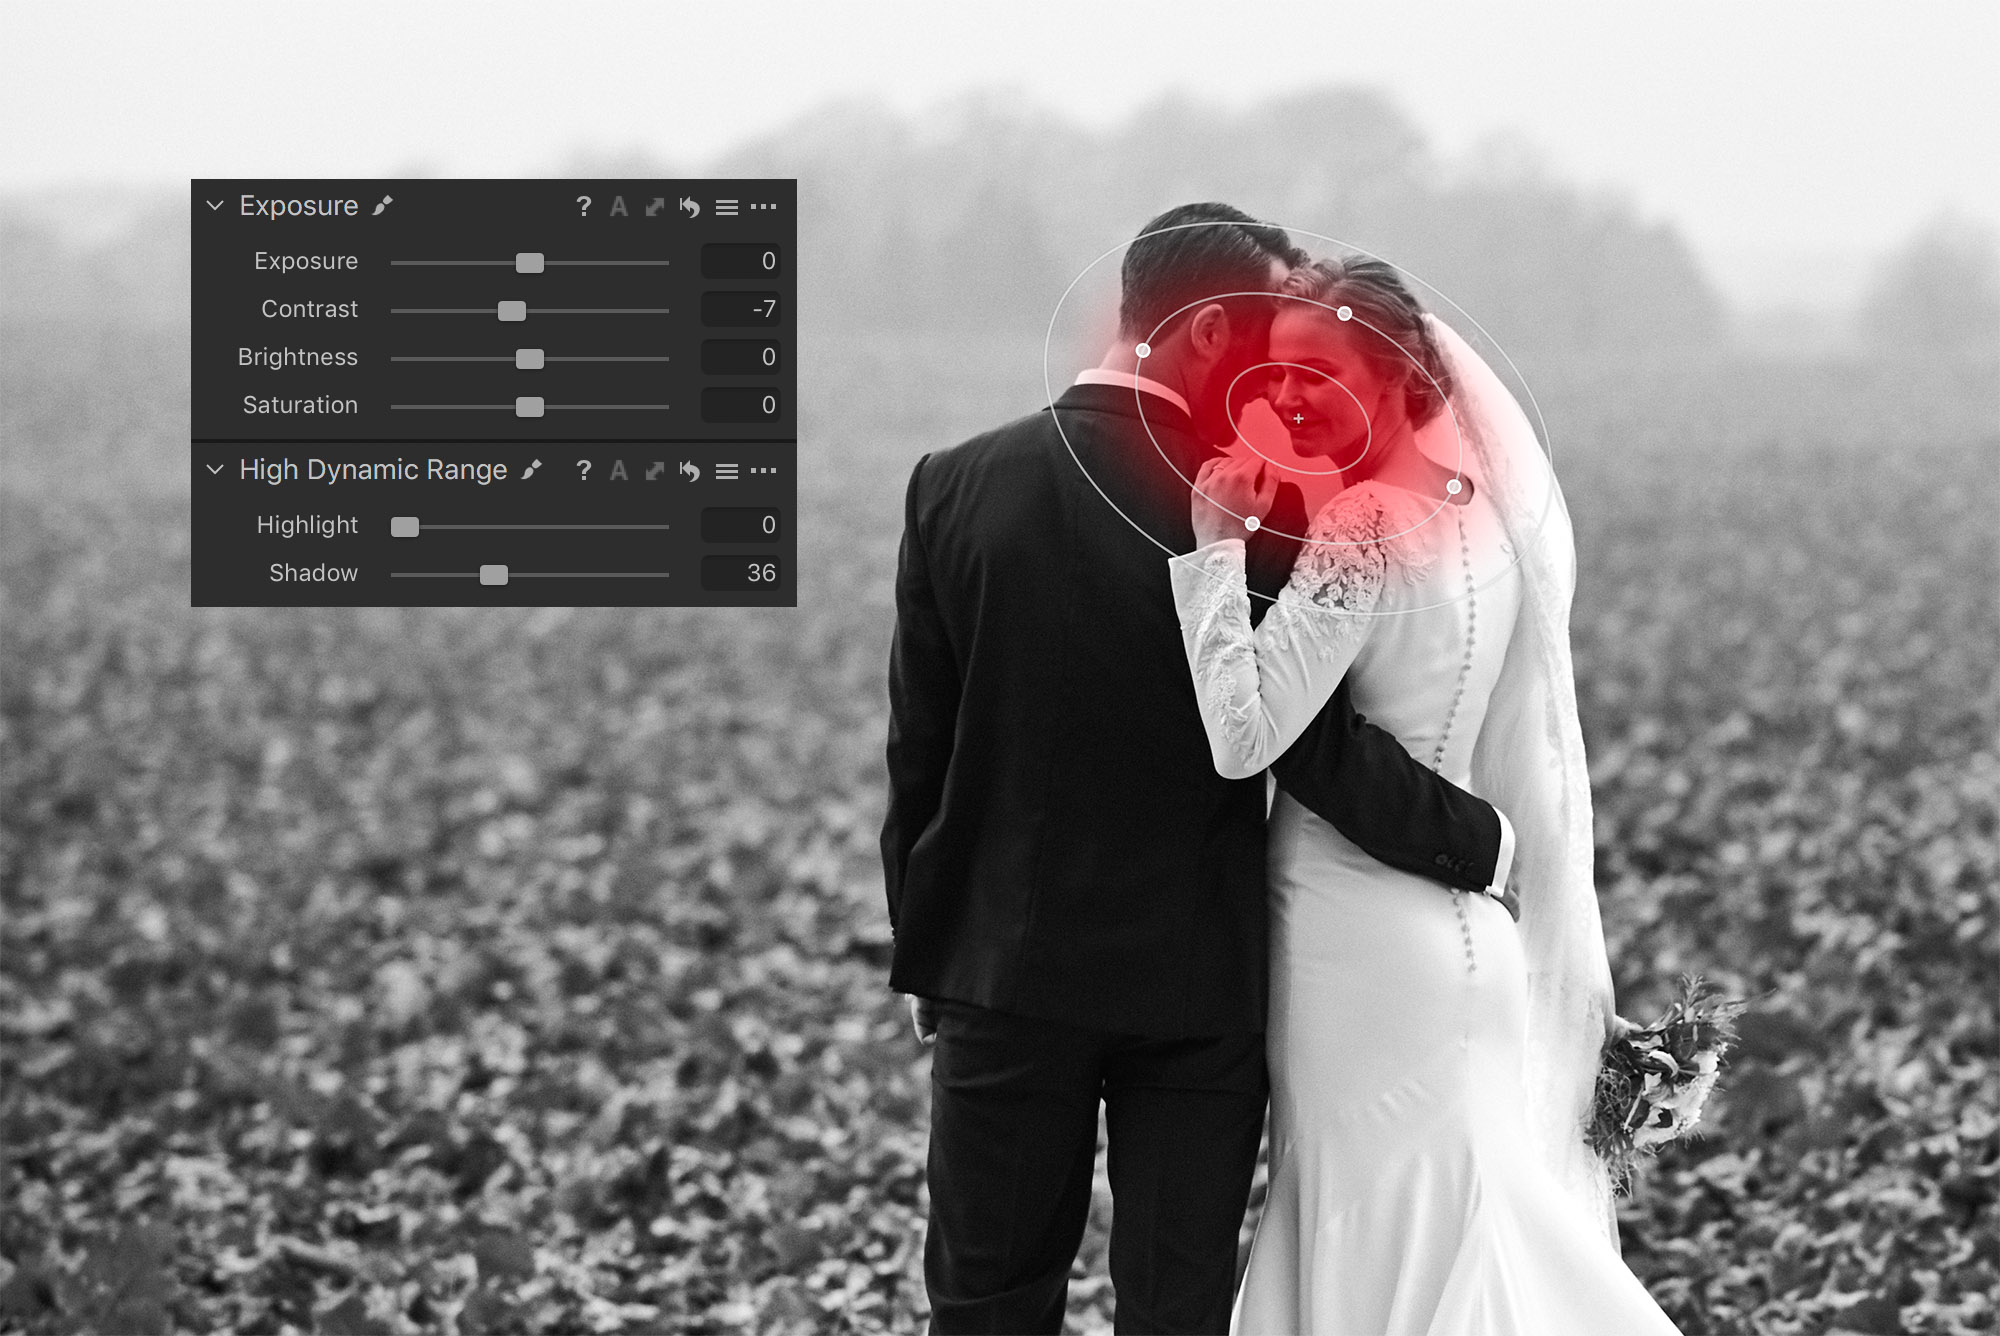
The second Radial Gradient is made to lift the shadows from the couple’s faces. A fair amount of shadow recovery with some negative contrast help eliminating dark shadows and soften up.
Linear Gradient
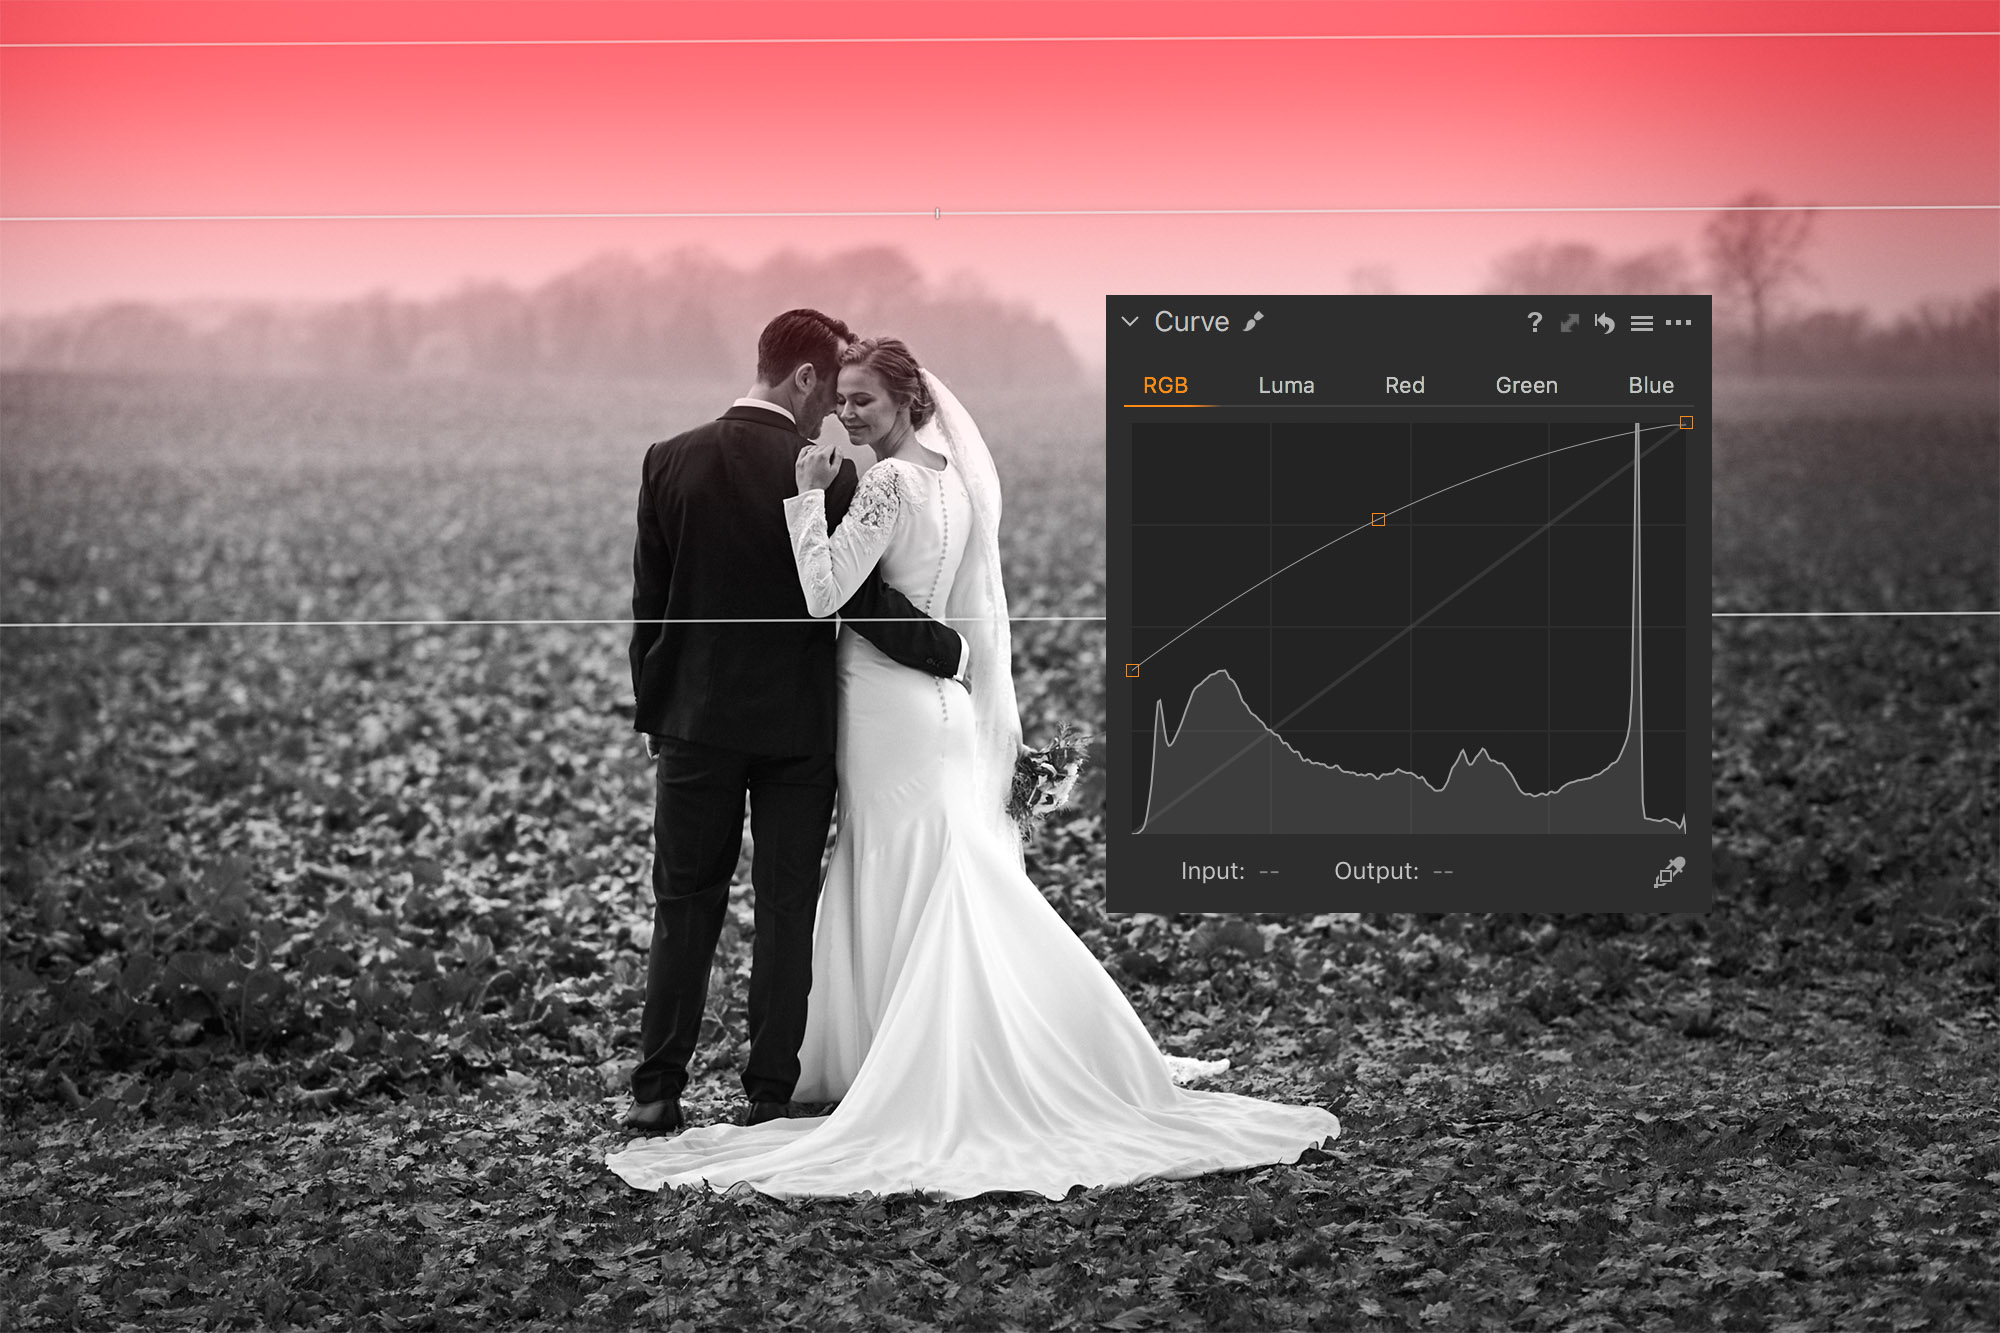
The Linear Gradient is created to enhance the misty feeling of the background. I made it asymmetrical to make sure the fall-off into the field and on the couple wasn’t too harsh. The only adjustment here is a lift in curves, in particular the end point.
Before/after

The difference here is the three layers described above. This could of course have been accomplished with manual brushing as well, but the parametric functionality (allowing transforming and moving the gradients) adds to the flexibility of the workflow.
Example 2: Linear Gradient + Luma Range
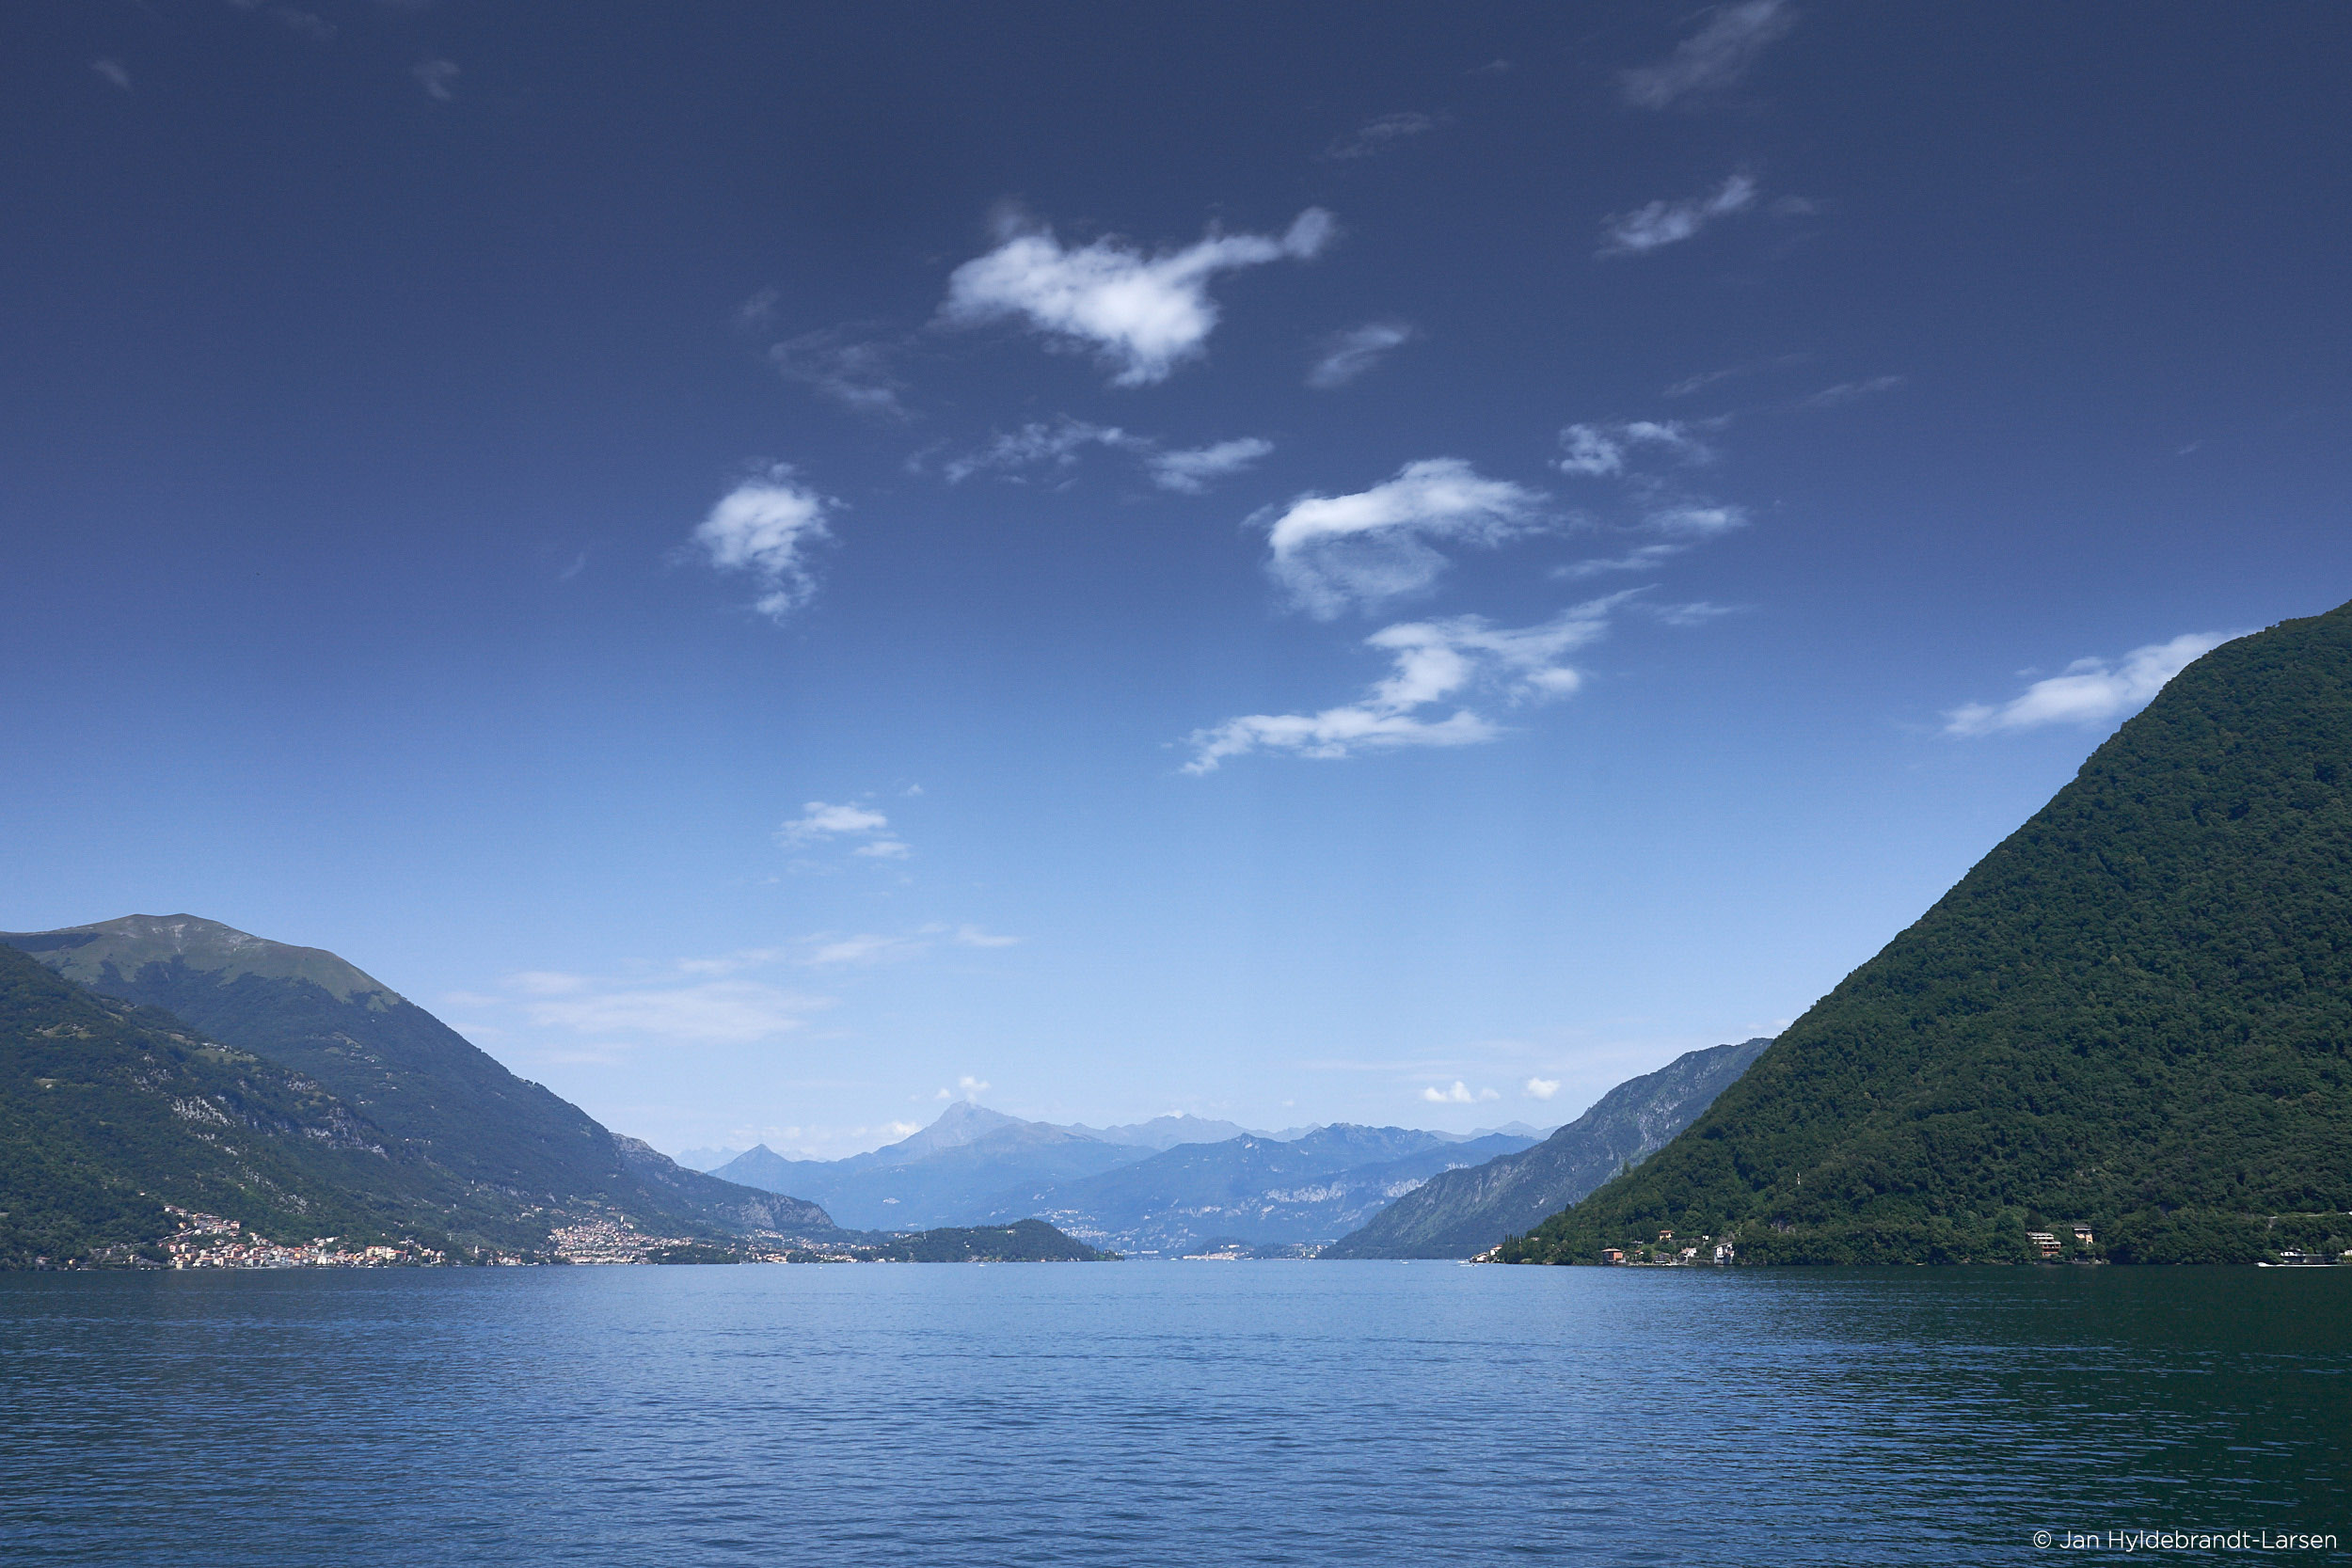
This image has a single Linear Gradient Mask with a specific Luma Range applied. Let’s see how it’s made.
Linear Gradient limited by a Luma Range

The mask above is limited by the Luma Range shown in the tool. Notice that dark areas are left out to exclude the mountain top, while the brightest areas are left out to exclude the clouds. The bright fall-off is soft to avoid weird transitions in the clouds. Additionally, Radius and Sensitivity make sure the edge of the mask is not too funky.
I decreased exposure and saturation to give the sky the look I wanted.
Before/after
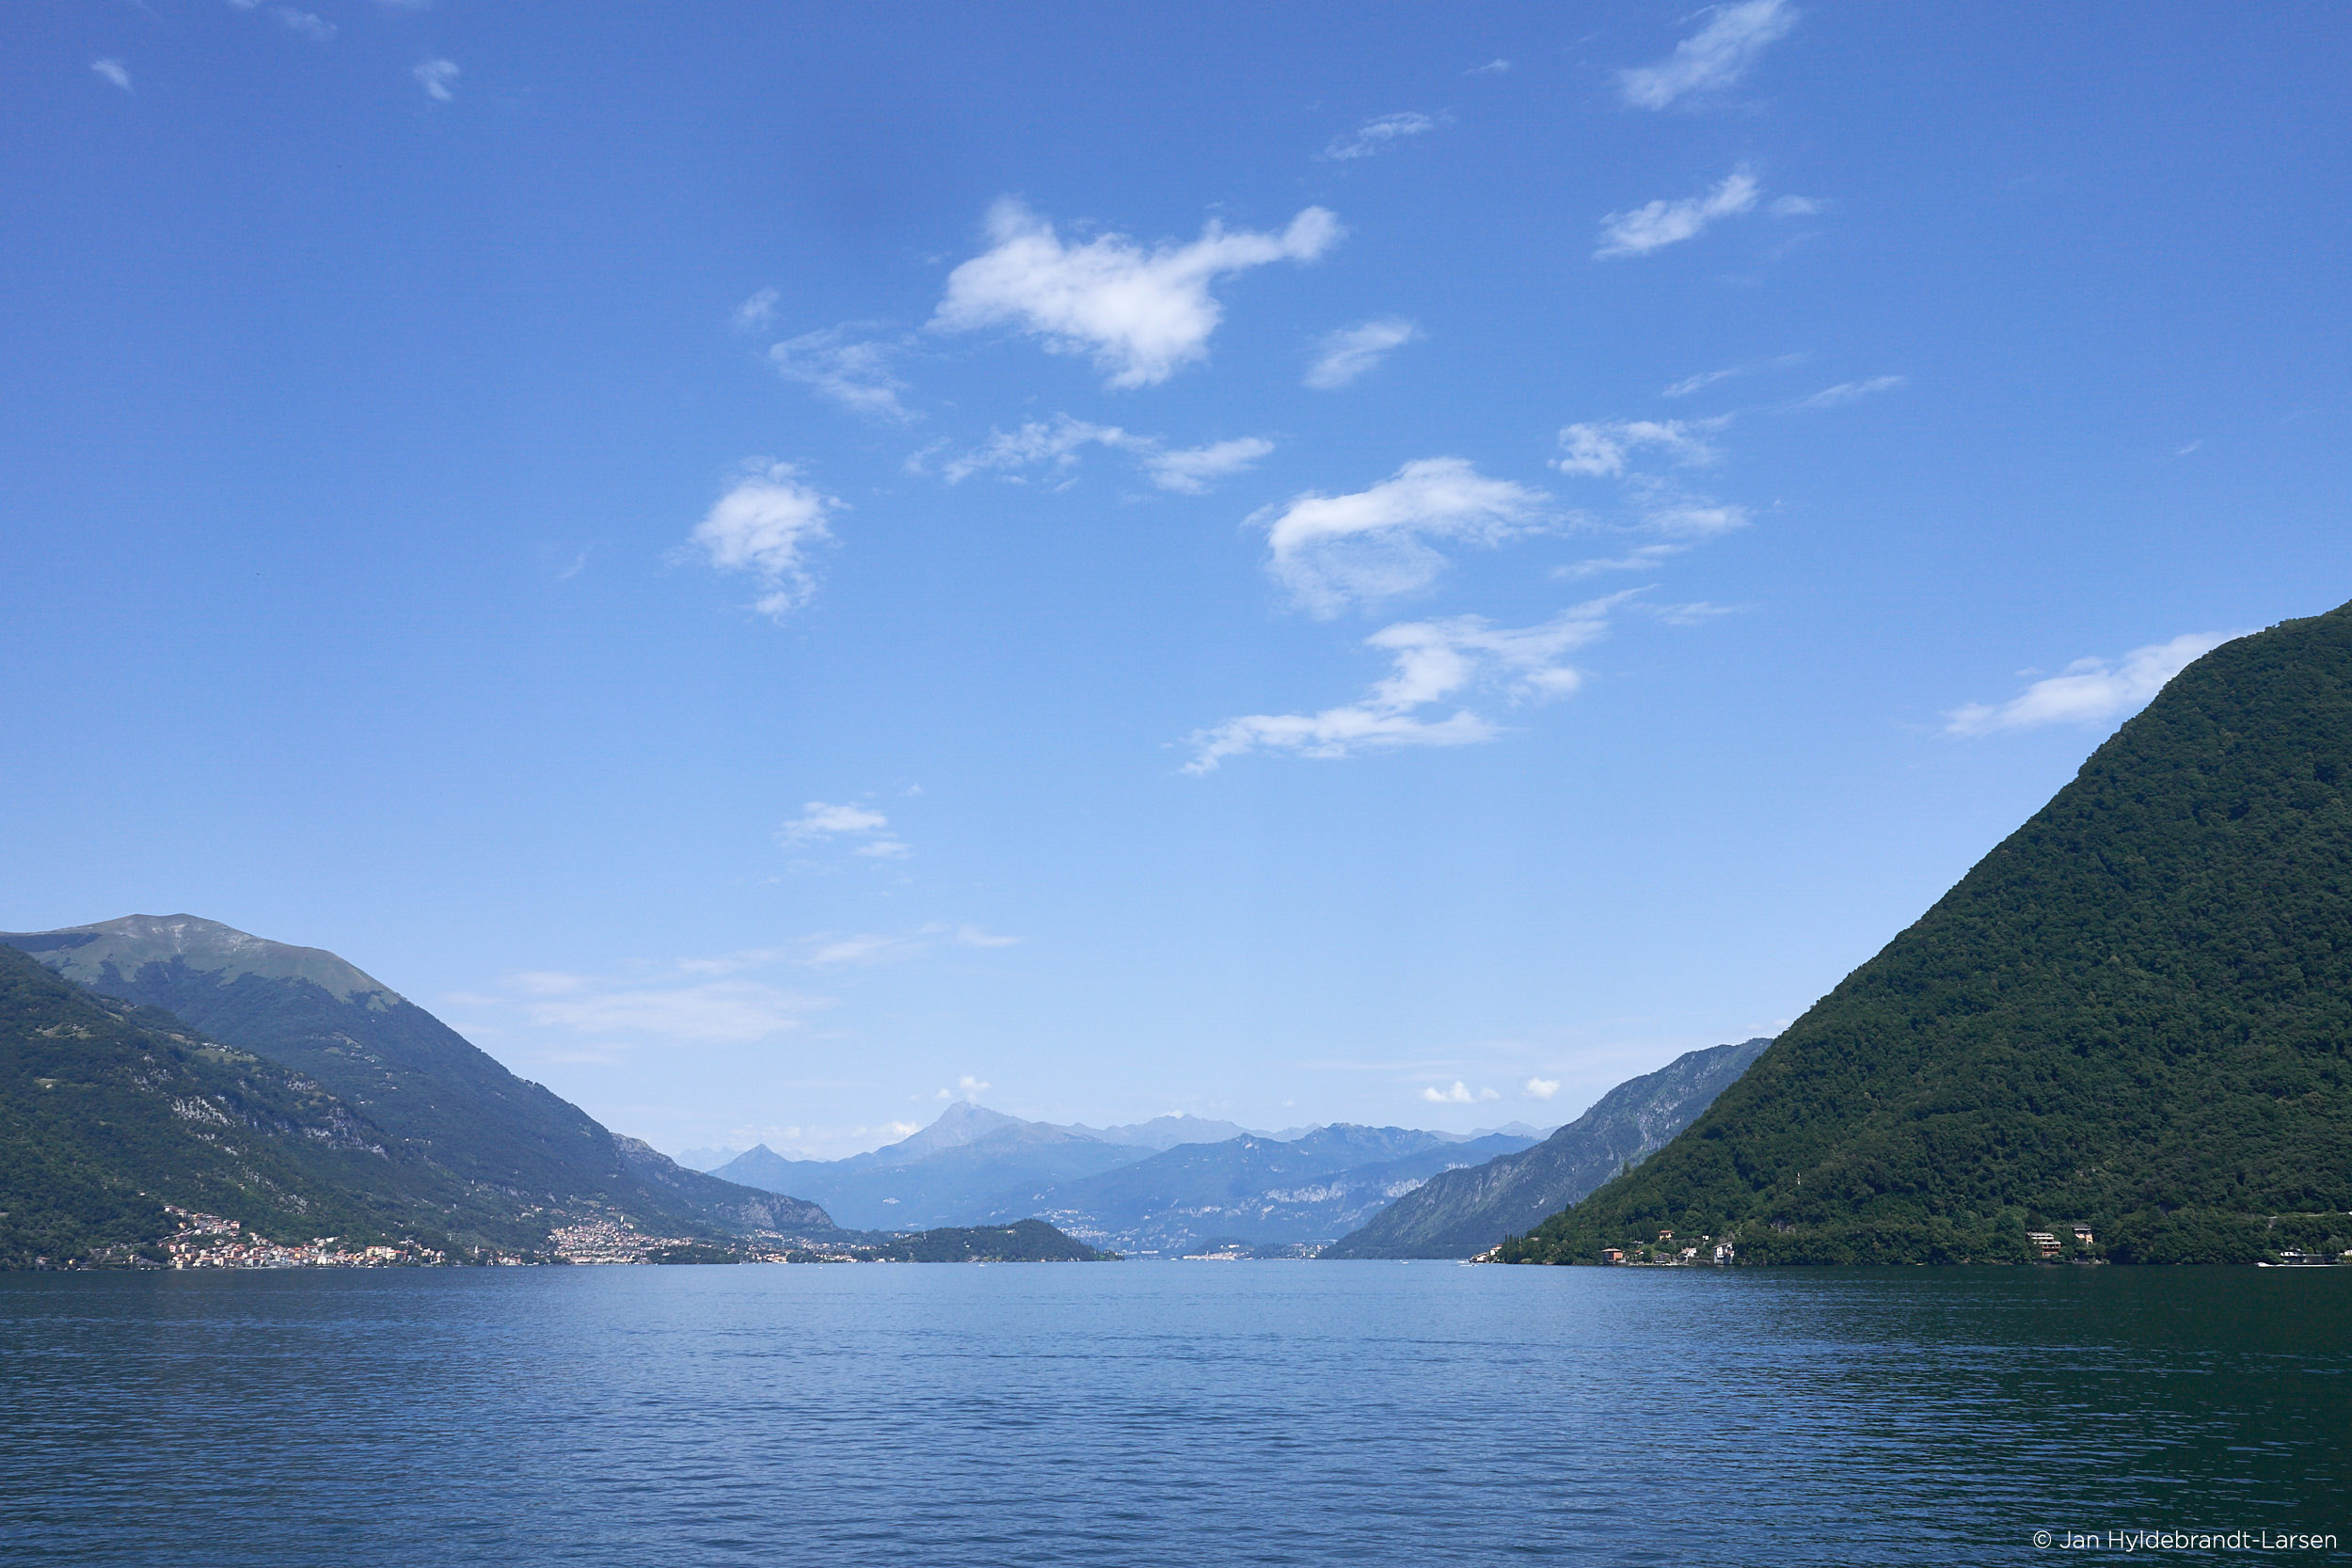
The difference on this image is quite dramatic, but still easy and flexible. Both the Linear Gradient and the Luma Range are dynamic, and can be adjusted and transformed if needed.
The sky might be a bit too dark for some of you, but I want to show the power of adding a Luma Range to a Gradient Mask with a visual example.
Tutorials
Want to learn exactly how to use these tools? Watch below!
If you don’t already have Capture One, download a free 30 day trial and try it out.
Are you an Express user? Discover all you can do when you upgrade to Capture One Pro.


Radial gradient: is there a key modifier to open the radial gradient inverted ( a la Lightroom)? My mind wants to apply the mask within the overlay, not outside.
Hi Stephen,
There is no modifier key to do that, no. But you can select inside as the default by right-clicking the image with the radial gradient tool.
– Alex
Will Capture One 12 support the Cr3 raw file from the new Canon R mirrorless camera?
Hi Elizabeth,
Yes, the Canon EOS R is supported in Capture One 12.
– Alex
Is there a way to have a linear gradient so it’s soft on both sides using the new tools? I have some flicker from Fluorescent lights I need to remove and the only way I can do it right now is to have a big brush, click on one side, go to the other, hold shift and click again. It works but is very time consuming and has no flexibility if it’s not quite right.
Hi Dominic,
Currently that’s not possible. You would have to manually erase parts of the mask, sorry!
– Alex
Is there a way to remove the Radial mask after applying it?
Hi Max,
You can right-click the Layer with the Radial Mask applied and click ‘Clear Mask’.
Alex