
A great Capture One year is about to come to an end, and we’re celebrating it by dedicating 2016’s absolutely last post to no less than the best posts of the year.
Lean back and go through an overview of 2016’s Top 5 Tips with us – maybe you missed it the first time?
(Ordered by date)
1) 5 easy steps to save your low contrast images
– By The Image Quality Professor
Whether it is a grey and rainy day or a day with lots of scattering light that makes an image appear with low contrast, you can easily fix the problem with the histogram and the Levels sliders in the Levels tool.
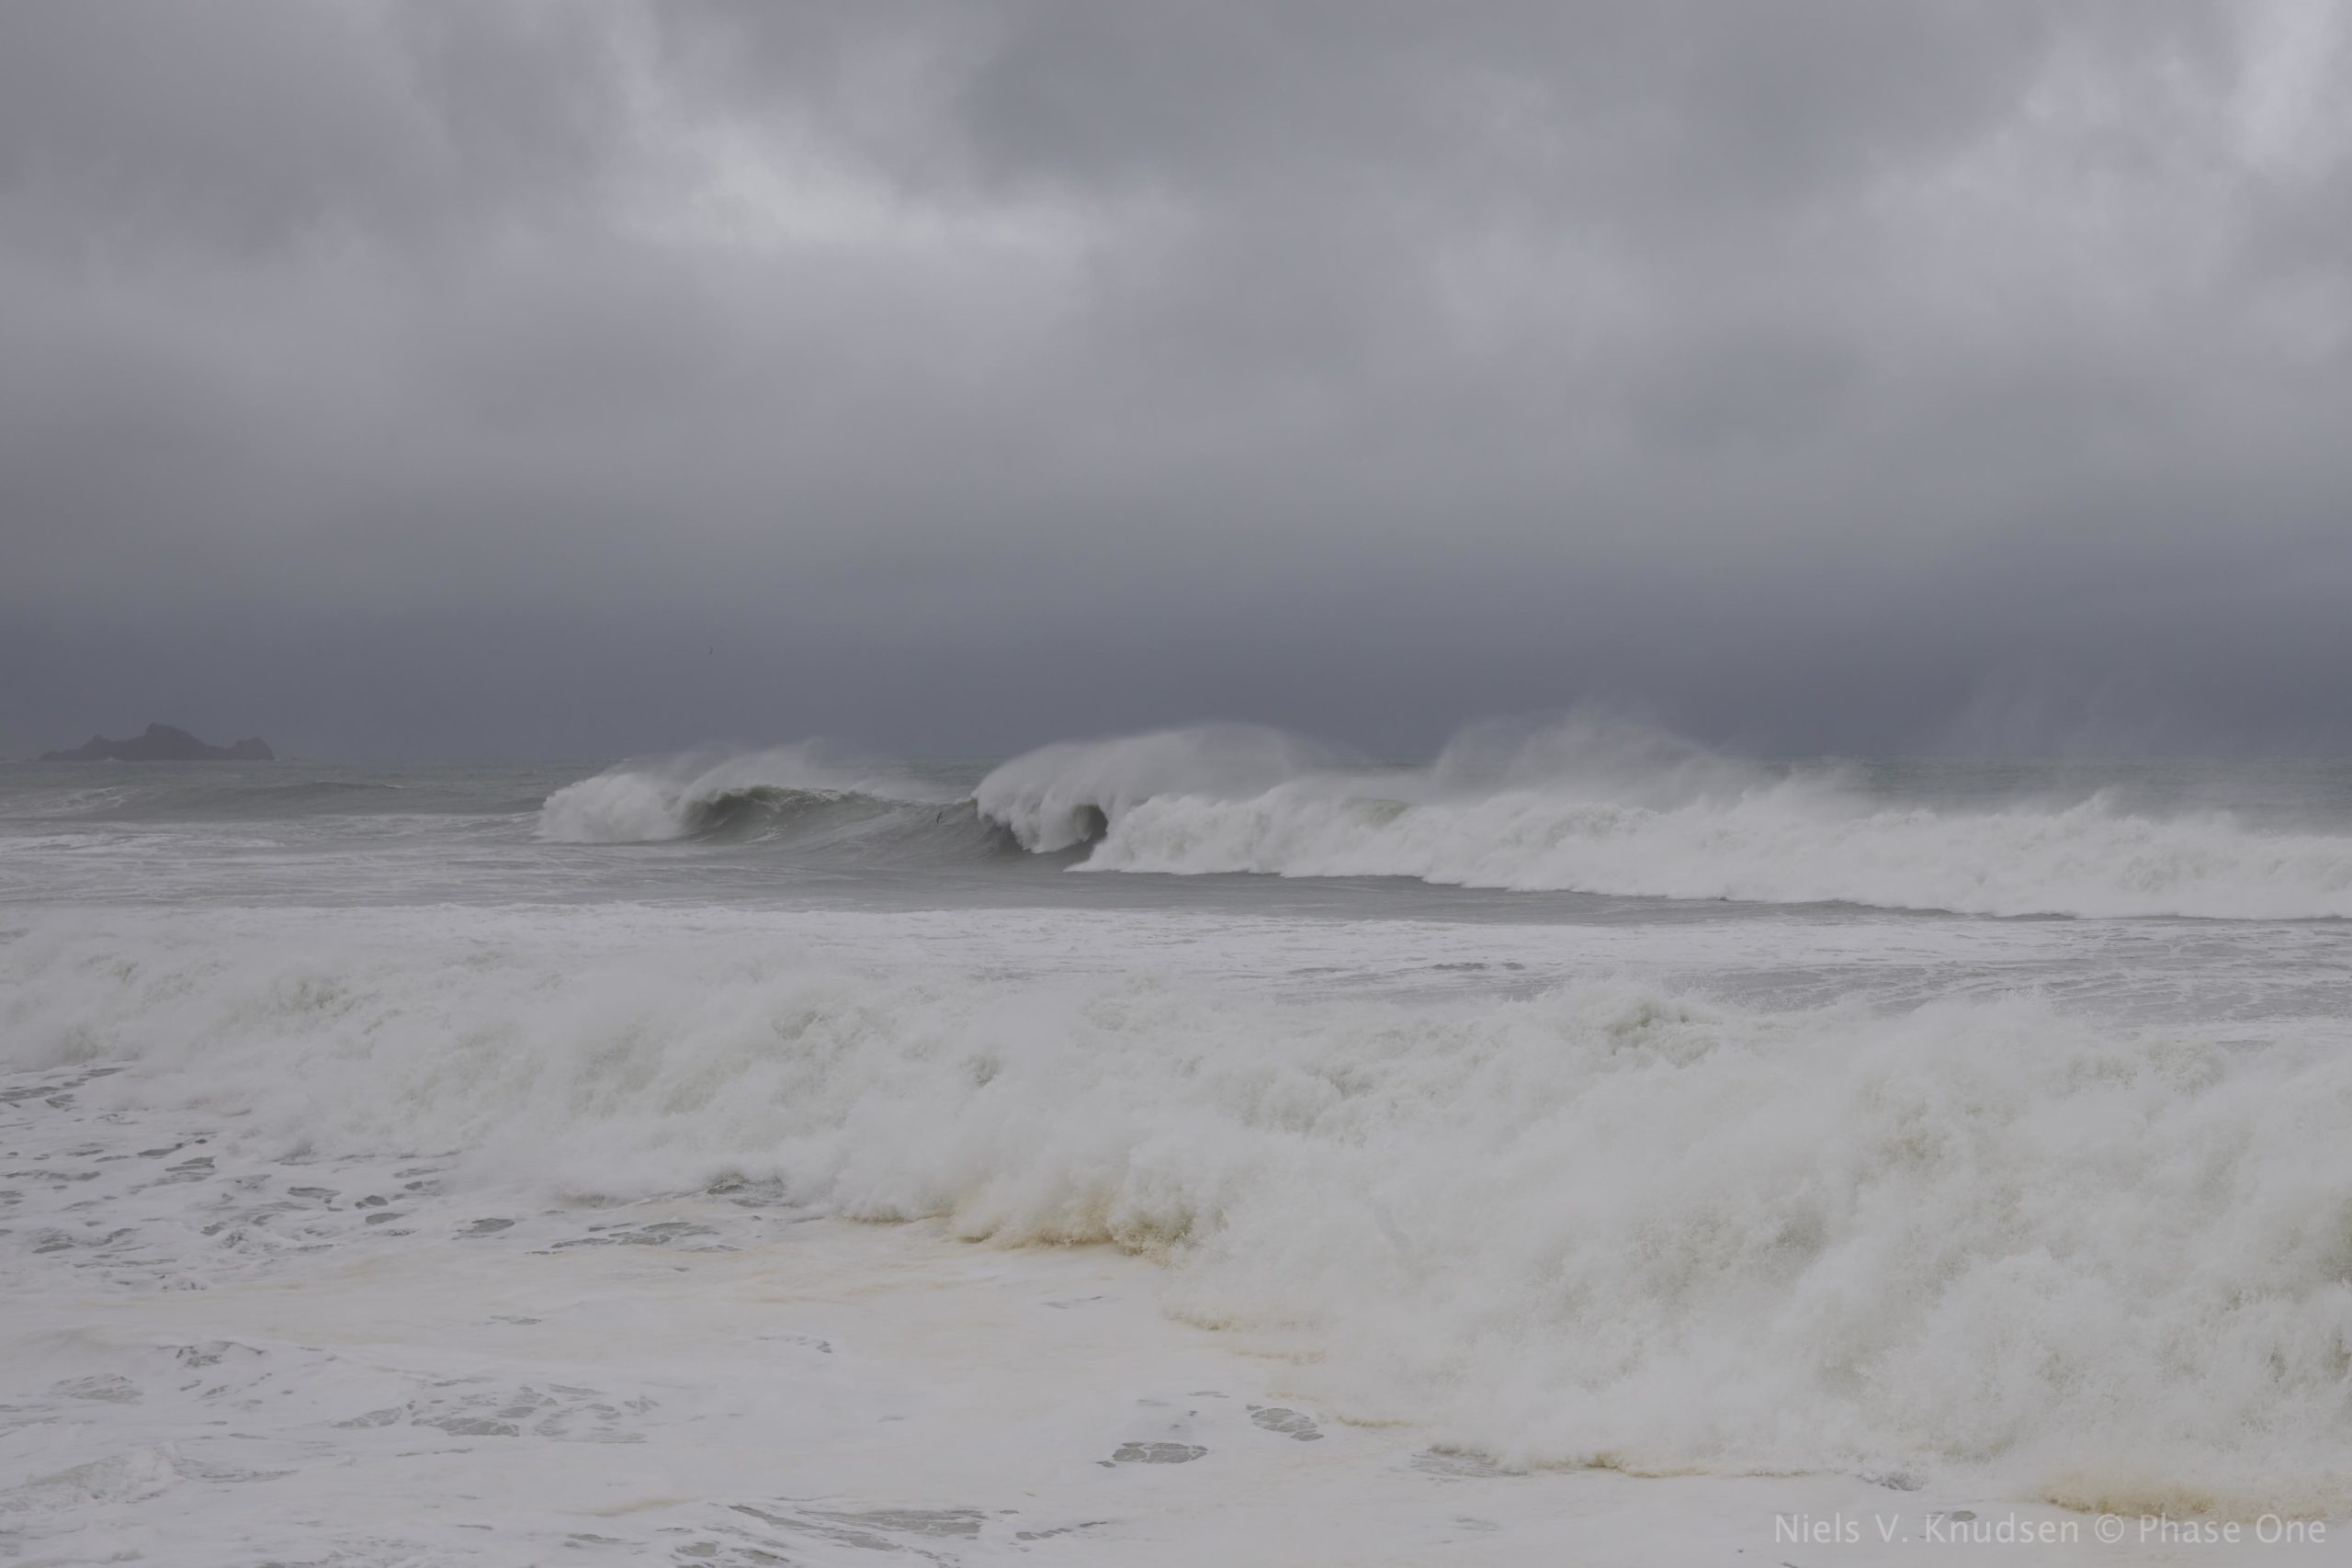

Image straight out of the camera and image after being optimized in Capture One Pro.
Pictures with low contrast hardly ever look interesting. Even if an image was shot in very low contrast, you should still try to use a full range of tones in the image.
Read The Image Quality Professor’s 5 simple steps
2) Top 10 reasons to switch to Capture One Pro, Part 1

– By Alexander Svet
In this article, I’ll show you my reasons for my choosing Capture One Pro after almost a 10-years of using different RAW-converters. If you’re totally fine with your converter of choice – well, good for you. Though, if you feel that there is something missing, that some guys should really find a better way to deal with RAW formats; If you’re looking for something more – this article will help you find it.
Discover 5 of the reasons in Part 1
Psst: To get to know the remaining 5 reasons, check out Top 10 reasons to switch to Capture One Pro, Part 2
3) Second to None color with Pratik Naik
Personally, Pratik prefers to use Capture One Pro for his RAW processing. His explanation is that it contains reliable tools that offer richer colors, compared to all other RAW converters on the market.
Watch his video about Capture One Pro to learn why he thinks this is so essential to your photography:
Visit the full post to watch the BTS-video from Pratik Naik’s and Jonas Jensen’s shoot with the Phase One XF 100MP camera system.
4) 5 fundamental features in Capture One Pro
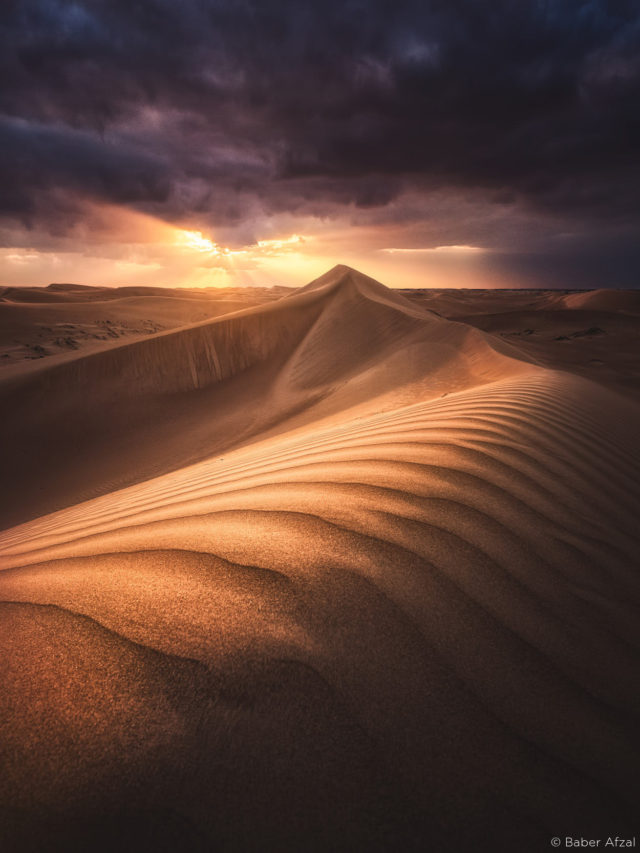
– By Baber Afzal
Capture One Pro forms the backbone of my images, especially when it comes to creating fine art images.
The 5-step workflow presented in this post will give you an understanding of why I prefer Capture One as a RAW converter, compared to the rest.
We can reveal that the first step is ‘Creating Sessions & Importing Images’. Read the full post to get to know the rest of the workflow.
5) Jumping ship to Capture One Pro from Lightroom

– By Martin Bailey
I started using Lightroom back in 2006, during the initial beta phase, and I’d been a loyal Lightroom user since. So, this may come as a shock to people that know me. I can already hear you Capture One users chuckling to yourselves, not so surprised that I’ve finally decided to make this change.
If you want an application that works exactly the same as Lightroom, then you’d better stay with Lightroom. This is why I stayed with Lightroom for such a long time. However, if you want the ultimate image quality, and you are willing to make changes to your workflow, I personally think it’s worth the change.
Click here to read about the switch and why Martin thinks Capture One equals ‘ultimate image quality’.
Psst: If you’re immigrating from Aperture, Jordan Bush offers a comprehensive guide for you: Switching to Capture One Pro from Aperture – Photography Workflow.
As a small gift, we’ve decided to provide you with an extra essential tip; Check out our new Capture One Pro 10 highlight – Proofing.
6) Control your output in Capture One Pro 10

– By The Image Quality Professor
Capture One Pro 10 now provides a whole new way of proofing the quality of your output. Until now, you have only been able to validate colors or zoom in and out of the image to see the quality of the file as it will appear if processed with no scaling changes.
Today’s cameras offer very high resolution. Therefore, exporting your file at maximum resolution is often unnecessary. You may want to deliver smaller JPEG files to your client for selection, or simply export images for your website.
However, how do you insure your processed images have the right amount of sharpening, film grain or JPEG compression? With Recipe Proofing, new in Capture One 10, you can now view the image exactly as it will be processed, according to the selected Process Recipe.
Click here to read how The Image Quality Professor benefits from the new Output Proofing.
That was it for 2016. Feel free to leave a comment and share which article has been your favorite this year.
Happy New Year,
The Capture One Team


I love Capture 1 for Sony and was hoping it would replace my Photoshop & Lightroom catalog.
Unfortunately the catalog does not show non-Sony files ( my old photos – so I continue to only use Capture 1 occasionally, as an incomplete catalog is useless
Hi Dave,
Capture One for Sony… I think the clue is in the name there. If you want to see your non-Sony files, then you could upgrade to Capture One Pro, supporting 400+ cameras.
David
Hi David,
Is there a group of ‘created styles’ which you could recommend that can be purchased/sourced? Would be nice to have some a mix of styles to use as a start point and there seems to be quite a few available. N
Hi Neil – if you google around you will find some.
captureonestyles.com for example, and also some of our US partners offer some.