NOTE: This article discusses an older version of Capture One Pro. To learn more about our latest version, click here.
As a photographer, I get inspired by freedom – being able to take the long way home and stop the car whenever I want. To be able to photograph cars, people, a battered road sign or a crooked house. I like being about to create photos out of spontaneous situations, and it gives me a kick when I manage to create something truly unique.
It’s important to me to always incorporate my own touch into my photos, no matter who I work with. I have eyes on all my fingers and am constantly thinking about pictures, lights, angles and possibilities. This is also why I love travelling and meeting strangers.
Being able to conjure up something unique such as the light, the lines or even an untapped vulnerability – that makes me stay in the profession and keep pushing the limits of what I can achieve through my camera and beyond in the post production and editing process.
As a photojournalist in my teens, my biggest fear was approaching people to photograph them for a portrait. But today, my on-the-road portraits tend to be freestyle and jumping into new things is a big part of my persona as a photographer (although my fashion shoots are typically planned down to the smallest detail.)
Capture One Pro helps me work on the road
Seeing beyond the camera and editing images in photo editing software is a big part of creating the perfect final photo. I use Capture One Pro to edit my photos for lots of reasons – the Layers, all those lovely grain effects for amazing black and white photography, and most importantly, – my workflow is automatically so much faster in Capture One Pro. This is really important to me because the majority of my work is done on the go.
Here are some examples of my editing process:
Layers are definitely one of my must-have tools: in this example, I am creating a Mask in a new Layer because the model’s legs are ice pale, while her face is dark from the hat shade. I fixed this by raising the exposure and brightness, adjusting the highlights and shadows, and finally adjusting the opacity for the most natural blend.
That’s not something I could fix in-camera – you need photo editing software to fix it, and the ability to create Masks so you can focus edits in specific areas and get total creative freedom.
 In Capture One Pro, you can control any aspect of the black and white conversion so it matches the look you want. By turning up the Exposure Slider, I can increase or decrease the light all over the image. If I use the Brightness Slider instead, it only affects the shadows and midtones, but preserves the highlight.
I sometimes find it very useful to use both sliders to create a certain mood – for example, by decreasing the exposure and increasing the brightness to see the difference.
There are a lot of ways to reach the same result, for example the Curve Slider can also be used to add light and contrast. Often, an S curve can be a good starting point in a black and white conversion.
Remember that it’s often the sum of the smaller adjustments that contributes to the final image.
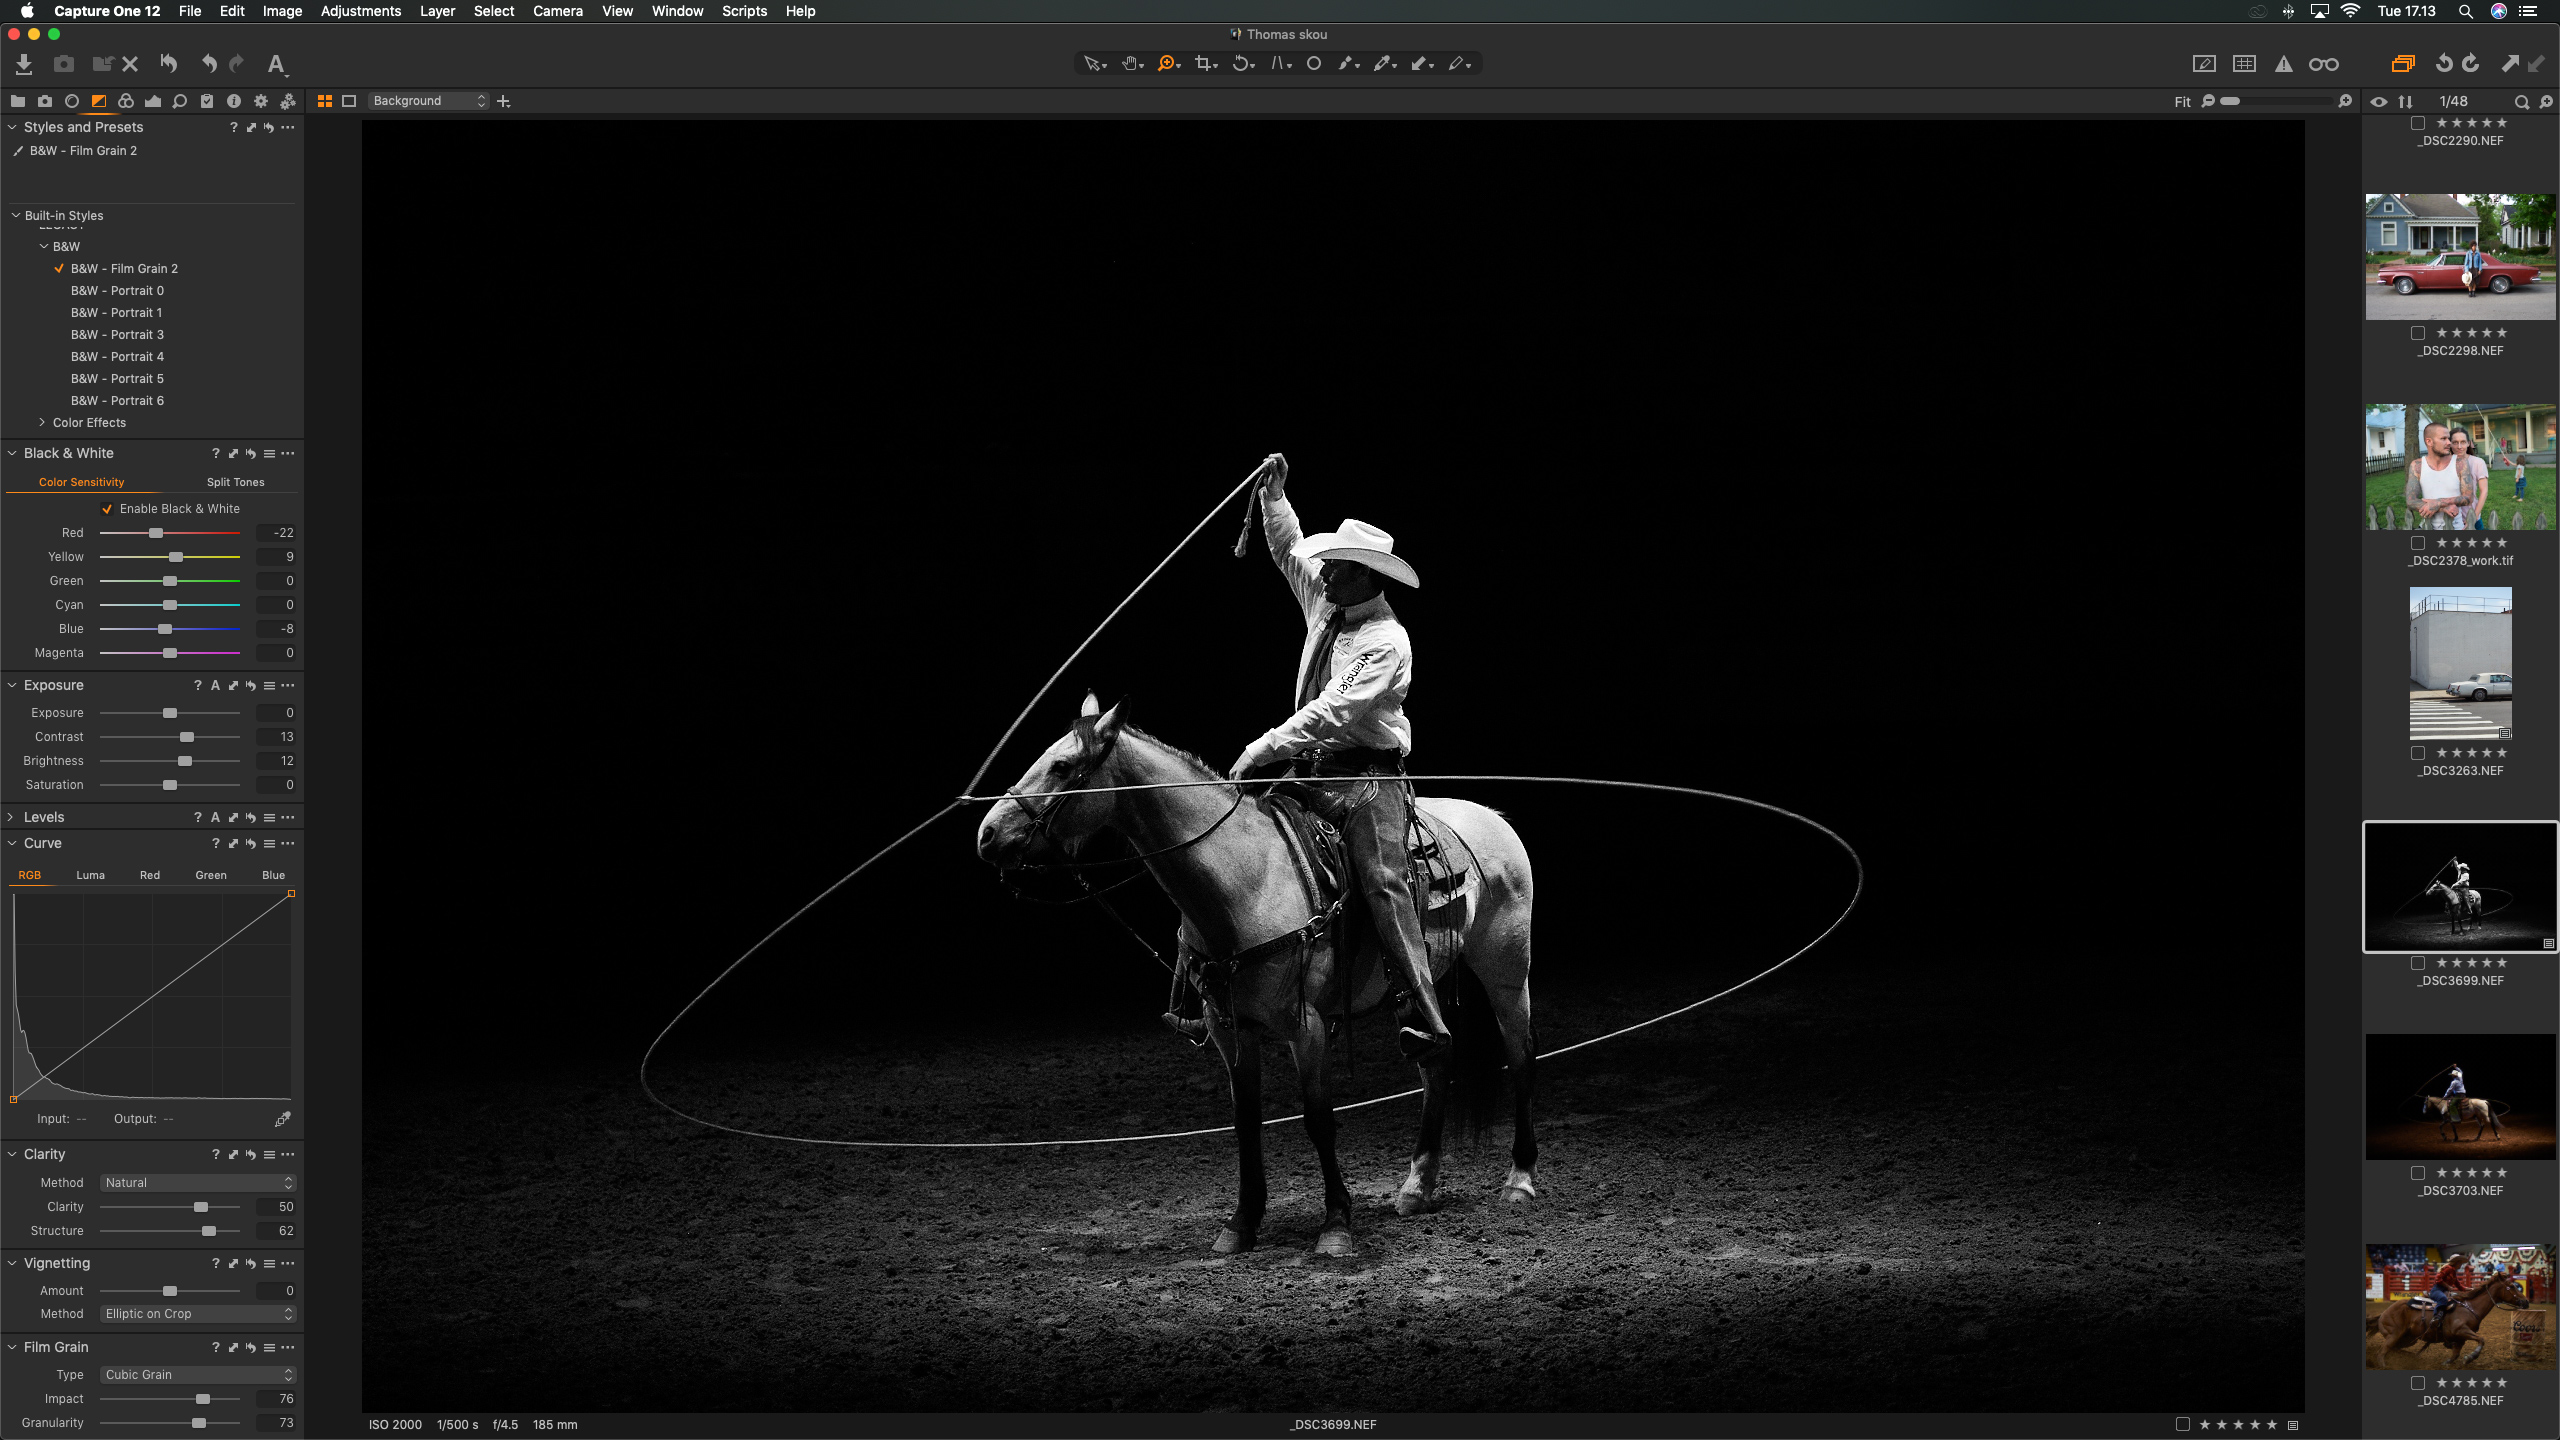
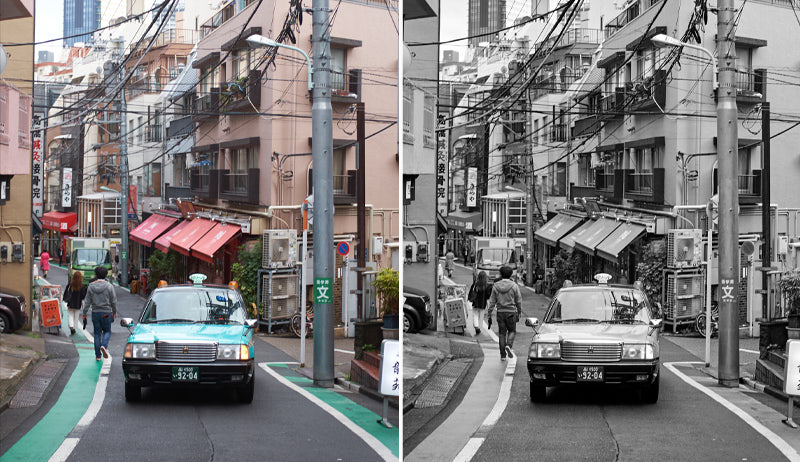
Making a black and white conversion in Capture One Pro is quite simple. In the Tools Bar you will find a Black & White tool. Make a simple conversion by clicking “Enable Black & White”. But it’s the ability to control every color channel along with with Levels, Curves and Basic Adjustments that can really make an image stand out.
If you want to be inspired and need a good starting point, then you also have the option of using Styles. A Style is a color grading preset, that will give you a starting point which you can then also tweak to suit your preferences. There are some excellent built-in Styles with Capture One, or you can buy all kinds of Styles Packs inspired by different looks, from cinema and film to the great outdoors.
Like that analog feel? Try to add Grain and experiment with different types, impact and granularity.
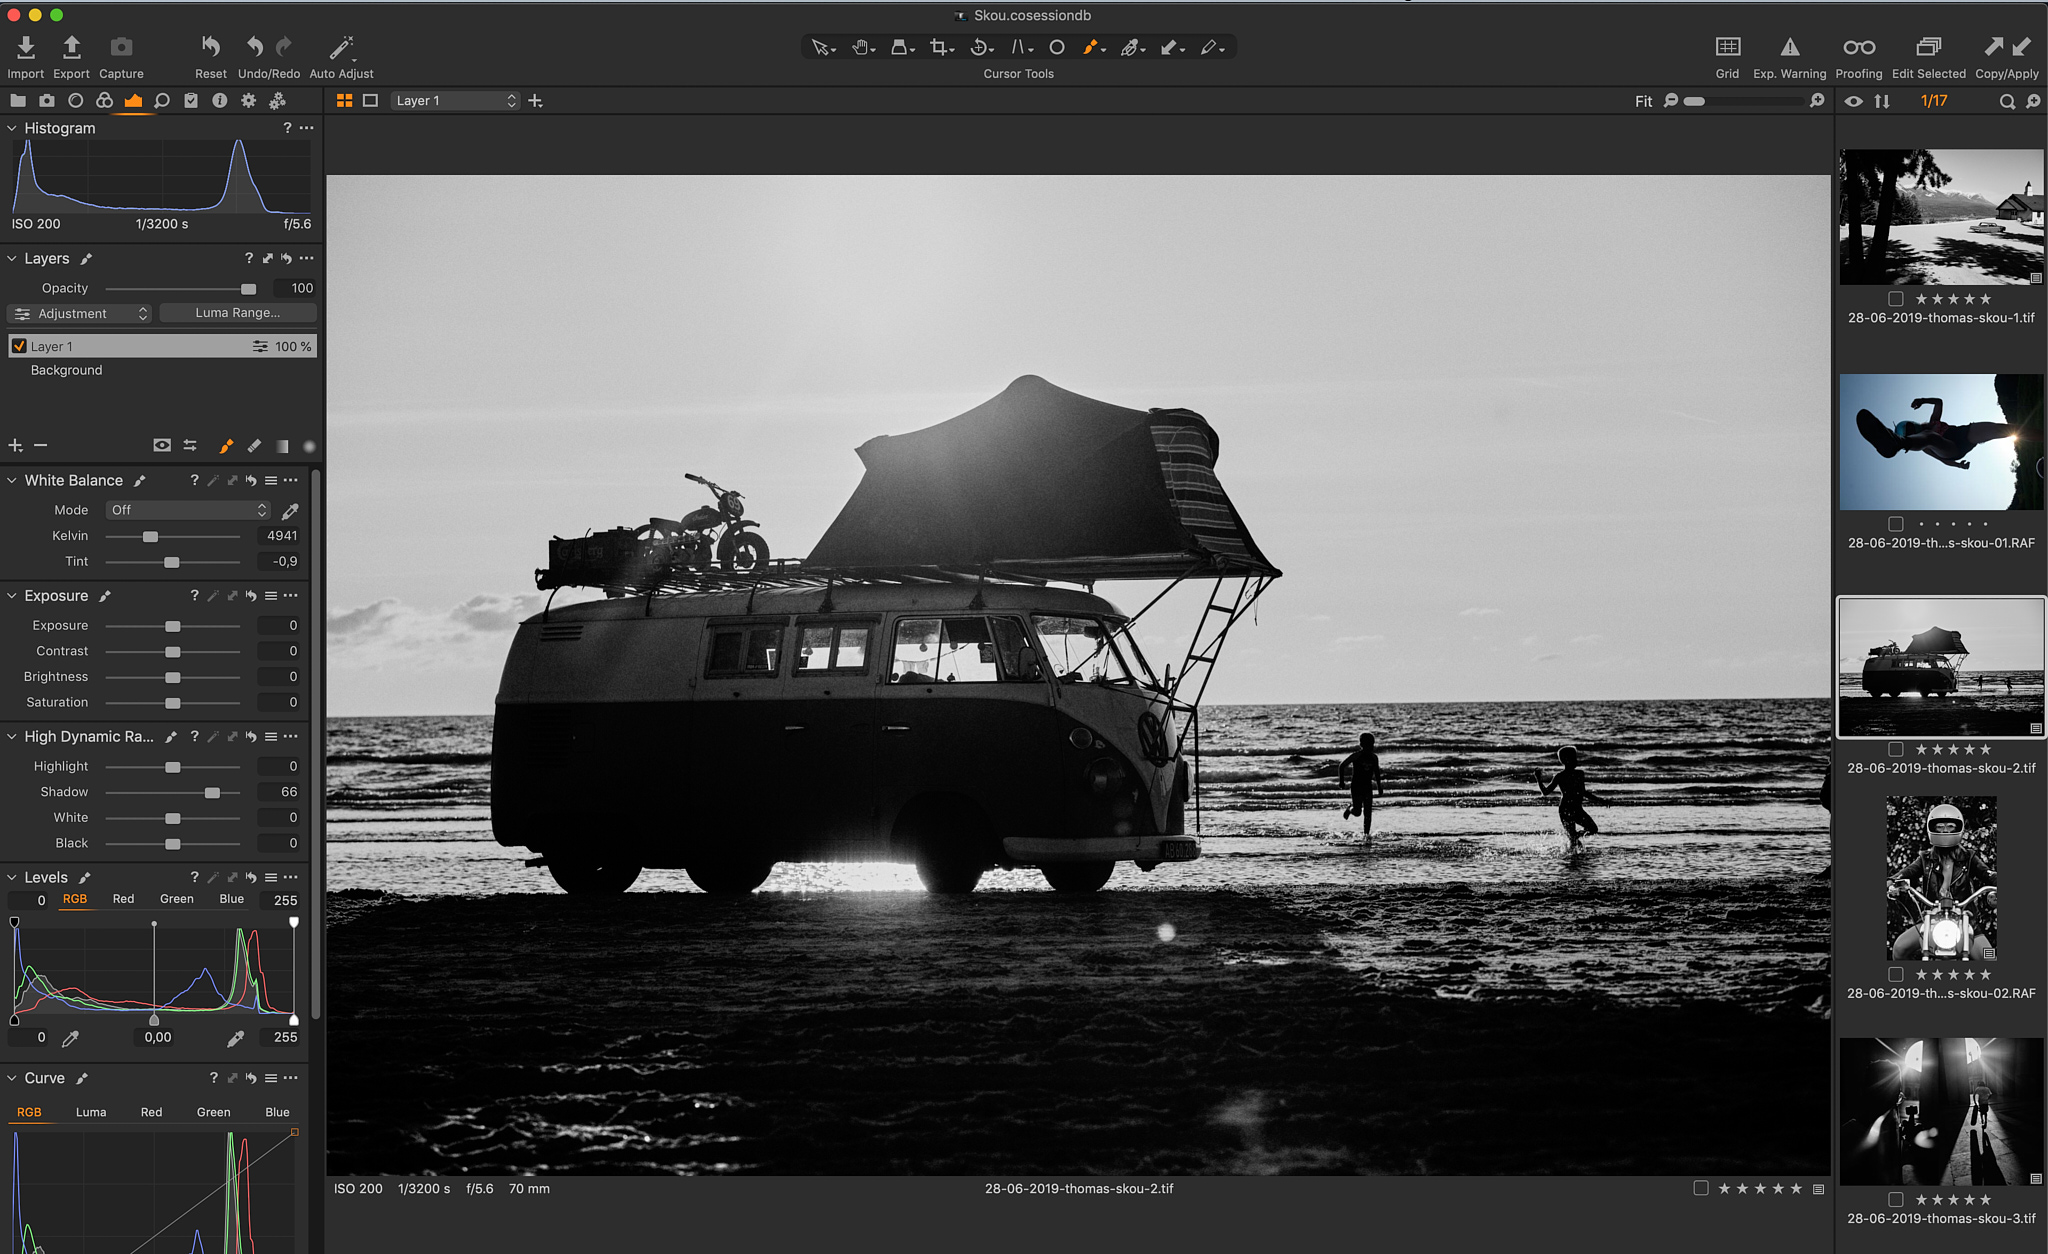
 This is another example of using the Mask tool in Layers. Creating extra contrast and toning down the lazy clouds and crispy snow makes all the difference. You can add several layers to take control of every little part of the image, and you can also change the opacity in order to change the layer’s impact in the image.
For new photographers, my main photo editing tip is to have fun, play around, drink coffee, watch a tutorial and dare to try out your own crazy ideas; do a clean version and then a messed up, raw and grainy one. Just test anything out and play the day away – or see if you can replicate the look of something in a magazine.
If you don’t already have Capture One, download a 30 day trial and try it out.
Eager to learn? Access webinars, tutorials and expert help in the Learning Hub – completely free.


Thomas Skou
Danish photographer Thomas Skou takes photos in order to tell stories. He launched his professional career in Copenhagen in 2008, having worked with photography since 2005. His clean style epitomizes Nordic sensitivity, with a focus on natural light and an intimate presence and depth to his work.


thank you for this article.
thanks for sharing this blog. I really found it useful for me.
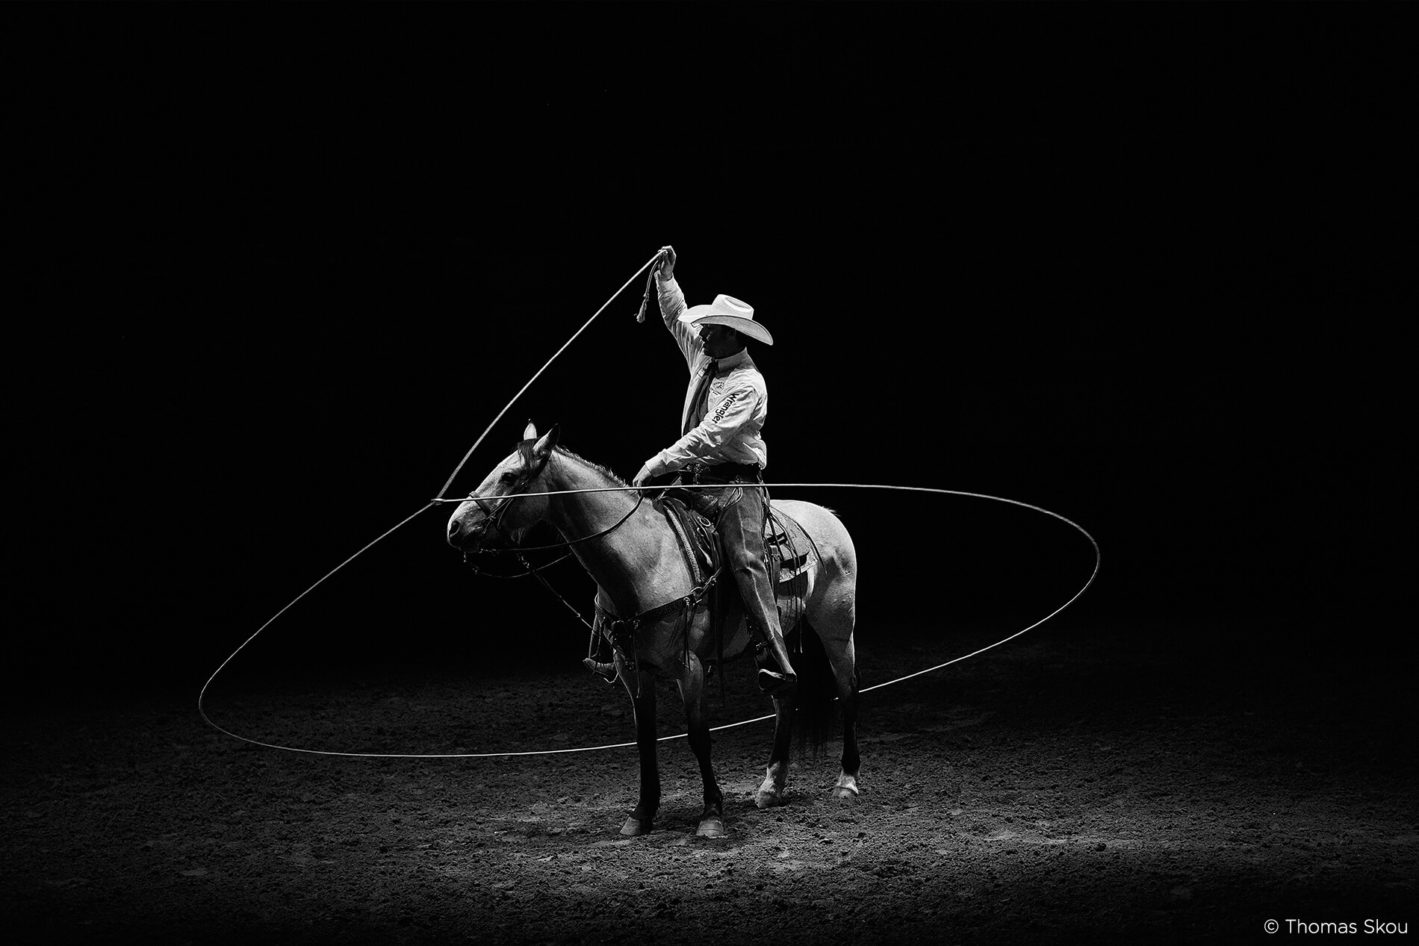
Thanks Thomas for your tips especially the ones in the last paragraph. Love the rodeo rider.