NOTE: This article discusses an outdated version of Capture One. To learn more about our latest version, click here.
The “Session” is a classic and powerful workflow construct of Capture One Pro. It’s still THE go-to workflow used by nearly all production, studio and commissioned photographers. It’s a HUGE feature, interconnected with several other tools in several layers and immensely powerful when leveraged properly. This is especially the case in a tethered workflow. We’ll see later how Sessions were born for this exact concept.
In this 3-part series on Sessions we’ll start with one for new users. In this post we’ll discuss the concept, and build up to how to use it like a professional in the studio. If Catalogs isn’t really the way you like to work, or you’re looking to get started in the professional studio industry, this guide might just be for you.
If you’re already familiar with the basics of this field, you might want to skip this versions and jump directly to Sessions 102: Power Users or 103: Expert Knowledge)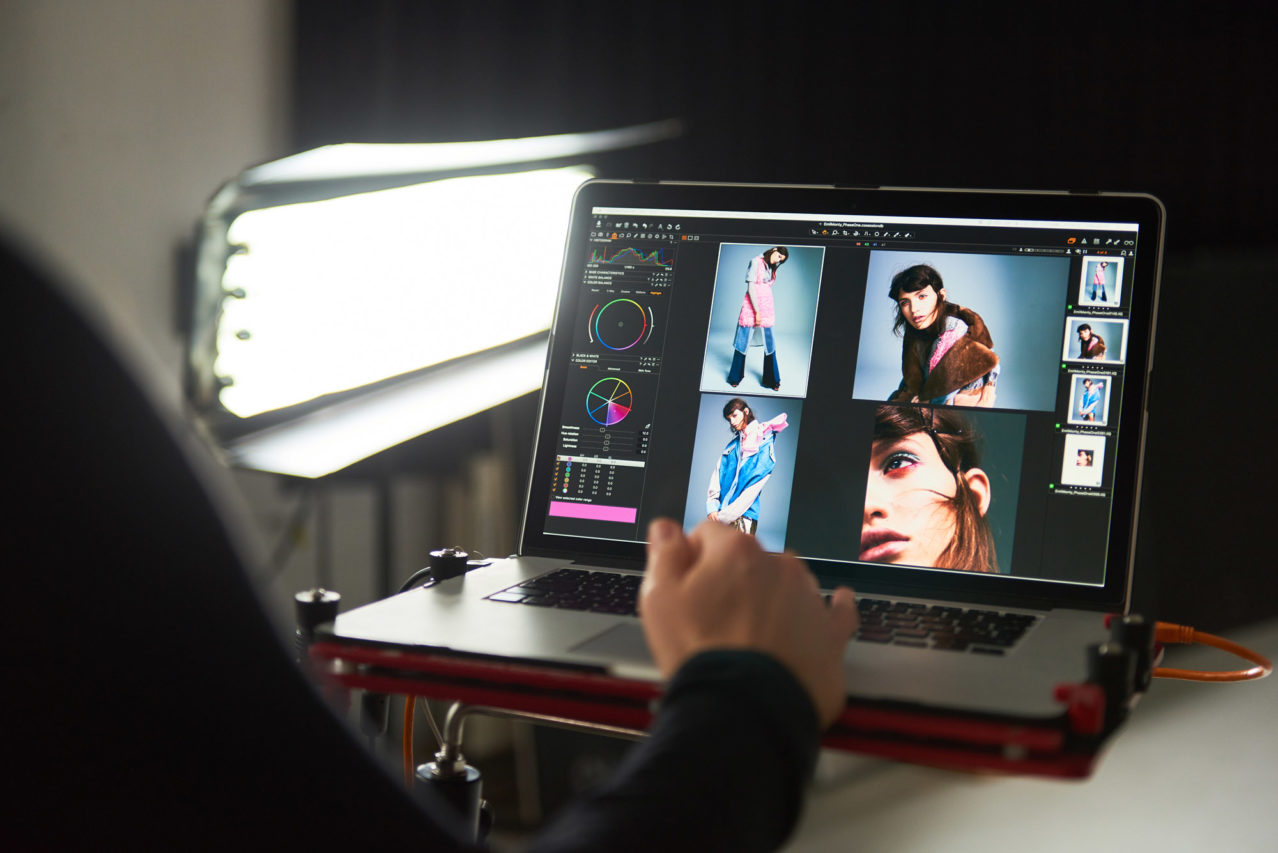
What is a Session?
The main differences between a Catalog and a Session boil down to the “file life cycle” (the movement/storage of files) within the working project. This also includes the data structure for edits done behind the scenes – and (more or less) how this lets you interact with images in relation to the file system. More on that later.
The Session was born out of the first tethered camera implementations. When Phase One made the first “one-shot” CCD backs (i.e. not a scanning back) in the late 90’s they had no storage on board and could only be tethered. The files were delivered to the computer directly. The immediate question then is, where should the files be put?
Forget for a minute anything about Sessions and lets break down some simple ideas within the problem above.
First, there’s this data in/data out issue. If I create a series of files, it makes sense to organize it by making a folder for them. But this is a RAW converter and I’ll be processing JPEGs and tiffs out, so I need a folder for those files too.
Those folders and all the other assets should probably be in a sort of overall “top” project folder to keep things logical.
I’ll probably also want to move stuff around and delete some stuff. However, it’s best if it’s all relative to the project so nothing wanders off to system trash or moves to the wrong place. Therefore, I’ll make a few temporary folders for storing rejects and picks.
Folder workflow
So, now I have my project folder, a folder for RAW files from the camera, and an output folder for the processing a local trash folder and a selects folder for any keepers.
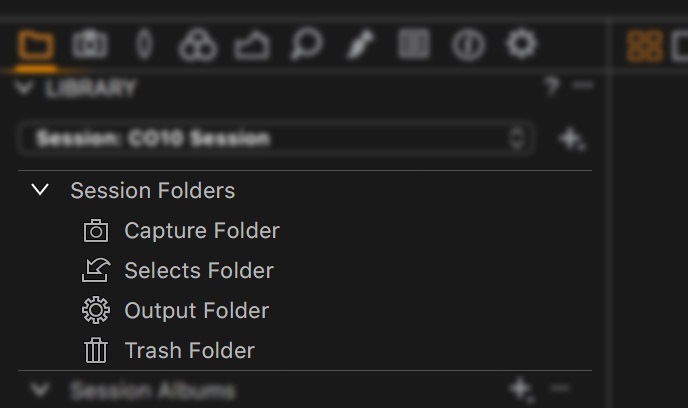
I now connect the camera to the software for tethered shooting (“transfer of files to the machine via cable” immediately). But computers are dumb, so I have to tell the machine where the files that the camera produces should end up. In Capture One I find the folder I made earlier for storing RAW images for the job, then right click on it and “set as Capture folder”. Now, the computer knows where to put the images. I need to do the same for the processed folder (where all the conversions are kept). So, again I go to the folder browser and find my folder – right click, set as output. Now, when I process images, they go there. Same for the local trash and selects.
In a way, I’ve now made a very simple in/out file workflow. I’m working on a kind of “files and folders” parity within the app interface, almost as manipulating the Finder/Explorer file system directly.
Stop: Session time
This is fantastically simple. Except that now I have another job for today. I have to make sure to correctly reset all the naming, and create the folder structure again. Obviously, I don’t want Susan from Agency A to see work from yesterday for Stuart at Agency B.
The session concept solves this by taking all the above and turn it into a reusable and compartmentalised template for the above workflow points.
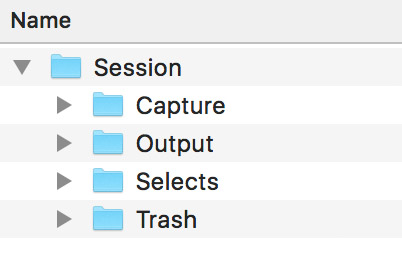
When you create a new Session (File>New Session), it creates a “top” folder containing four other folders. These folders are automatically assigned the tasks for the photographer:
- Captures (destination folder for tethered)
- Selects (a folder you can move assets to, if deemed important)
- Output (assigned as the destination for all processing)
- Session Trash (a place to store deleted files for the session)
Alongside, this folder structure is a .cosessionDB file. This is used for caching and tracking file movements done in Capture One and enabling concepts like search. This we will cover in part three: Advance Use of Sessions.
Now, all I have to do is Capture (file in), and Process (file out). For the most part, simple jobs can be managed with little overhead or input from the photographer.
Geeky stuff
The last piece of the puzzle with understanding sessions is the behind the scenes mechanics of storage of settings, and cache for the images.
In a Catalog, these are stored and indexed inside one big database object for everything. Also, for images to be viewable they typically have to first go through a “gatekeeper” process – the Importer. This model has advantages for search and large collections where an overview or collections with many events is required. The centralised cache design should give better performance on networks.
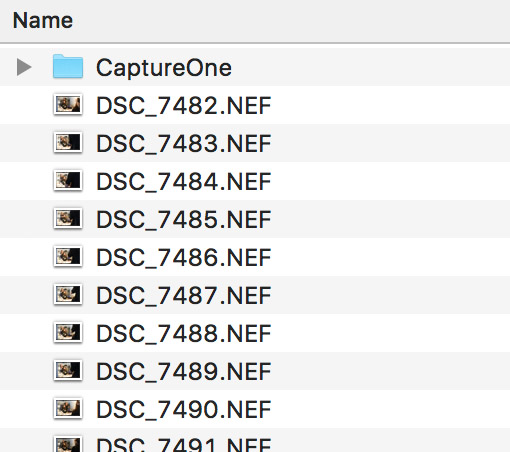
Sessions though, store cache and settings locally – within in a sub folder of the RAW files folder.
The Library tool in Session mode is a file/folder browser and doesn’t require the importer to view images. A simple click on a folder of RAW files in the library is enough to trigger generation of cache. Settings and images will start to load immediately. Once created, these are used again next time you revisit the folder. Any further changes/edits made in Capture One are written to the settings files, which are the user’s effective stored adjustments. Note, each image has its own settings file, so this redundancy and modular design makes it easy to work with distribute and backup. As long as you have a folder of images with the settings, you can view this on any machine – even without the accompanying session database.
As in the opening chapter, this is the main difference between Catalogs and Sessions – this direct ability to interface into a file system contents via the library tool, and no importing required.
Sessions 102: Power User
The second tip discusses how to expand the Sessions workflow with multiple directories for bigger projects. Read it here.
Please leave a comment if there’s a topic within the Session workflow that you would like to know more about.
James Johnson
James is Software Product Manager at Phase One.



this is just what i need
You say Capture (destination folder for Tethered) It makes it tricky for newbies when this folder is not necessarily only there for tethered; OR is it ? And Output as processing. Is that Pre-processing or Post processing ? If Post I would think they go to selects, but only if they are keepers and not simply having been processed. The terminology I find confusing rather than intuitive and unnecessarily obtuse.
CAPTURE folder is where all your images are captured, whether imported from a flash disk or in a tether session
SELECTS folder is when you use the selects feature in c1 and files and associated settings are moved here from the capture folder. I don’t use this, as I use color and ratings to tag my images
OUTPUT folder is for the final processed image (jpg tiff etc) that you will go onto give too your client or otherwise use
TRASH folder is if you delete while browsing the capture fodder. A recycle bin
Thanks for the article! I already communicated a major flaw in the sessions workflow of 10.0 to the Capture team. When I import the pictures to the capture folder, make my edits and masks and copy the post-processed pictures than to the SELECTS folder, masks (only masks) are not accessible anymore even the mask files are copied to the SELECT Folder. is this fixed in 10.01??
Thank you, otherwise a love the sessions workflow
New to Capture One, Aperture refugee. Not a pro. I keep thinking that I want sessions-type workflow inside a larger catalog of all of my images. Would love to see support for something like this: I want to compartmentalize projects discretely, while maintaining ability to view all of the images across different projects as a superset.
Thank you for a great article. Where did the laptop stand come from? Just what I need.
OK, I just purchased CP1 Pro and coming from LR. In LR, when I edit the pics, my RAW files do not get touched (non-destructive). Is this the same in CP1 Pro? Do my original RAW files remain untouched in the Capture folder?