Recently I was lucky enough to be present on this shoot with Sarah Silver. I learnt many things that day but also a new idea of how to use Capture One Pro 8 with Dropbox, or any other similar cloud sharing service.
At the start of the shoot everyone present on set (who needs access) is added to the days’ shared Dropbox folder, then any selects from the shoot are placed in there, so everyone can see the final images. This is a very simple way of collaborative sharing in a studio if you don’t need the advanced features of Capture Pilot.
In this case, a specific Process Recipe is created in Capture One Pro 8 that outputs directly to the shared Dropbox folder. So at any point, this can be selected and certain images processed directly there.

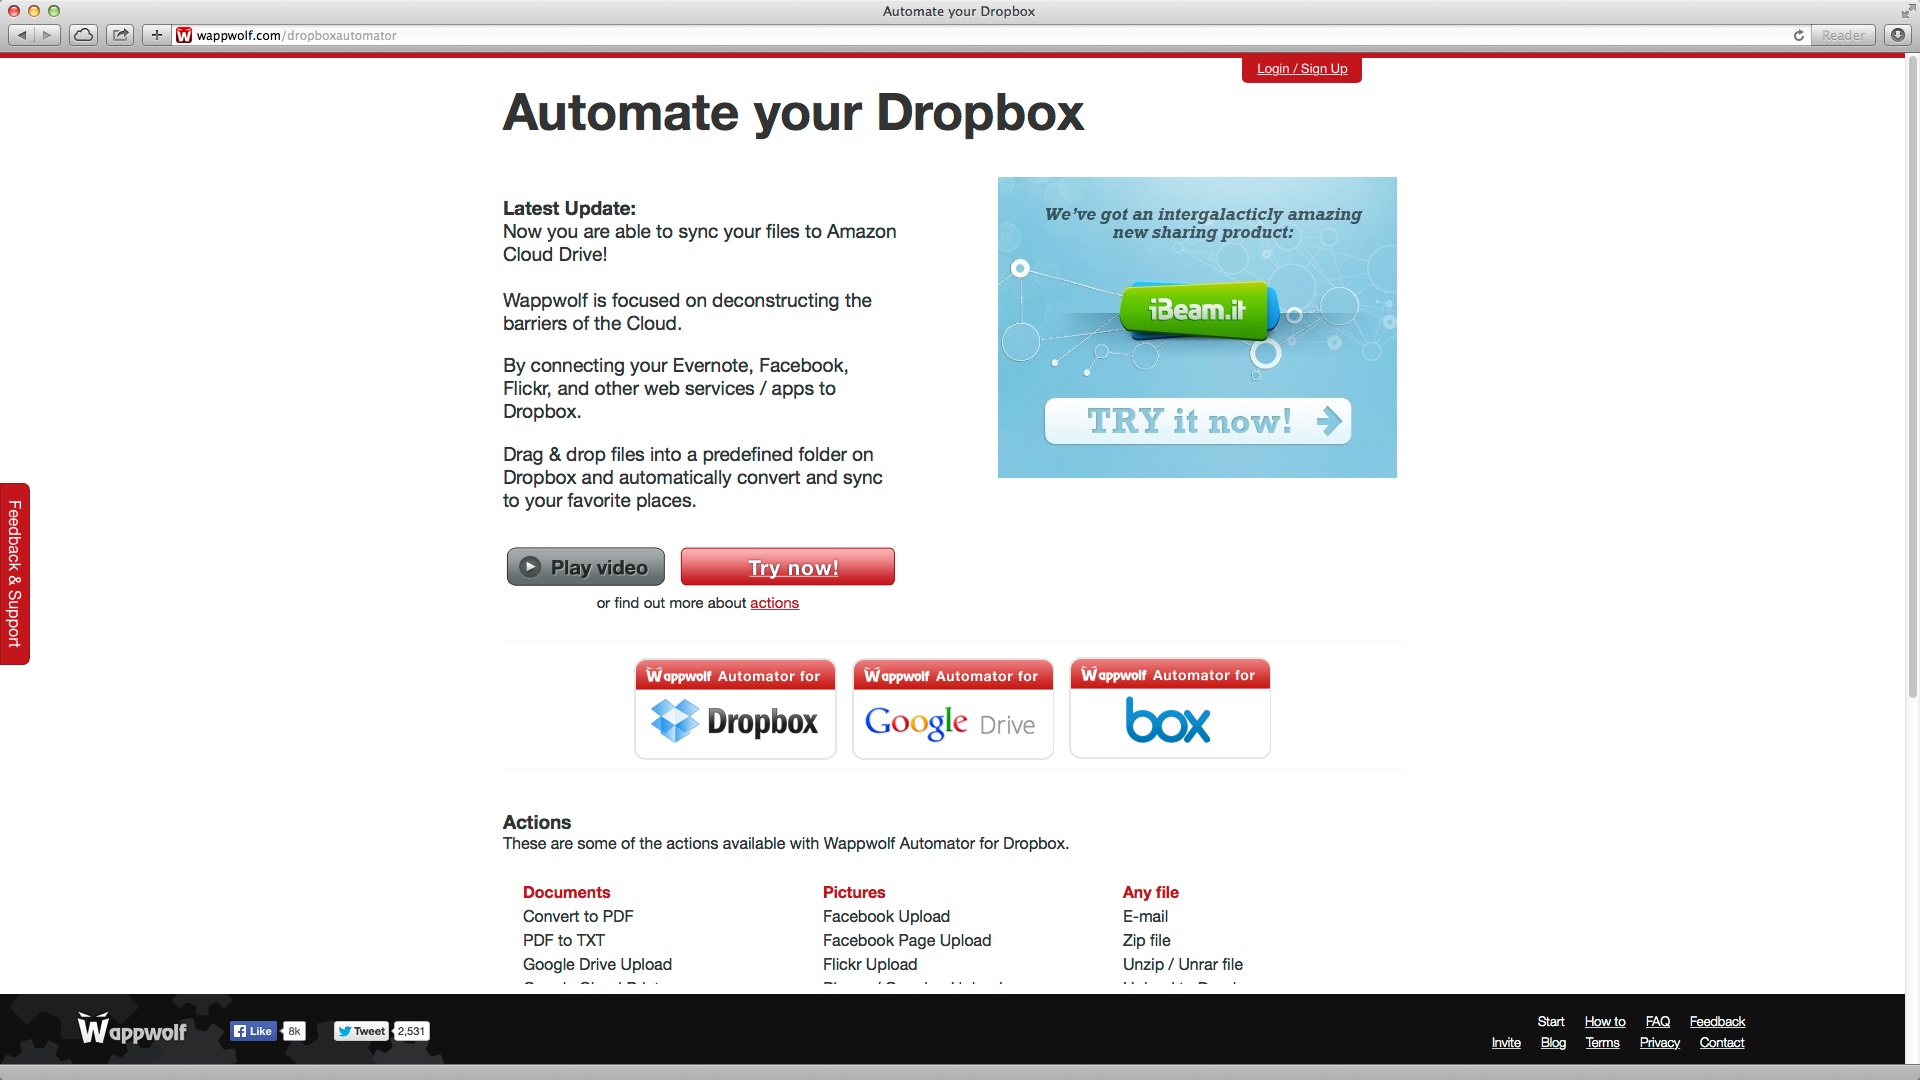
Therefore I wondered if there was any way to automate Dropbox to do other tasks? For example posting to Social Media. A quick web search supplied me with what I was looking for: Wappwolf.
Wappwolf can apply certain rules to a Dropbox folder. There are many options but the ones I was more interested in were automated uploads to services such as Facebook, Flickr and Google +.
Wappwolf is also compatible with other cloud services like Box and Google Drive, so it is not restricted to Dropbox alone.
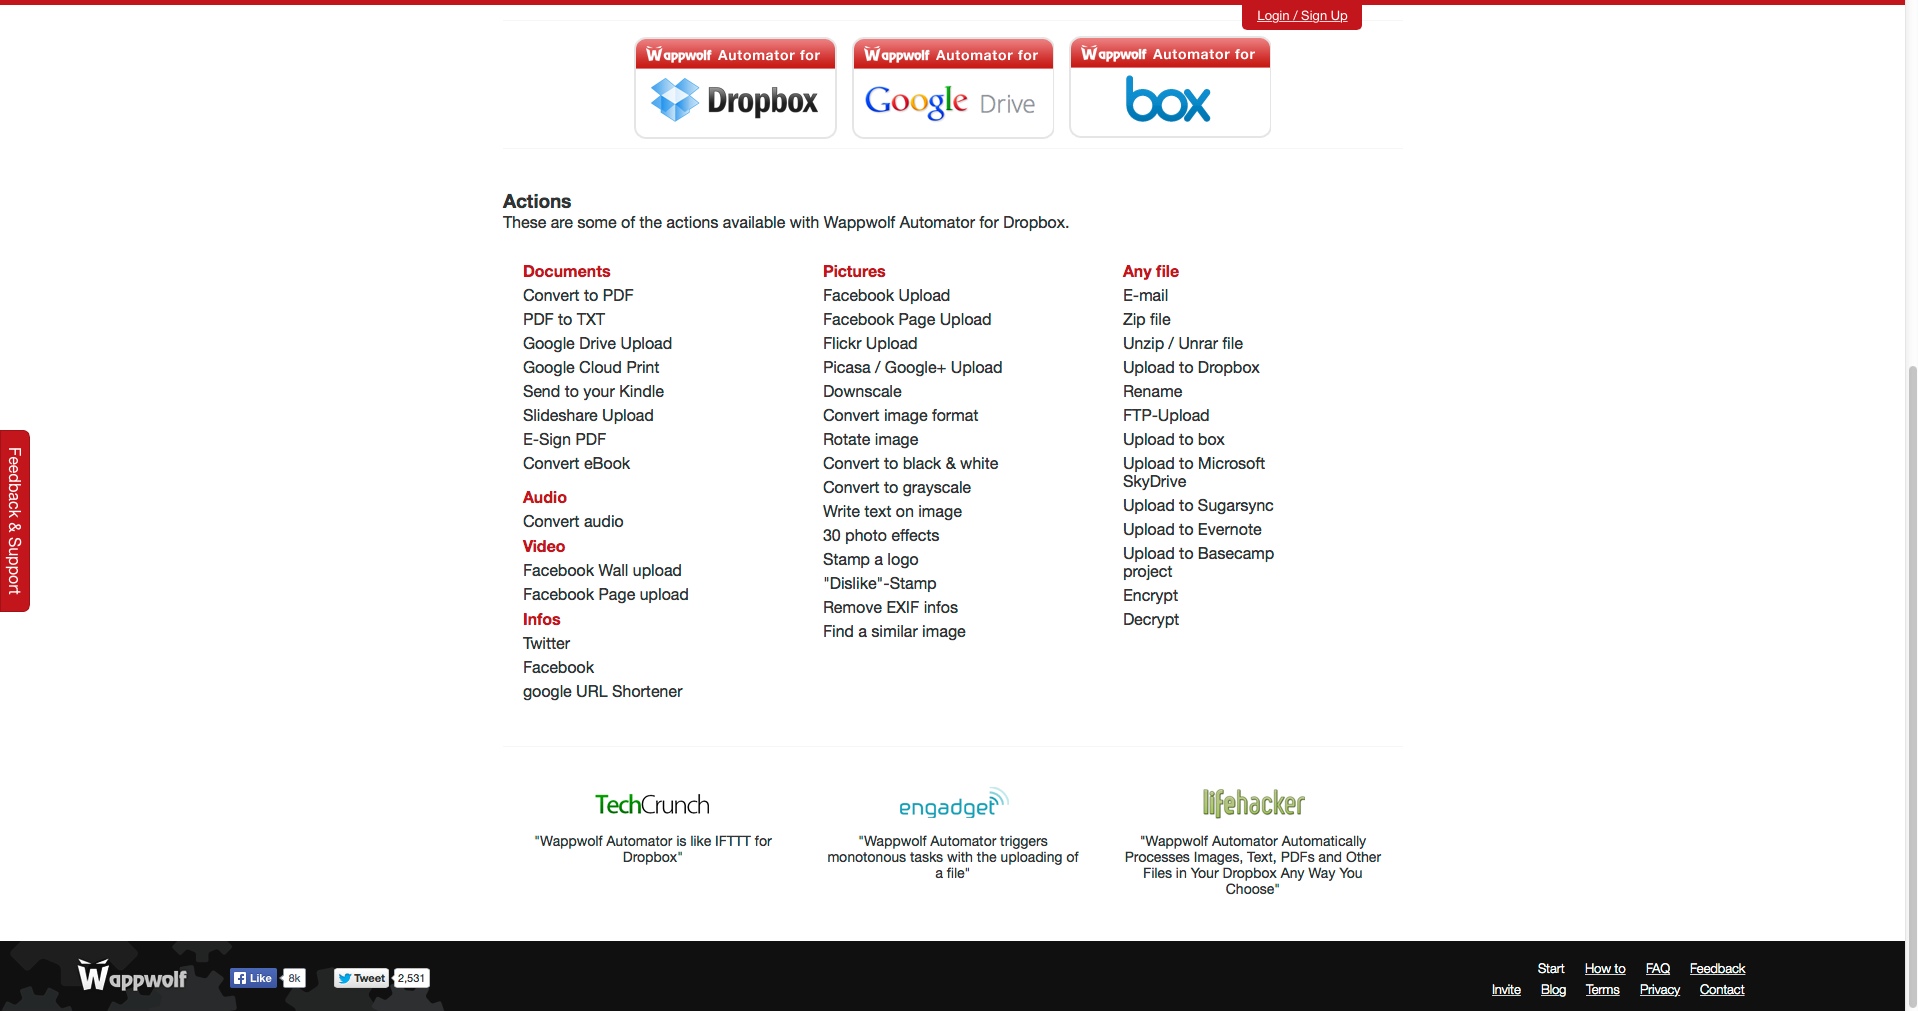
Here are the actions that can be added to a Dropbox folder:
 Click on images to enlarge
As you can see there are quite a few options, but I’ll create a simple one that could upload an image immediately to Facebook or Flickr.
First of all, let’s handle Capture One Pro 8 and build a Process Recipe to upload an image directly to a Folder on Dropbox and at a suitable size for Facebook. Facebook recommends images to be either 720, 960 or 2048 pixels across, so it makes sense to pick one of these resolutions to avoid Facebook resampling the image.
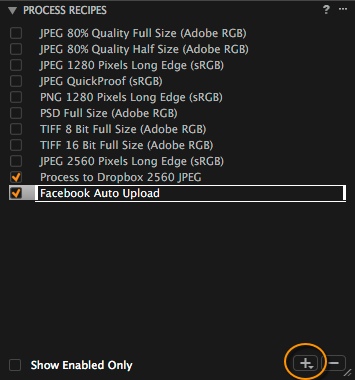
To create a new Process Recipe, click on the + button in the Process Recipe tool and choose a suitable name.
Now in the Process Recipe tool, decide on the parameters for the output. Again Facebook recommends a JPEG file with the sRGB profile.
Facebook will compress JPEG files, so if you want to ensure maximum quality you could consider using PNG files instead. Capture One Pro 8 can process to both.
So let’s build that in with the correct dimensions. Notice the Scale has been set to Width with a length of 2048 pixels. This means Capture One Pro 8 will automatically resize the width of the image to 2048 pixels.
The File tab has a crucial option that will make this process much easier. In the Root Folder drop-down menu, I have set the folder on my Dropbox that I want to automate. So, to clarify, I first made a folder on the Dropbox called Facebook Upload, and then chose that in the Root Folder drop-down menu.

This simply means, that when selecting this Process Recipe, images will always be saved directly into this folder.
You could explore further options in the other tabs if you wish, like adding a watermark to your image, like your copyright information or company logo.
Test the recipe by selecting an image and choosing File>Process, and make sure the image goes to the Dropbox folder.
Next we need to automate the process. Browse to wappwolf.com and Login/Sign up.
You will be taken through the process to connect Wappwolf to your Dropbox.
Once Wappwolf and Dropbox are connected, you simply go through a process of choosing a folder on your Dropbox and what you want to happen when a file arrives there. You can see below the folder Facebook upload.
After selecting that folder, you can then decide on the automated process. You will need to connect to other services (i.e Flickr, Facebook, Google + etc) to be able to continue.
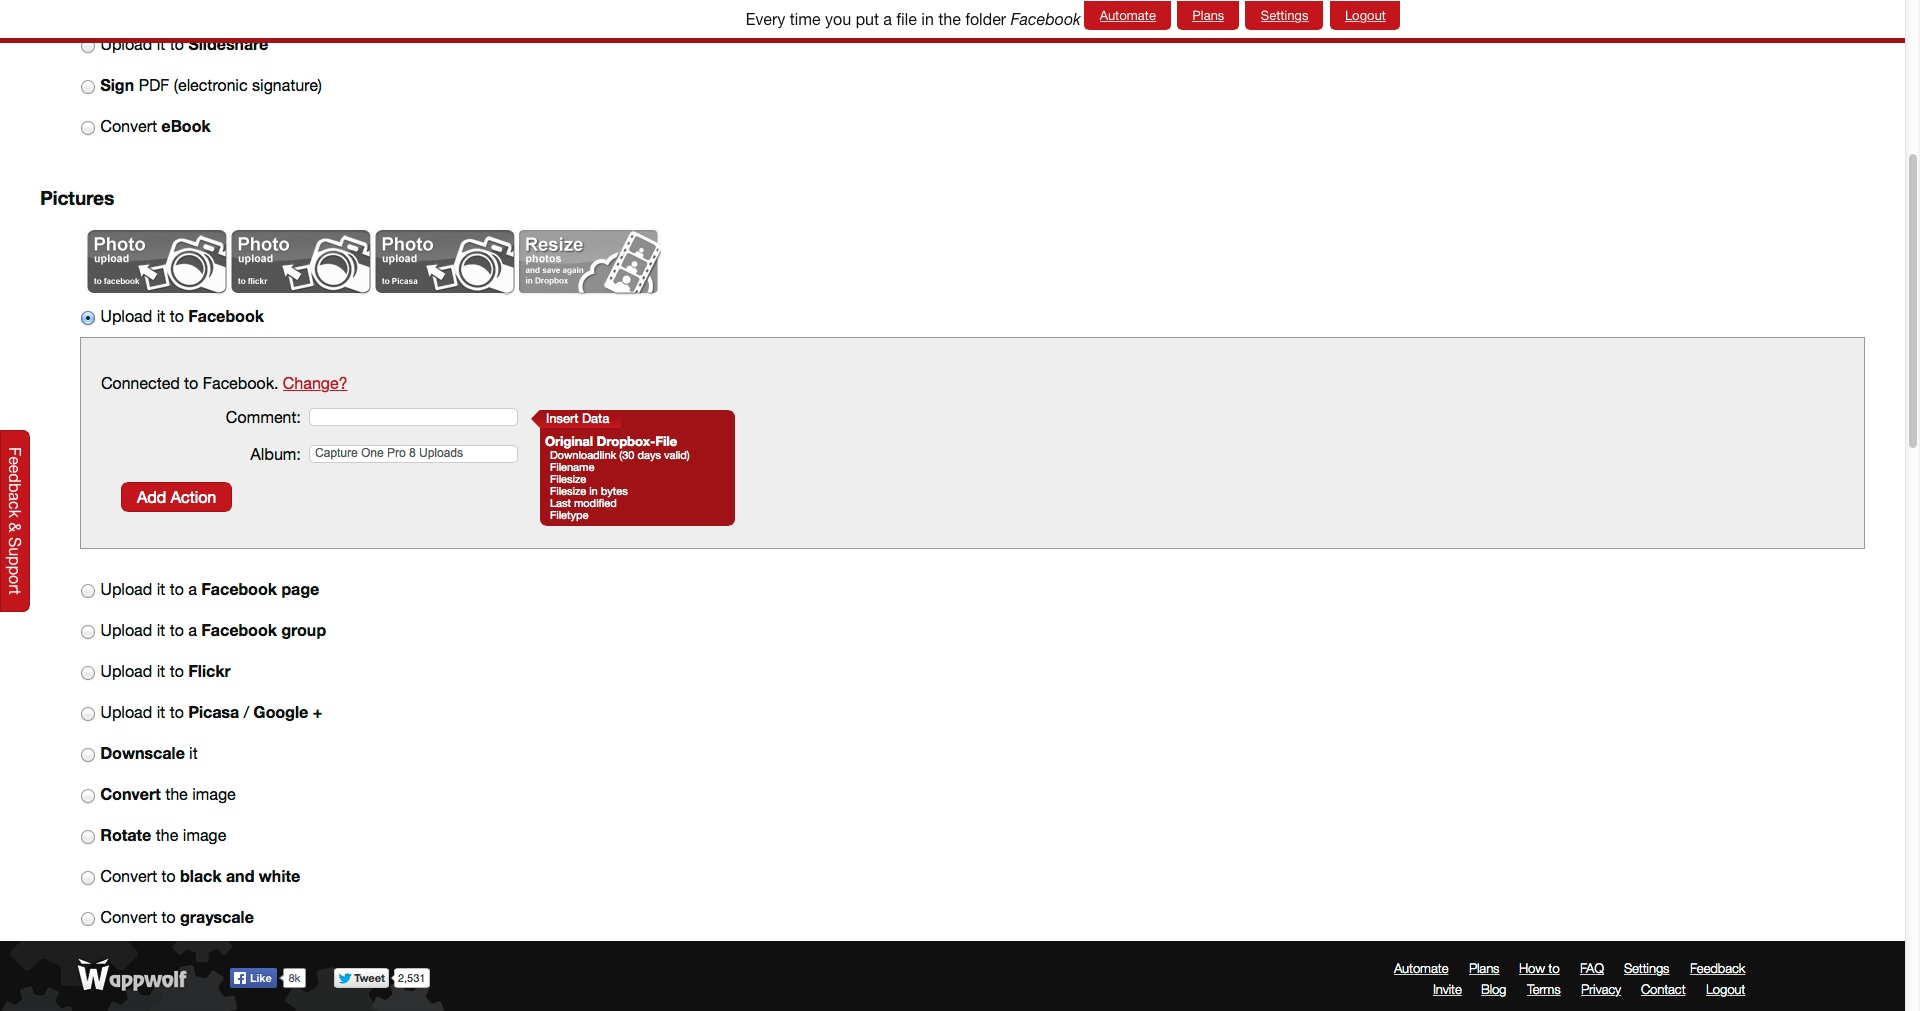
For my automated process, I can also make a new Album and apply some rules to a comment if necessary.
Once the automation has been set, you will see a summary of it and any other automations you have created.
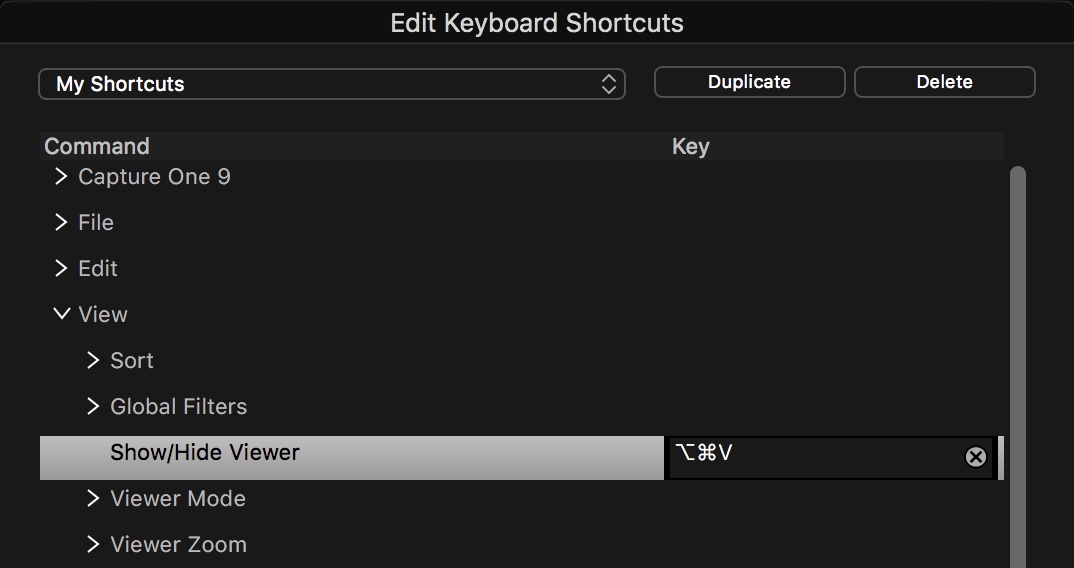
Now to upload an image to Facebook, all I have to do is select one or more of them in Capture One Pro 8, choose the Facebook Auto Upload Process Recipe and process out! Don’t forget CMD-D or CTRL-D is a handy shortcut for that.
Here is an example:
It could be very useful to have automated features like this in the cloud. If you know of any more, please comment! It would be extremely easy to setup different Process Recipes for other automated actions.
Best regards,
David


Thanks for sharing David. Will definitely give it a try.
Is it possible to use Google Drive in the same capacity as Dropbox is used to upload photographs directly to Facebook?
Looks that way!
http://wappwolf.com/gdriveautomator
A number of us have moved from Flickr to Ipernity (www.ipernity.com). I’m assuming an automated feature for this service would be easy to add?
Thanks in advance.
Hi Alveric,
In this case it would depend entirely on what Wappwolf are willing to offer!
David
Oh, if only process recipes could launch at the end of a batch an external application with Output Folder as a parameter… That would speed up publishing into web galleries, Facebook, 500px, Flickr, and so on.
Can you expand on what you mean exactly?
Hi David,
sure, I can explain. 🙂
I have a session, with an Output Folder, let’s call it E:\session\example\finals. When I finish developing my shots, I select them in the Browser, and click the «Process all selected variants» icon.
Now, in the Output tab, in the Process Recipe section, I have the option to «Open With» the processed image, where I can choose an application. And it works by opening the images one by one as they are done processing.
What I propose is, for example, adding a new dropdown — and since image is worth a thousand words, I’ve created a mockup (hopefully attached to this comment). 🙂
With the proposed options I could choose if I want to open the processed file (as it is now), or if the parameter to external application should be one of: Output Folder — full path, All processed files — that is calling the external application with paths to all processed images, Listing file — temporary text file with full paths to processed files one by one. Of course the three new options could be only called at the end of the processing.
I hope this clarifies my hopes. 😀
Take care and all the best in 2015!
Marcin
Ok – I think I understand! Do you mean a simple “Reveal in Finder or Windows Explorer” command?
Something like this too. 🙂 But rather used for uploading to external services and/or further processing with external scripts.
I know that OSX version of Capture One has scripting capabilities, so maybe what I want is possible there… but since I don’t own a Mac, I don’t know anything about it. 🙂 Lightroom has post–process actions/Export actions. And the options we talk about here can be used to create something like this in CO8.
This would be extremely useful. With Lightroom, I could choose ‘After Export: Show in Explorer’ and immediately after the files were processed, a Windows Explorer window would open shewing them files in their output location.
With C1P I have to manually dig the ‘explorer.exe’ file as Windows Explorer is not an option for the Open With field. Even then, the files do NOT open in Windows Explorer a la LR, but in Windows Picture Viewer instead!! What gives?
Understood.
In case its useful there are reveal in finder buttons here, for example..
David
Oh, yeah, I use those all the time. It’s just that it’d be nice if C1P opened the Explorer window automatically immediately after processing, in the same wise that, say Photoshop, is launched and the processed files opened in it when you choose it as the option in Open With.