Capture One Pro has long been the industry standard for fast and reliable capture directly from your camera to your computer. Simply plug your compatible camera into Capture One Pro and begin capturing tethered immediately.
In this article, Capture One’s very own Image Quality Professor takes us through the main benefits of shooting tethered into Capture One Pro and shares his advice and best practices for a reliable shooting experience.
The benefits of shooting tethered in Capture One Pro
Tethered shooting is a key part of many professional photographers’ workflow. Here are a few of the reasons why so many use Capture One Pro for their tethered shoots:
- Instant capture with plug and play connection
- Live View directly in Capture One Pro with remote focus control
- Remote camera control with Mode, Capture Format, Aperture, Shutter, ISO, Exposure Compensation, Flash Mode and Metering functionality (where compatible)
- Overlays in both live view and final capture
- Composition mode to save storage when setting up for the shoot
- Collaborations tools for allowing remote viewing of the shoot
For some of the newest DSLRs you can even shoot tethered over Wi-Fi avoiding cables to your camera, getting freedom to move around.
Learn more about Wi-Fi tethering to Capture One
Good Practice for USB tethered capture
A simple connection from the camera to your computer is all you need to get up and running for a tethered session. That being said, to be sure that your connection is reliable and won’t give you trouble in the middle of your shoot, it is worthwhile to invest in a good quality USB cable.
The maximum length of a USB cable is normally limited to 5 meters (approx 15 feet) to obtain good transfer speeds and reliability. However, sometimes computer equipment may not be able to sustain a reliable connection even at that distance. Therefore, you should experiment to find the limits of your own system. In many cases, dropping down to 3.0 m (approx. 10 feet) cable lengths can solve connection issues.
If you experience this issue, add a powered USB hub or even an active extension cable. Good quality cables are available from many retailers. If you are unsure of which cable to use, you can check out Tether Tools’ compatibility guide for USB cables.
If the connection to the camera is not very secure, think about ensuring that the cable is secured in some other way to the laptop and camera. A tethering guard (like the JerkStopper Camera Support) is ideal for ensuring that the cable stays in and protects your camera from any stress or strain.
Wireless tethering
Wireless (Wi-Fi) tethering forgoes the USB connection cable, so if you have a supported Wi-Fi-enabled Canon or Sony camera, it’s a highly convenient solution. Transfer times vary according to your particular set-up, but if your computer and camera are both using Wi-Fi then speeds can dip, especially with large RAW files. Connecting the computer to the wireless router by a network cable instead and positioning the router closer to the camera can make quite a difference. If there aren’t any obstructions between the camera and router altering the frequency to 5 GHz, if your camera supports it, is another way of improving performance.
When on location, and away from mains power, a small battery-powered travel router can be used with impressive results . As I mentioned previously, connecting directly with a cable improves performance and using a USB-C cable will help keep the battery charged.
Setting up Capture One Pro
Before starting your tethered shooting session, check the Capture tab in the Capture One Pro Preferences and make sure your camera brand is the only option selected.
Capture One Pro uses the respective manufacturers’ SDK (Software Development Kit) to enable the tethered capture functionality. The different SDKs can interfere with each other; therefore, it is best to deselect the others and enable only the one you’ll be using.
Storage Options
We can often capture a lot of images when we work tethered, so make sure you have plenty of space on your hard drive to cope with the data. An SSD or a high RPM hard drive will help with speeding up the time from capture to the image being displayed on screen.
Captures can be shot directly into a Catalog or a Session. It is up to you what method you want to choose but most of our users choose to use a Session to work tethered. To find out more about Catalogs and Sessions, read some of my earlier tips:
Take control of your image organization with Sessions or Catalogs
Begin your tethered capture
After connecting your camera and deciding on which method of file management to choose, it is then a simple matter of looking at the tools in the Capture tool tab.

This tool tab contains all the necessary tools to control your camera, set file naming, and control how image adjustments are handled.
Learn how to improve your tethered workflow here
Use Composition Mode to save storage when setting up
Sometimes when you are setting up the shot, you are capturing many images you don’t necessarily want to keep. Therefore, you can enable Composition Mode, which only keeps the last capture stored on disc. You can enable it in the Camera menu or you can add the Composition Mode control to you tool bar for easier access.
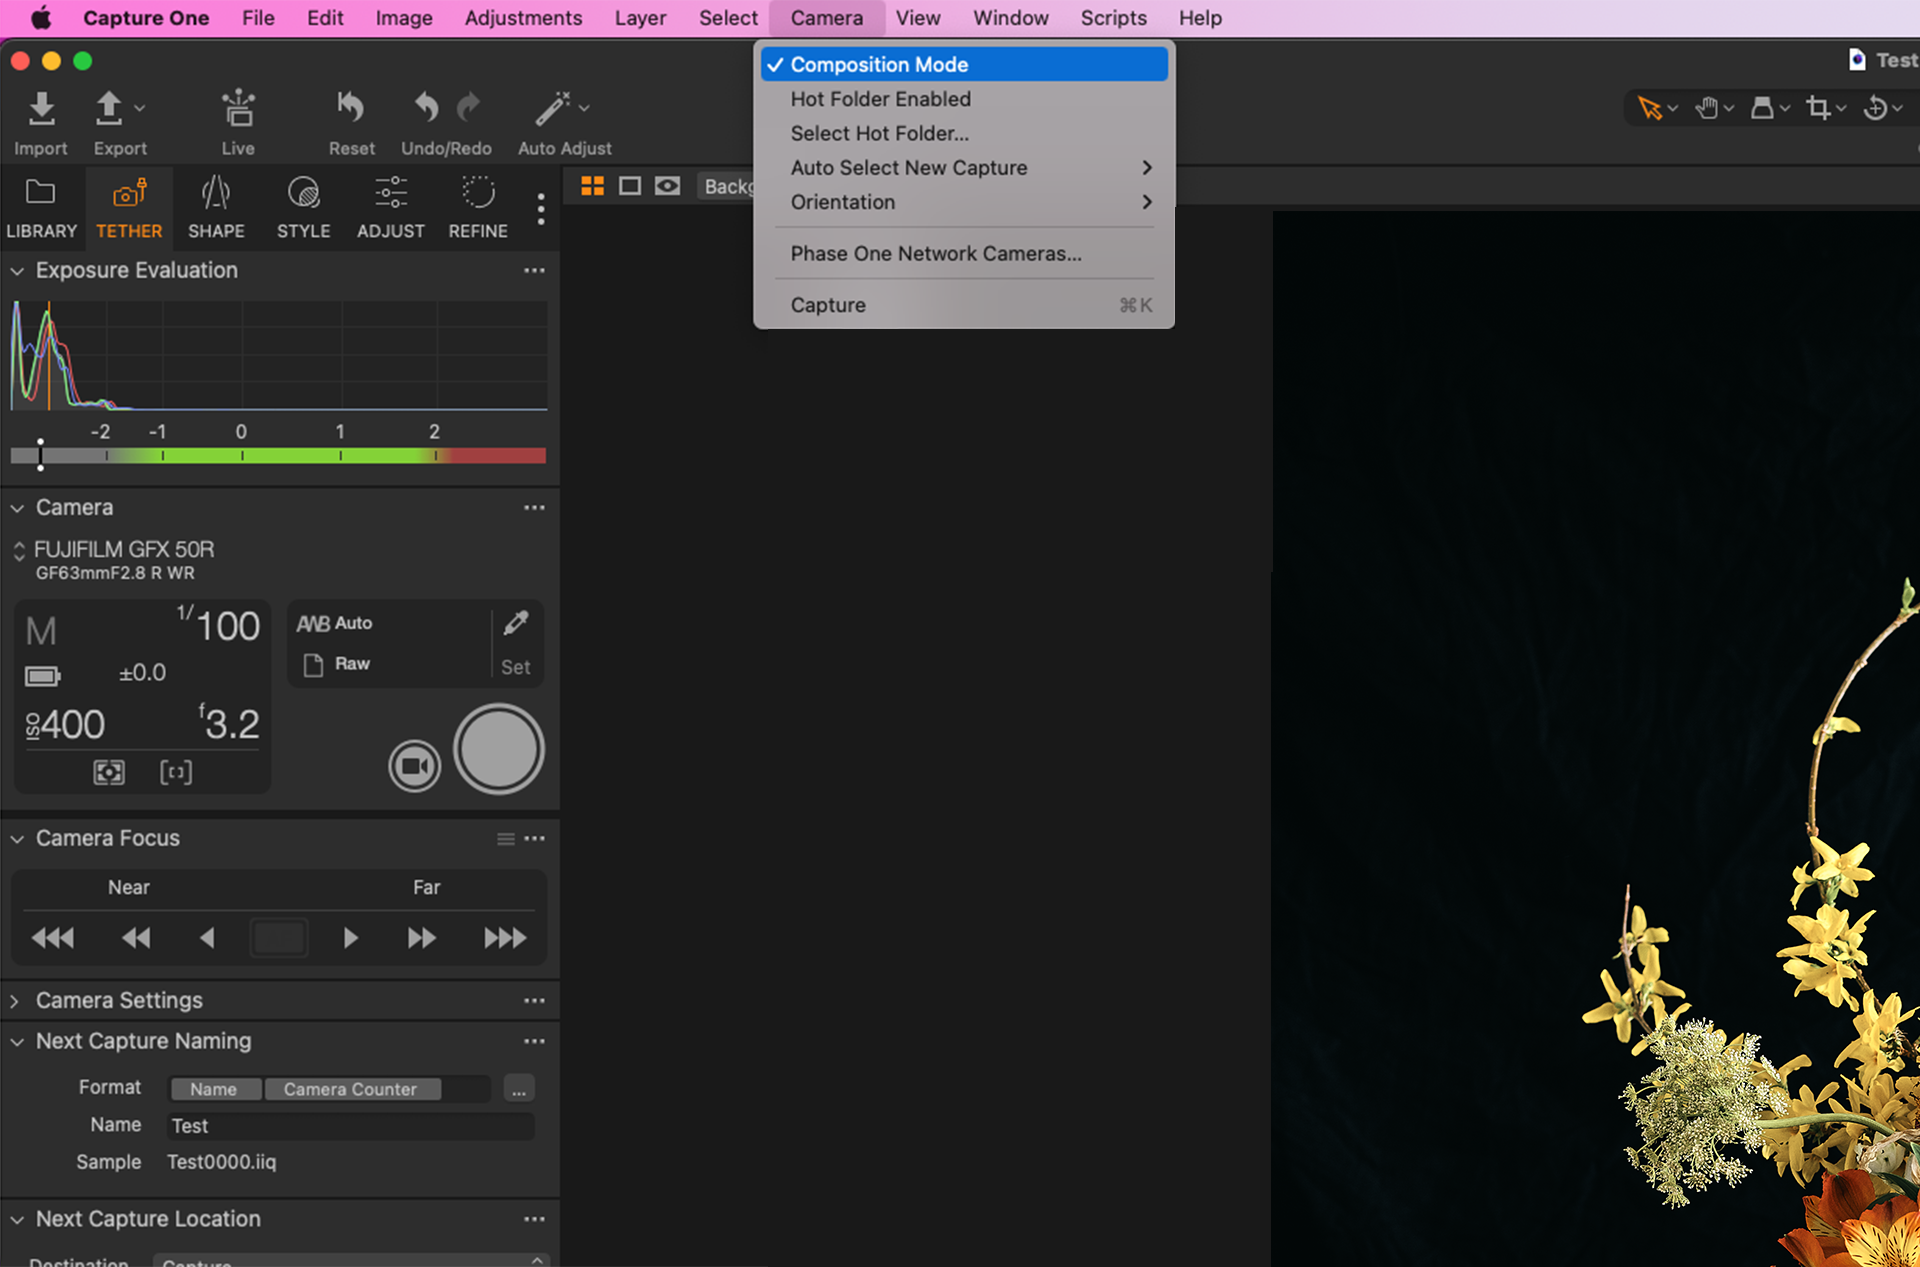
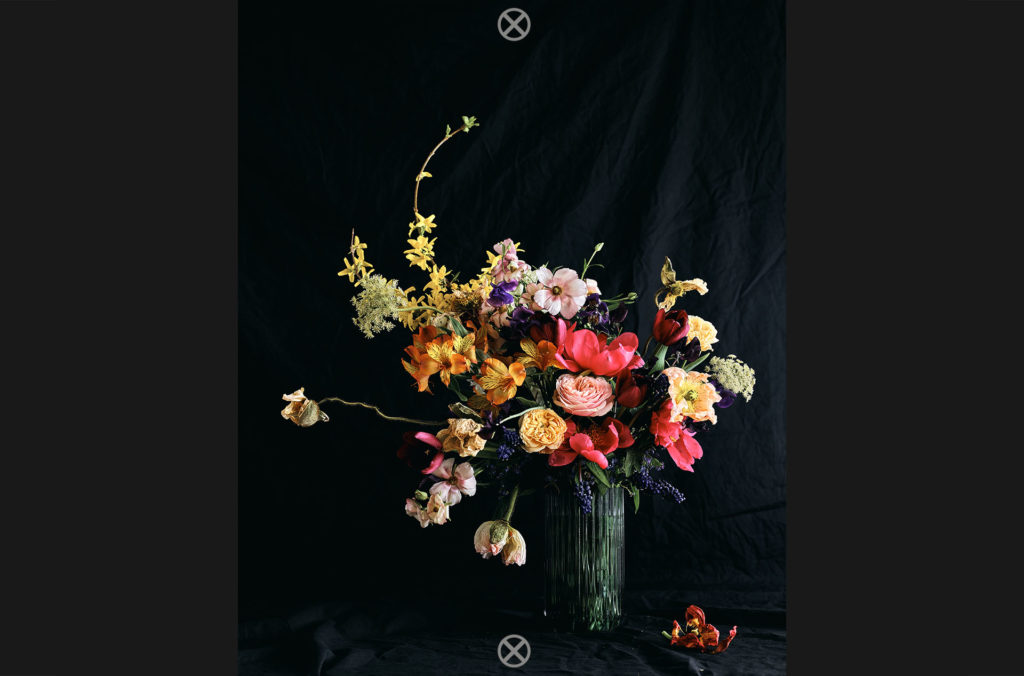
Warning signs are overlaid in the Viewer to make sure you are aware that Composition Mode is activated. Find the composition mode control in the toolbar.
Control your camera remotely and get Live View
One of the strengths of working with Capture One Pro and a tethered camera is Live View and remote focus control. It is a huge compositional aid to be able to have a high quality live image as you are used to on the camera’s LCD screen, shown in Capture One Pro. Start Live View by clicking on this icon in the Camera Tool.
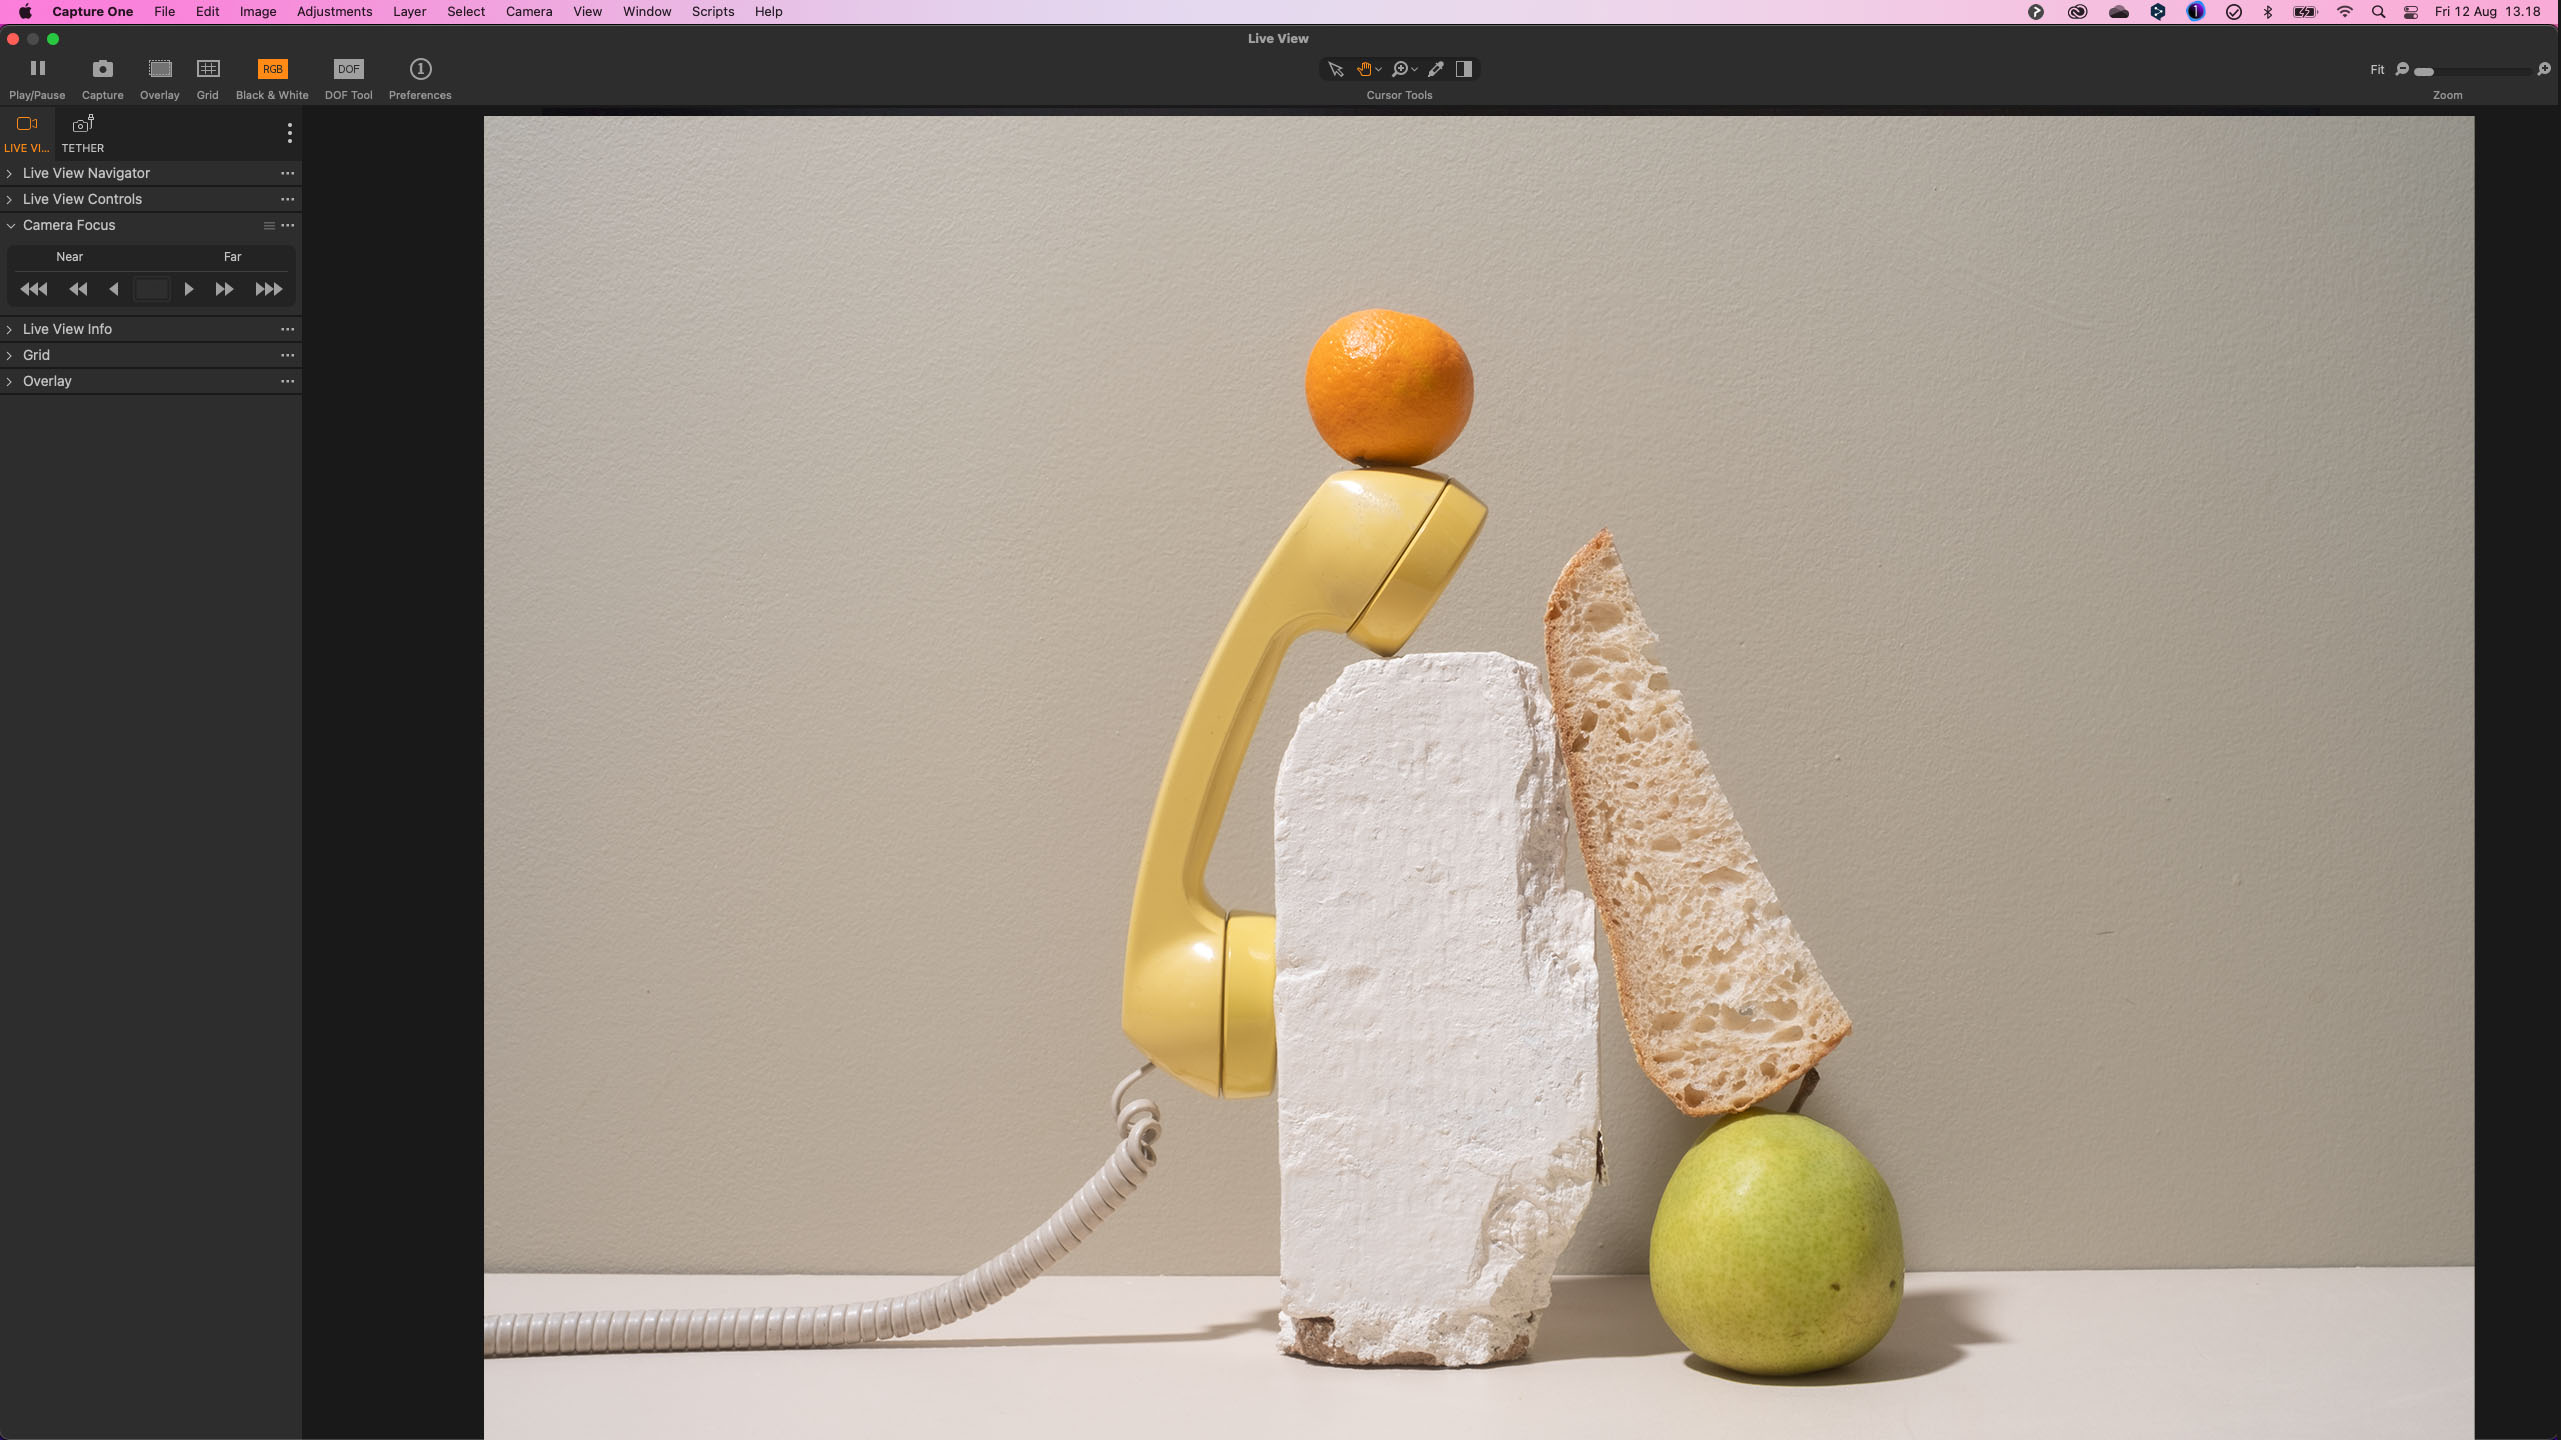
Use the controls in the Live View window to focus the camera accurately and aid your composition.
Compose your images accurately with the Overlay function
Another compositional aid is the overlay function. This is available directly in the Viewer and also in Live View. It allows you to super impose any image over the top of your current image. This could be a layout to fit a magazine cover, for example, or to help in capturing a series of similar images.
Extended collaboration with Capture One Live
With the introduction of Capture One Live, you can now easily collaborate with people on and off set.
Shooting fashion week in Milan for a client in Tokyo? Or maybe your art director couldn’t make it to the set at the last minute? Too many people crowding the workspace in the studio? Capture One Live makes collaboration – both in real-time and post-shoot – faster and easier as it allows people working on or off the set to view and rate images as the shoot takes place.
By sharing a link from Capture One Live with clients and teams anywhere in the world, they can view, comment, rate, and color tag photos directly on any device immediately or on the timeline you set with longer post-shoot collaboration.
Find out how to use Capture One Live here.
RELATED: 8 reasons to use Capture One Live on your next shoot
More collaboration and remote shooting using Capture Pilot
Capture Pilot for iOS and web-enabled devices is another alternative for people looking for better ways of collaborating on a production. Capture Pilot allows additional people working on the set to view and rate images as the shoot takes place. Photographers can also use Capture Pilot as a remote capture device enabling control of the basic camera parameters.
Like Capture One Live you can use Capture Pilot to keep clients away from your main capture station or as an extra preview for yourself and your subject. All you need is for your iOS device and Capture station to be on the same network. If you don’t have access to an apple device then any web-enabled device can work with Capture Pilot, but with less functionality.
I hope this summary has inspired you to try our feature-packed tethered capture solution. Find the full list of compatible cameras for tethered capture here.
All the best,
Niels

The Image Quality Professor
The digital pioneer, Niels V. Knudsen, is Phase One’s Image Quality Professor and founder of the IQP blog. Moreover, he is responsible for breakthrough advancements in image quality both in Phase One’s medium format camera systems and in Capture One Pro.


Where is the recent webinar, on this. Have a link sent to me. Unable to find it through this link.
Also the recent webinar on sessions, missed the first part. So would love to see it again to catch up..
Hi Allan,
The webinars page is updated continously, and it usually takes some time after a webinar is done, until the video is converted, uploaded and then added to the website. We are working on improving the workflow.
Hi Niels,
I’m considering to buy a new laptop (Retina or last non Retina model) and was wondering what are your feedback with Macbook Pro Retina?
I remember a discussion with you Niels last year for launching CO 7 in Paris, you was prefering a non Retina Macbook Pro, arguying that the Retina display will need more power due to the increase of definition.
Did you made some tests beetween Retina and non Retina macbook pro and how is the situation today?
Thanks a lot in advance
Olivier
Hi Olivier,
Thanks for your question. There is not a simple answer though.
The old non Retina Macs has some advantages over the new Retina Macs like:
– Build in FireWire port. If you work tethered with a Phase One back
you can even supply power for the back via the FireWire port. If you
use external FireWire discs they will also be powered directly through
the FireWire port.
– Can be configured with discs and RAM of your choice
– Can be configured with the non glossy screen
– Screen resolution absolutely OK without the need to process 4 times more pixels. With the non Retina Macs the best
speed optimizer is to get it with the fast Solid State Disc drive.
The Retina Mac:
– The Retina display is generally a better display than the non retina
displays and they are not very sensitive to the viewing angle.
– The Retina Macs typically come with a more powerful GPU especially the
latest one. If you process lots of files from your laptop then the extra GPU power
will give you a benefit as Capture One can process files using the GPU.
The downside is the screen resolution, which for most photographic task
only give you slower update rates as it needs to process 4 times more
pixel for the monitor. With the latest GPU version on the Retina Macs
this extra GPU speed will probably make up for the extra pixels needed.
If you need FireWire you will need an adaptor and you can not supply
power for the camera back via the adaptor.
As you can not upgrade the Retina Macs you need to buy it with the
right amount of RAM and the right disc size. If you work with large
files from digital backs I will make sure to get 16G RAM.
Today the Retina Macs comes only with the fast Solid State Discs drives,
which makes many task in capture one run faster.
All the best,
Niels
Can you tell me if these bogs are all archived, and is there an index, or is my only option to use the previous and next blog button to access the blogs?
There is not an index per se, but you can use the search option in the top right hand corner.
I wondered if you could help, I am having problems with file naming.
Sometimes when I shoot tethered I like to untether my camera and run around and shoot some images to the card in my camera. However when I download the images from the card to my laptop at the end of the day, it’s hard for me to sort the images into the right order. As quite frequently I travel and camera and laptop are on different times, so to sort by ‘time of capture’ will not sort the images into the order in which they were shot during the day, they will be all jumbled up.
I was wondering if there was any way to set up the tethered capture to name the files the same as what the camera would name them if the images were being written to a CF card, instead of on to the laptop. I thought the naming option in CP1- ‘camera counter’ would be the naming that I wanted, but it just seems to be a four digit number and not the number the camera would natively name a file. Which would make sorting my files into chronological order for the day very easy after my tethered and CF Card images were combined.
Any help would be much a appreciated
Thanks
Daniel
Hi Daniel,
Unfortunately the option in C1 to use “Camera counter” in a tethered workflow only works for Phase One backs. If a Canon or Nikon is tethered to Capture One there is no way of asking the camera of the current capture counter. We recognized the need for being able to shoot both tethered and un-tethered in the same session as you described and therefore we implemented the option of getting the camera counter from the camera back.
All the best,
Niels
I often have some problem with tethered shooting with Capture Pilot – I use Nikon D 7100 and half of the time I loose the connection. Do you think it could be the usb cable and Can you recommend an usb cable better than the original cables
Thanks in advance and greetings from Copenhagen – Frank
Hi Frank,
Lots of things to consider with USB!
– Is it the right length? No more than 3m
– Is your USB port carrying enough power? For example on my MacBook Pro I can only tether from one port
– Consider using a USB powered hub
Its normally one of those things as USB tethering should be very reliable.
David
one photo, tethered, then capture on no longer recognizes the camera
have to reboot?
Hi Gregory,
Its impossible to diagnose your issue without any system information.
Therefore make a support case for the fastest response..
http://www.phaseone.com/en/SupportMain.aspx
David
I had a huge issue shooting with capture one today.
It was my first product shoot and found the need to shoot tethered for the first time.
The images were being imported into capture one directly. Midway through the shoot, capture one crashed. Restarted and continued.
Now I can’t seem to open the catalog. It keeps giving me an error message saying its corrupted. I’m freaking out and don’t know what to do to recover my files. Please help!
Hi David,
Sorry to hear that you had a problem with Capture One today. I cannot say exactly what the problem is without having more details, but if you log a Support ticket our skilled Support team will help you asap:
http://www.phaseone.com/en/SupportMain.aspx
All the best,
Niels
can I have a live preview image full screen?
You could certainly enlarge the Live View window to fill the screen, yes.
Is Eye-Fi supported? I know most of the Pentax (if one) are supported for tethered shots, however, Eye-Fi seems to solve part of this sending the info to the Workstation, so, could be possible to use it as a walkaround for tethering?
Regards and I’m leaning to get a license for CO Pro 8!
I would assume Eye-Fi would work as you could just capture into a hot folder in Capture One, then they would be automatically added.
Hello
I like to test the 8.0 trial version but cant`t shoot with the Nikon D7100 tethered. In the Capture Settings are only Leaf and Mamiya as providers listed.
With other software packages I´ve no problems. I use a iMac with OS 10.9.5.
Do you have a solution for me?
Best Jörg
Hi Jorg,
I am guessing you have started up Capture One in DB version in the trial. Go to the Capture One Menu and choose, “Licence” and revert to the trial. Make sure you start up in Capture One Pro.
Tethering with the D7100 should work fine.
David
Hi David,
yes, it woks!
Thank you very much.
All the best
Jörg
hi,
i have a p45+ back and i recently bought a new i mac.
I also bought the thunderbolt to firewire adapter but the firewire cable that i have doesn’t fit,are there more than one firewire cables?
thank you in advance
Hi Minos,
There is Firewire 400 and 800 which have different plug types.
You can get a Firewire 800 to 400 cable.
David
Hello!
I just have tried to shot tethered today. Very nice feature as I also set up the server for iPad Capture Pilot and let the customer look straight onto the process.
I have a Canon 5dm3 and wonder if there’s the option to store files to the camera memory card as into C1 catalog at the same time?
It’s even very good practice to have a backup in case of any failure with soft/hardware.
Thank you!
Hi Egor,
It is not possible to save images to the memory card at the same time. If you are looking for a backup solution, it is far safer to use a utility like ChronoSync on the capture station.
David
Im really struggling with this, and its the main reason i’m using bridge and the native Canon software more than capture one right now : Is there no way to review my pics on my camera on the fly as i shoot tethered ? if i go to my computer and tell my assistant to let me look at the screen every time i want to see what my work looks like i loose all spontaneity and it becomes a very tedious job getting the right vibe out of my models… how do you deal with this ? thanks in advance
Hi Gautier,
Why not set up an iPad / iPhone next to your camera running capture pilot. Then you have the ability to see instant high res previews on a large screen.
Get Capture Pilot from the app store.
https://itunes.apple.com/gb/app/capture-pilot/id404906435?mt=8
Alternatively, run a second monitor to your capture area.
David
Hello
I am shooting tethered with Nikon D7100 into Desktop, Windows 7, Capture 9. Live preview on my computer monitor is very low resolution, If I zoom in, I just get very pixelated images. Since I am doing some macro work using stand, focusing using monitor is very difficult, I never know if I focused right until I take the picture. Have not found any settings regarding this. Is this normal, or I am missing something?
Hi Milan,
It is possibly a limitation of the camera, but without seeing an example it is hard to comment!
I would get in touch with support and show some examples.
David
Can I shoot Tethered while saving on my SD card at the same time? I use Capture One 11 and have a canon 5Ds.