Welcome to part 2 of Color Grading with Capture One Pro 9! This time, we’ll attack the powerful Color Editor. If you have missed the first part about the Color Balance tool, you don’t necessarily need to read it to understand this article… but I suggest you give it look before continuing. It’s right here waiting for you:
Colorist POV: Color grading in Capture One Pro 9
Color Editor tool
The Color Editor tool is really what impressed me the most when I explored Capture One Pro 9. As a colorist working mainly in advertising, I use secondary adjustments A LOT. The Color Editor tool, in combination with the Local Adjustments, is similar to secondaries. It’s as if they combined the saturation and hue curves with a color keyer. It’s not perfect and not as advanced as a professional video color grading software, but it gives me much more control than the tools currently available in Lightroom.
How it Works
There are three tabs in the Color Editor tool: Basic, Advanced and Skin Tone.
Basic Tab
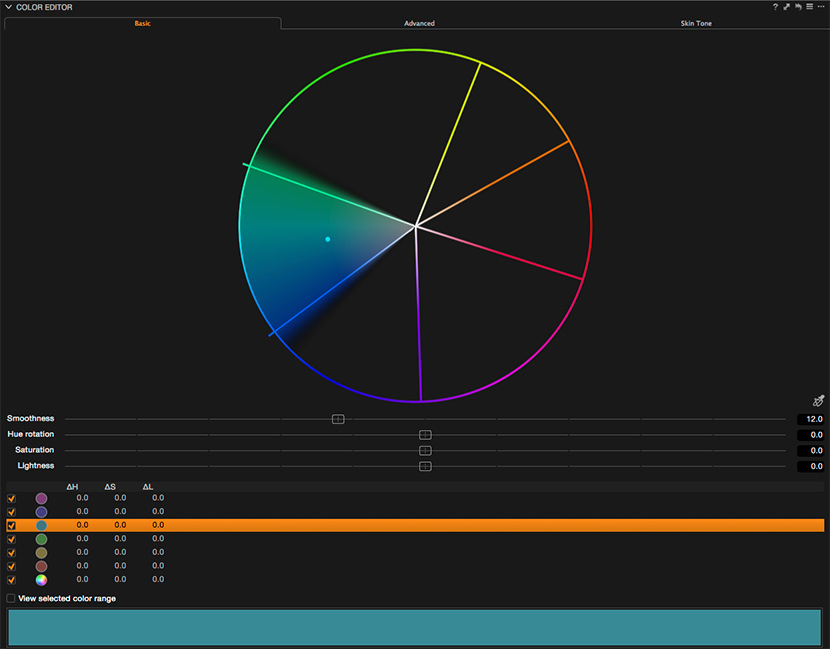
The Basic tab is similar to the HSL tab in Lightroom. It lets you adjust the hue, saturation and lightness of a set of predefined color ranges. Here’s how it looks:
You can either choose a color at the bottom or use the color picker (bottom right of the color wheel) to know which predefined color is closest to your pick. The smoothness slider is truly helpful. It’s pretty much like blurring your color key in case your predefined color creates weird edges after adjusting it. This feature was lacking in Lightroom. But on the other hand, unlike in Lightroom, you cannot drag directly on the image to change a specific parameter.
Advanced Tab
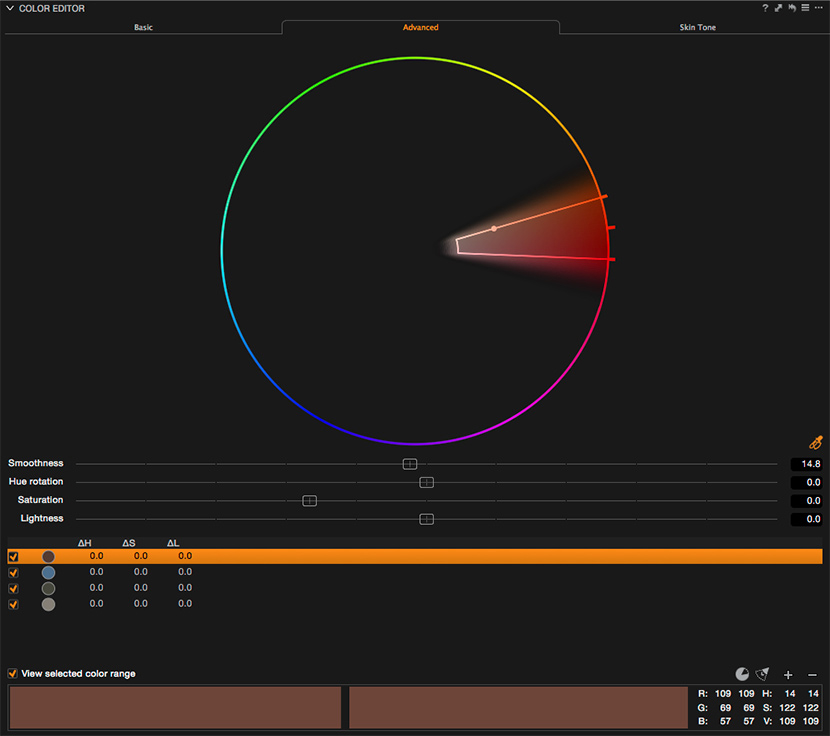
The Advanced tab lets you pick any color you want on your image and has more masking options. It’s a GREAT tool.
In the bottom right corner, you’ll see four new icons that weren’t available in the Basic tab. The first one is by far the most useful. It lets you invert your selection, just like an outside mask in any video color grading software. The second one lets you expand the saturation of your selection (it’s more of a shortcut than a tool). The “+” adds a new selection and you’ve guessed it the “-” deletes a selection. The “View selected color range” checkbox in the bottom left corner displays your current selection just like a “show matte” would do. Now that’s a feature that makes a colorist happy!
Skin Tone Tab
Because I rarely (never) shoot typical fashion portraits, I unfortunately won’t cover this section. I have of course a few portraits of friends I could use to demonstrate the Skin Tone Tab’s features, but I don’t think they’ll let me photograph them anymore if I show close-ups of their skin on my blog! Still, I encourage you to watch David Grover’s excellent video here to witness how the Skin Tone uniformity slider works. For myself, it isn’t very useful because of what I usually shoot, but from a colorist’s standpoint, especially in the advertising domain, it is extremely handy. I even wish that this feature was available in the video world. I often get asked to work on skin tones in commercial, and a neat tool like this would save me a lot of time.
Now, on to the serious stuff:
Precise Selections
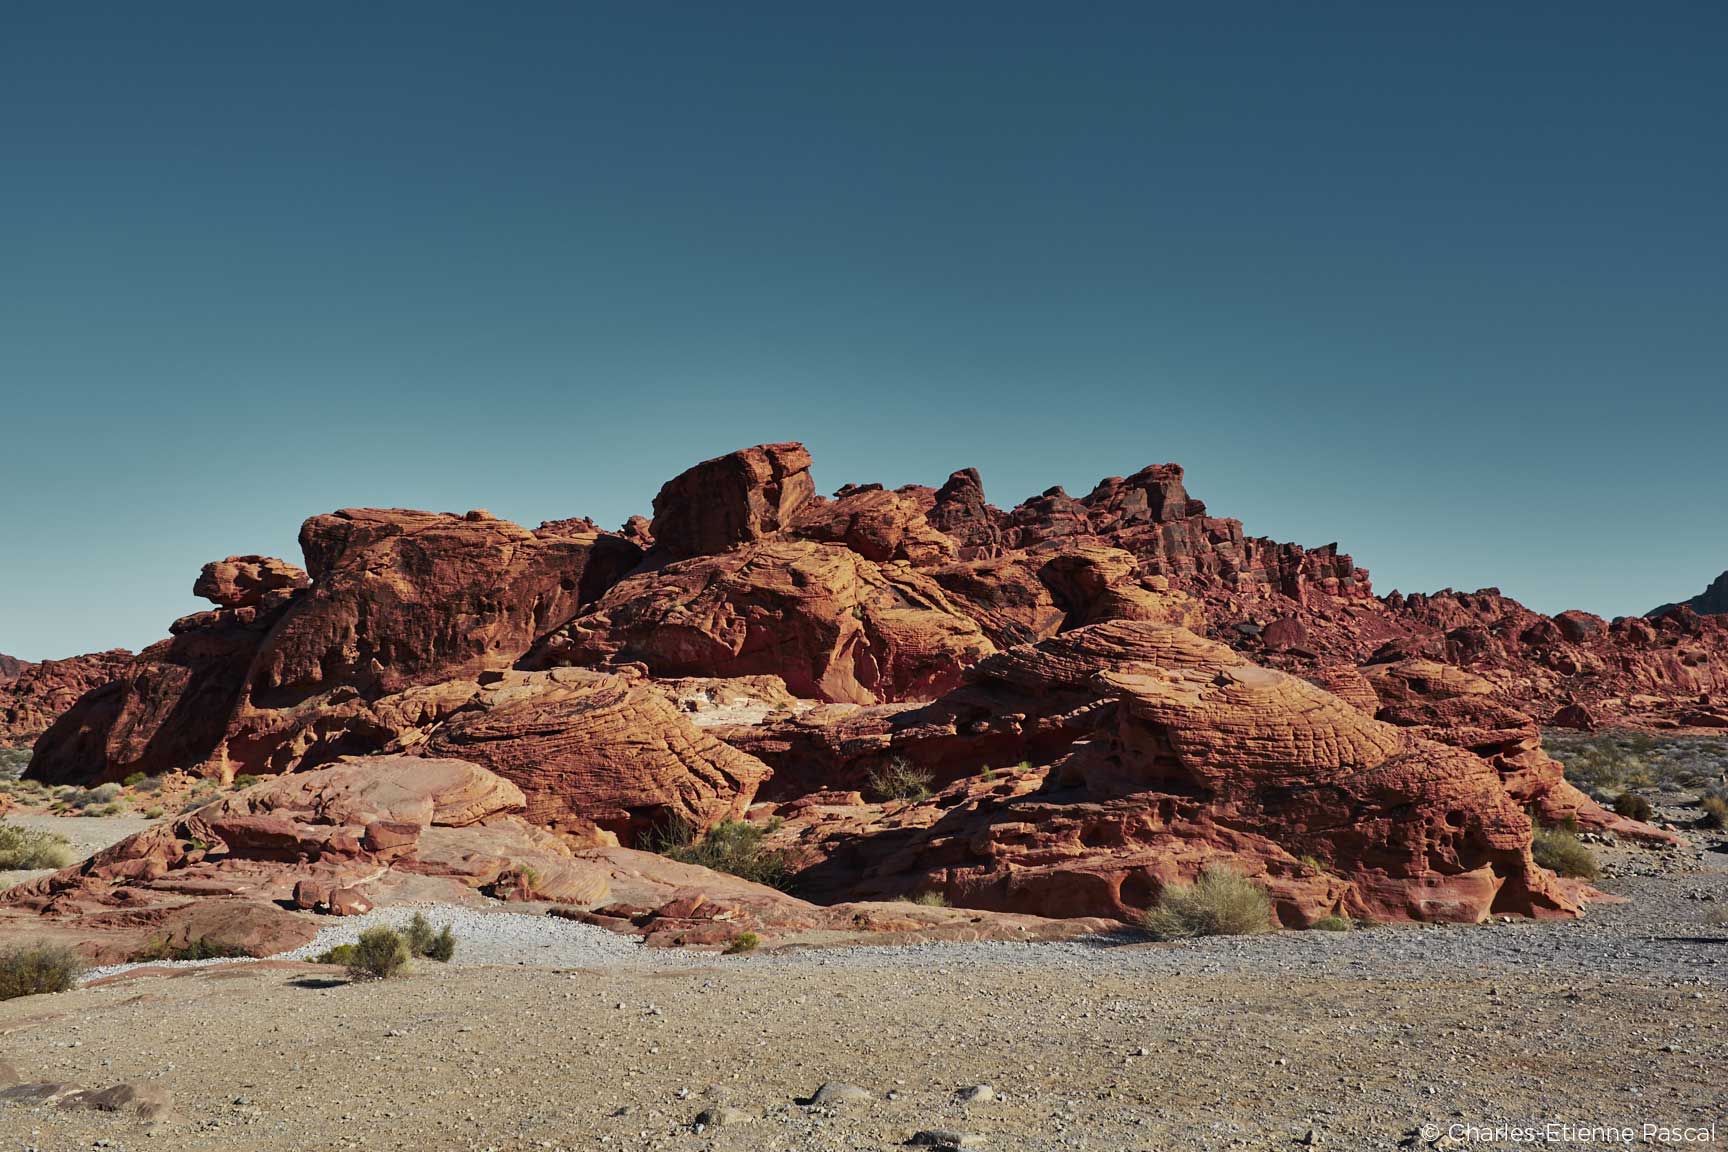
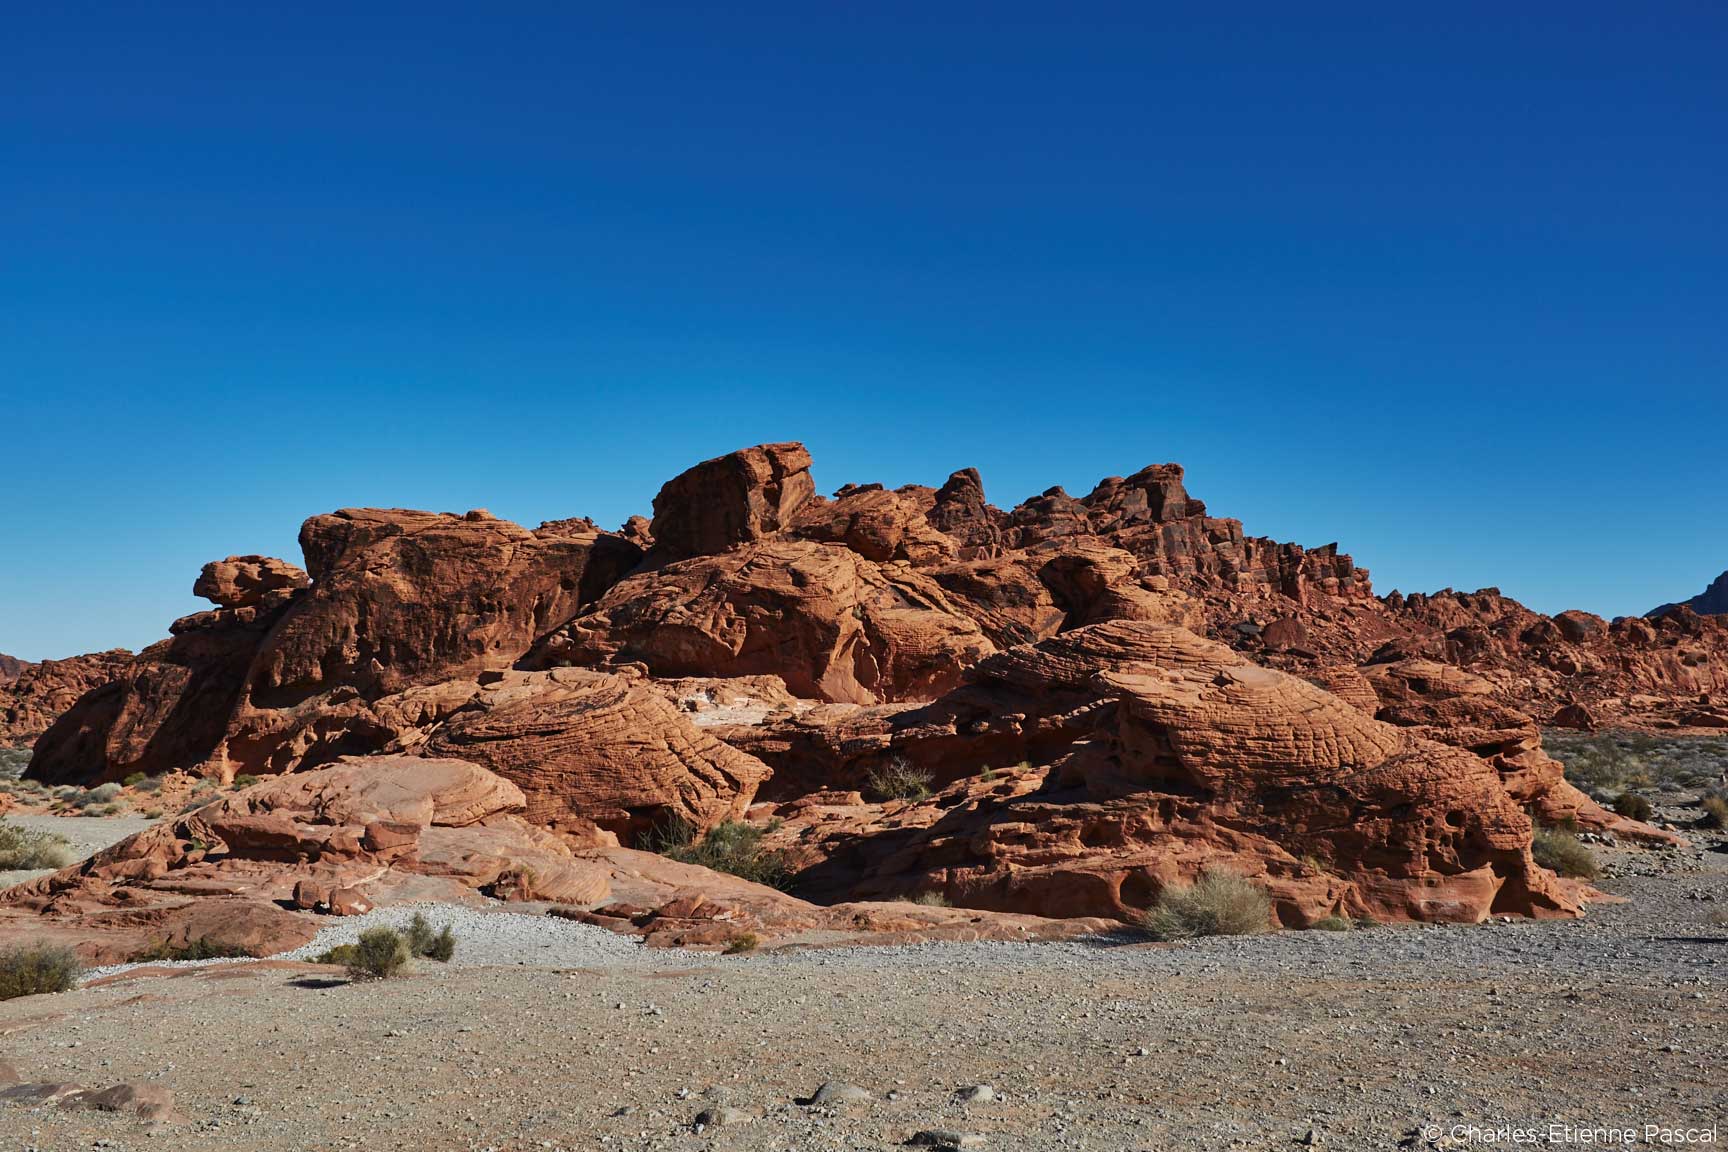
Precision is key when retouching, and Capture One Pro 9 delivers. Here is the image I chose to test precise selections inside Capture One Pro 9:
Shot on a 5D Mark III using a 28mm 1.8 lens in Valley of Fire, Nevada, this image is ideal to demonstrate the potential of the Advanced Color Editor tab. The goal is to select the rocks, sky and bushes.
Using the custom color picker, I will isolate different colors and modify them separately. As you will see, it is possible to make very precise selections in Capture One Pro 9.
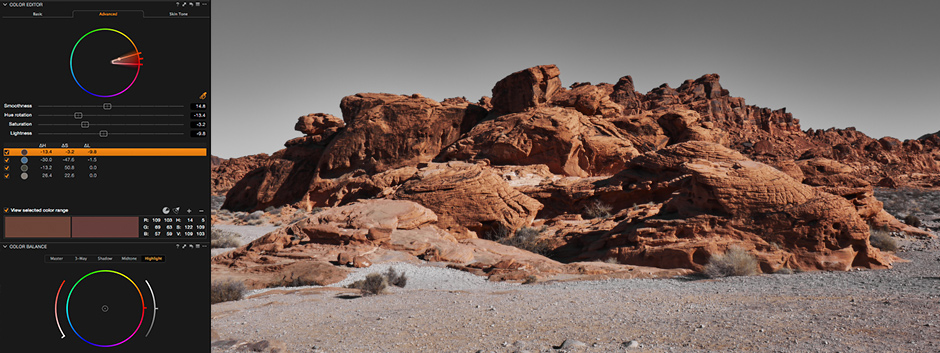
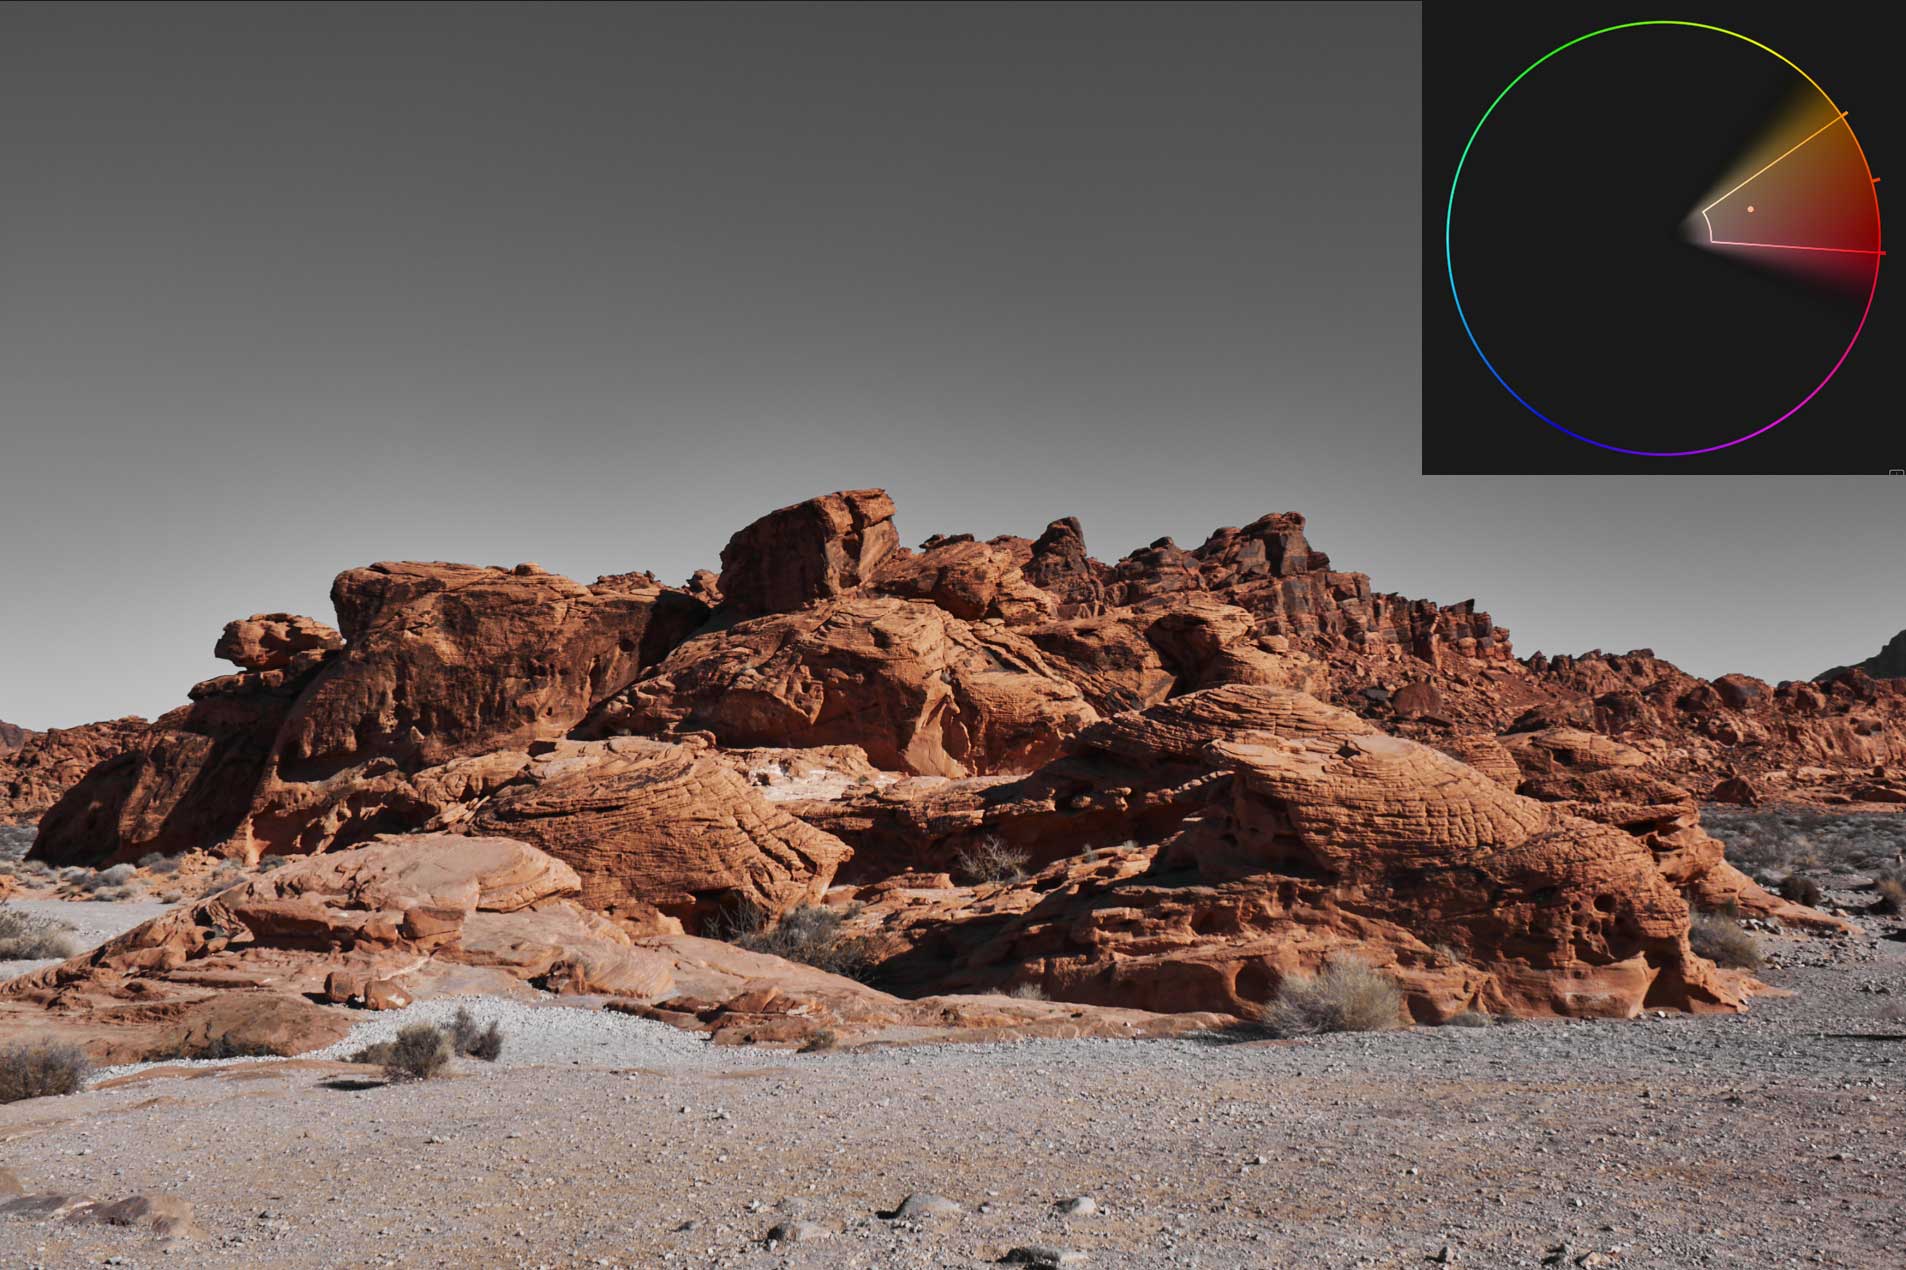
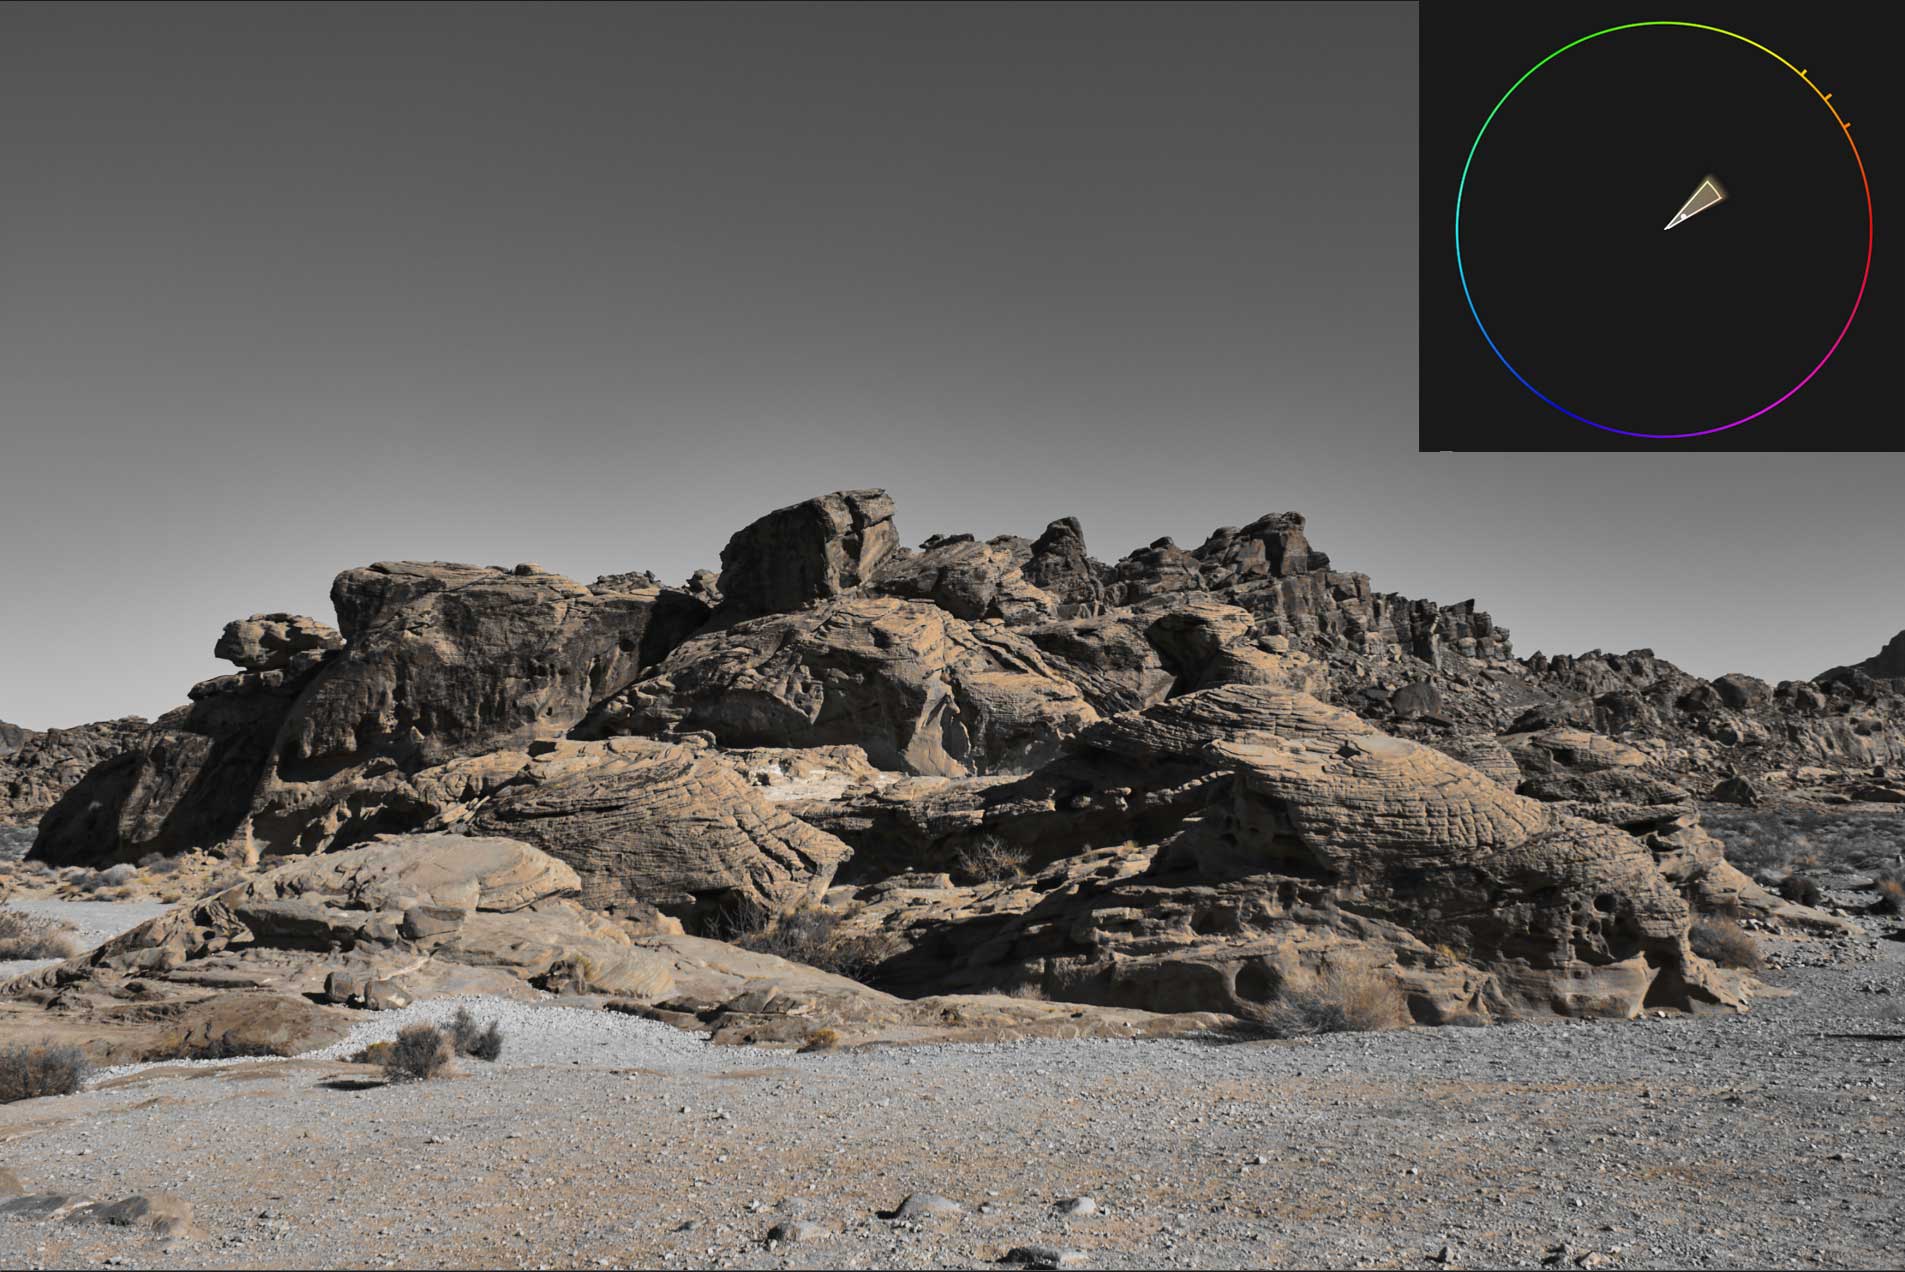
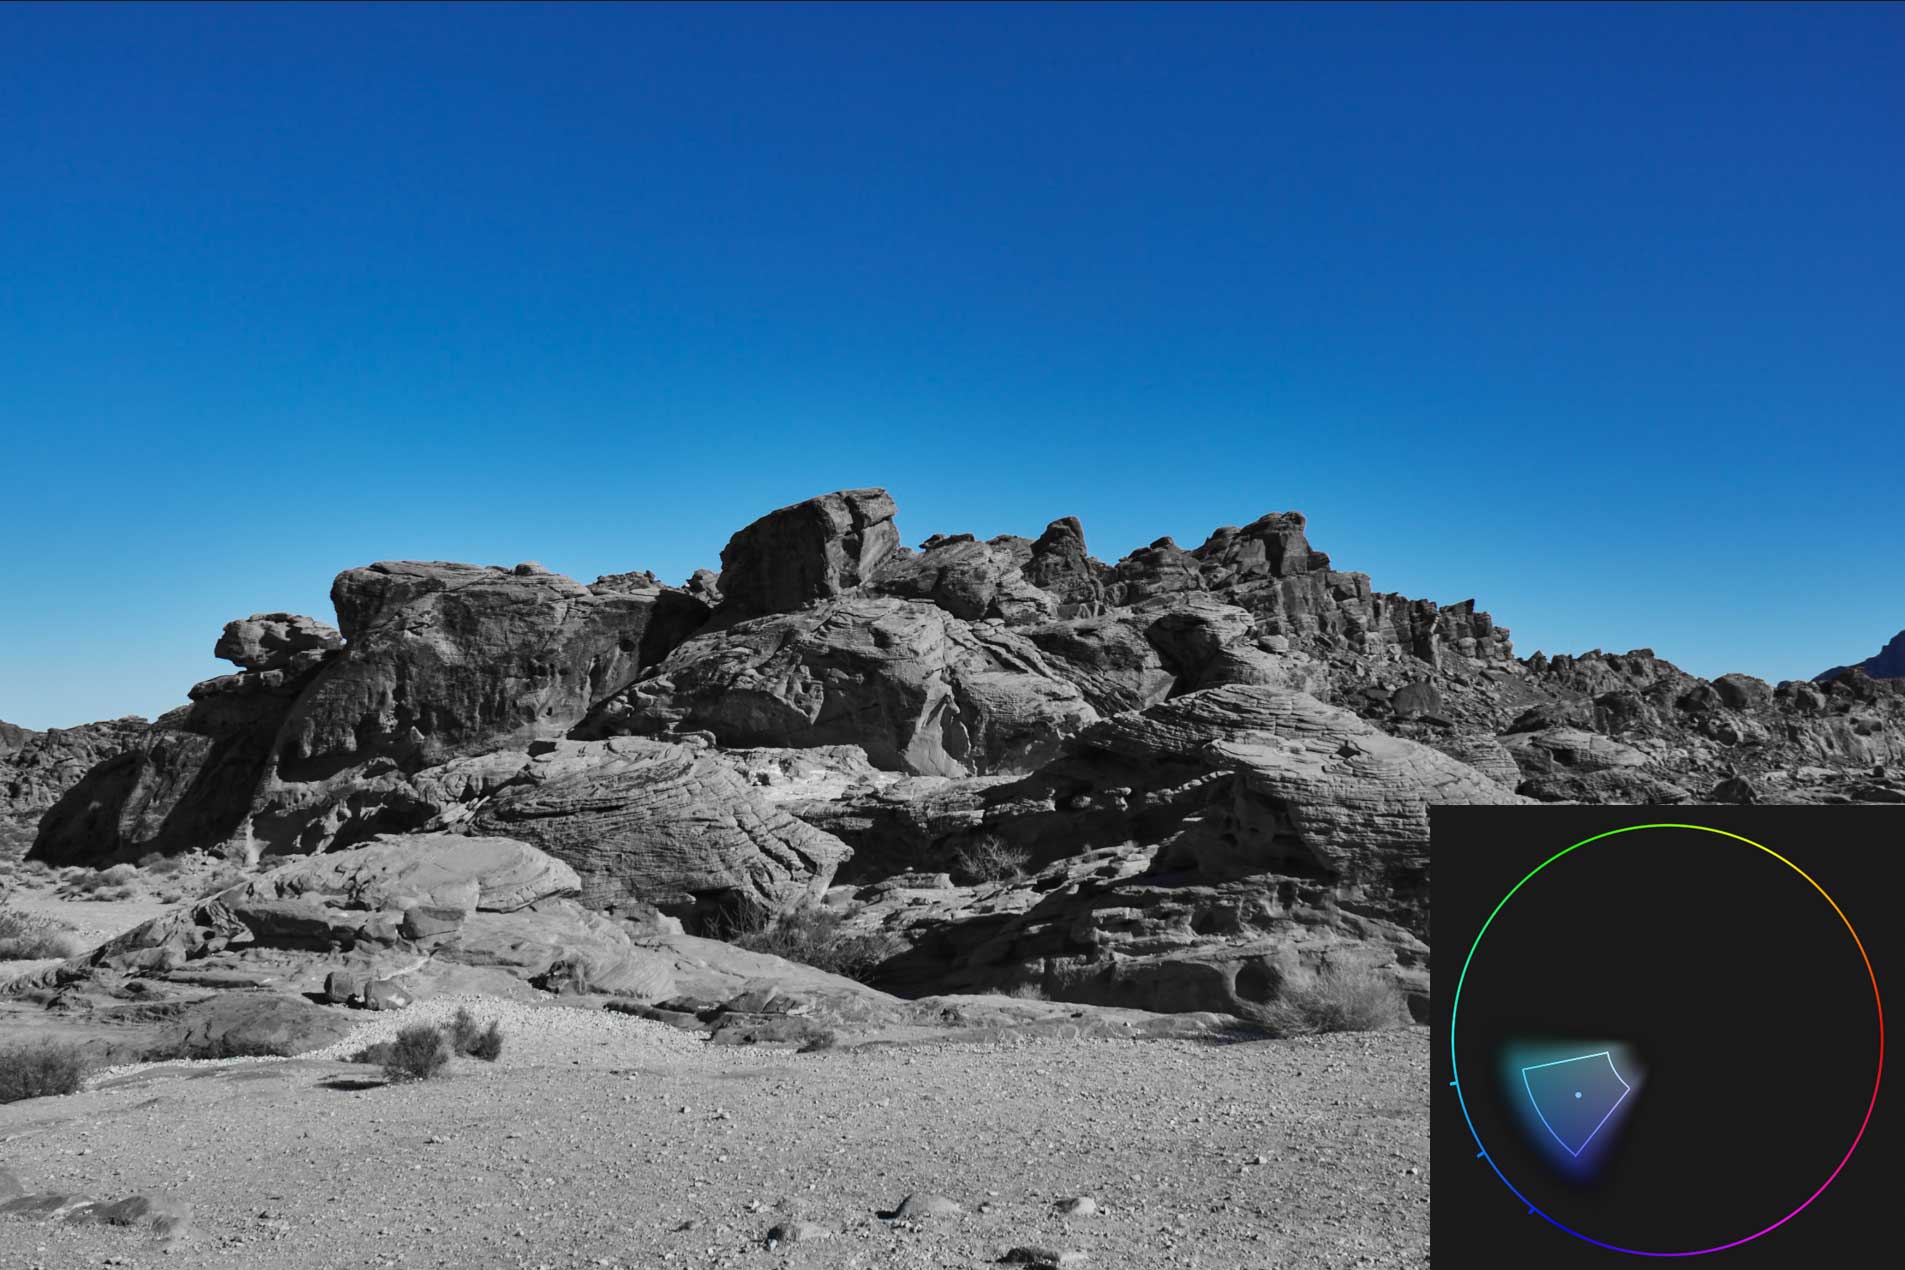
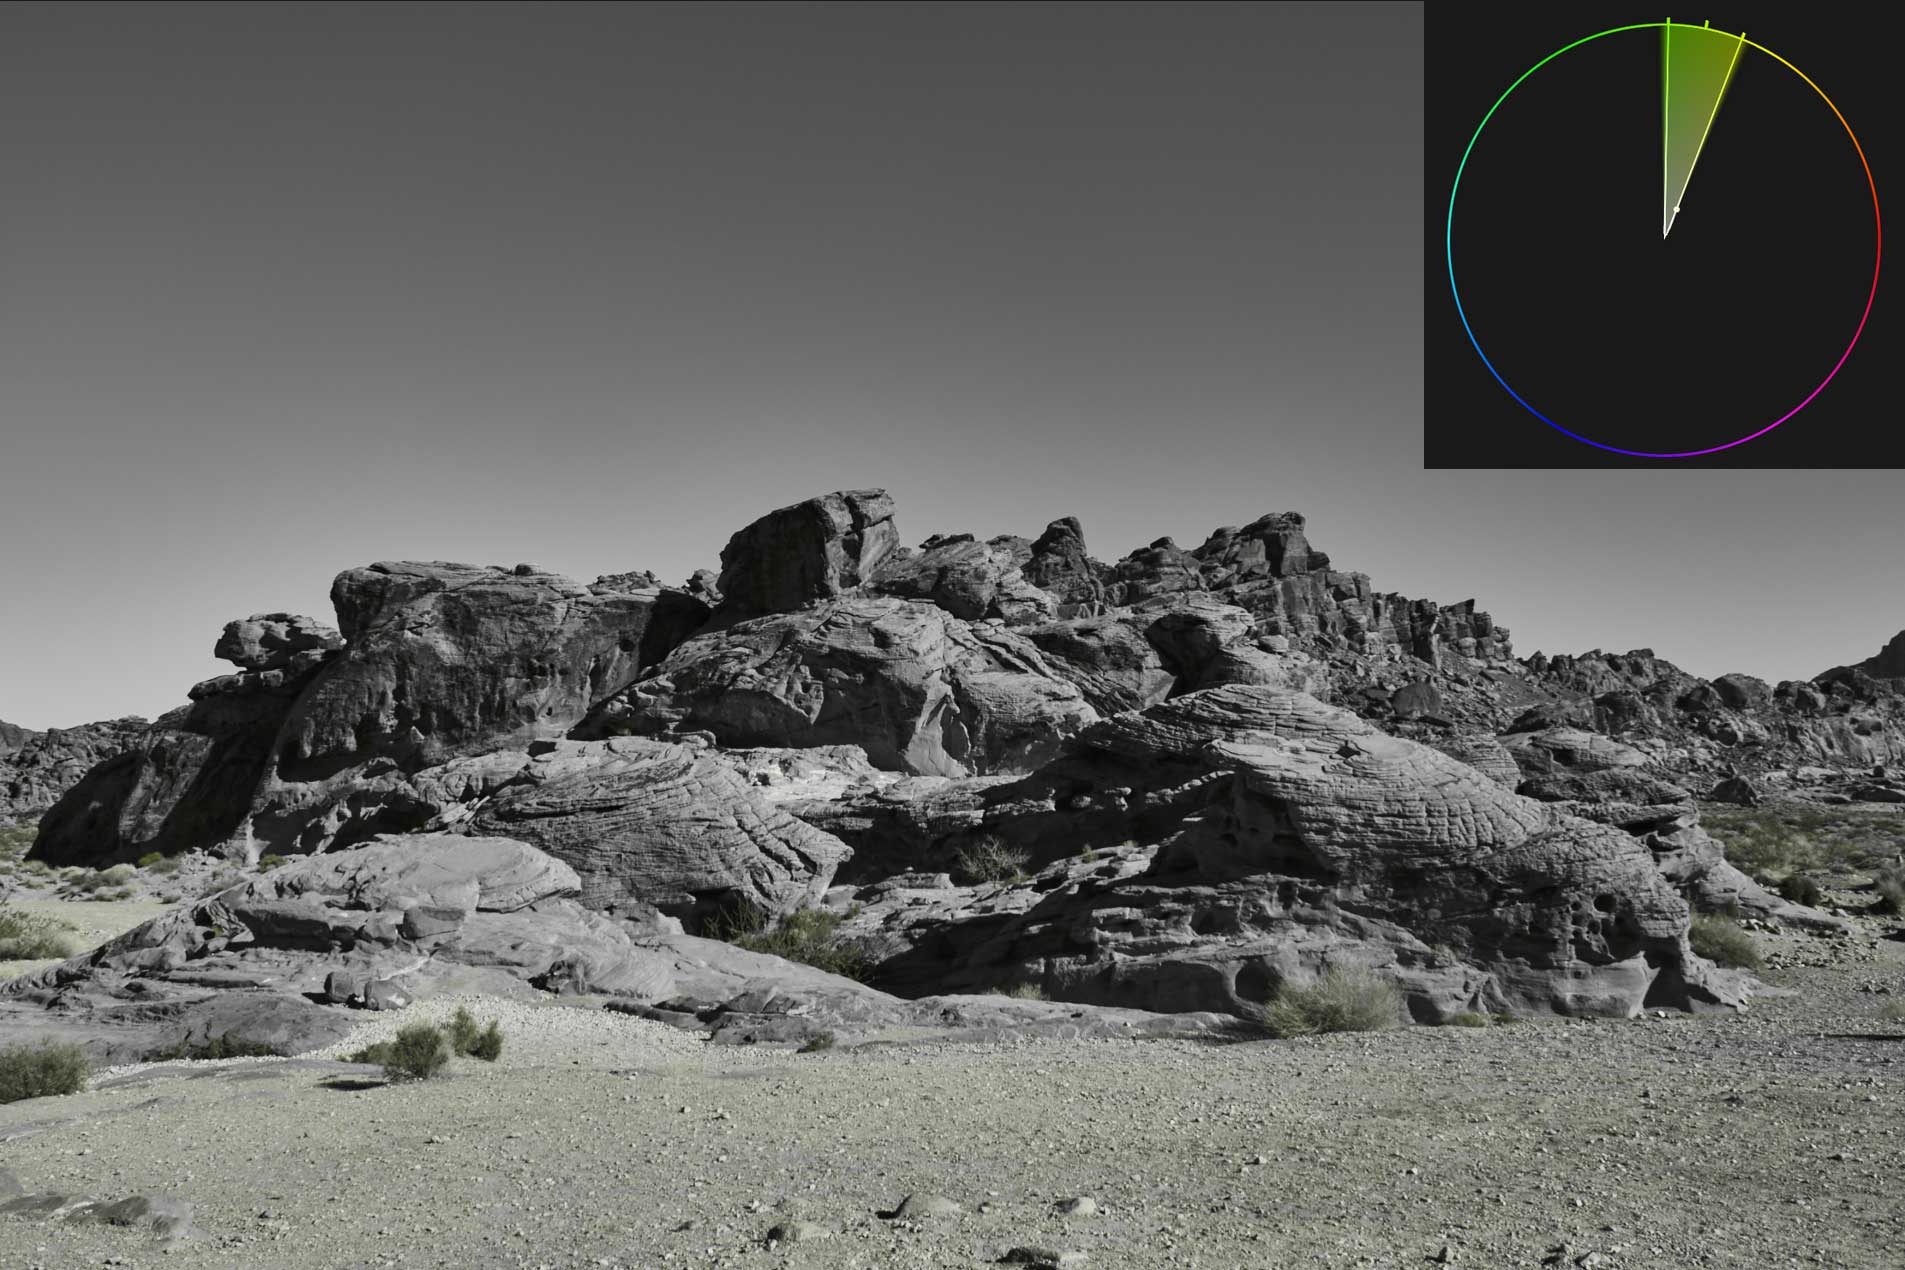
The following images show the matte view (the “View selected color range” checkbox) and my color selection on the color wheel. What comes out black and white isn’t part of the selection. Just to be clear, I’ve wrote the values I’ve changed for each selection, but they aren’t applied yet.
Rocks Selection, Step 1
Let’s start with our main subject, the rocks. This color key is quite broad; it covers almost all of the reds and some of the yellows too. This selection will help me shift the overall hue of the rocks to bring out the reddish earthy tones.
H: -13.4 S: -3.2 L: -9.8
Rocks Selection, Step 2
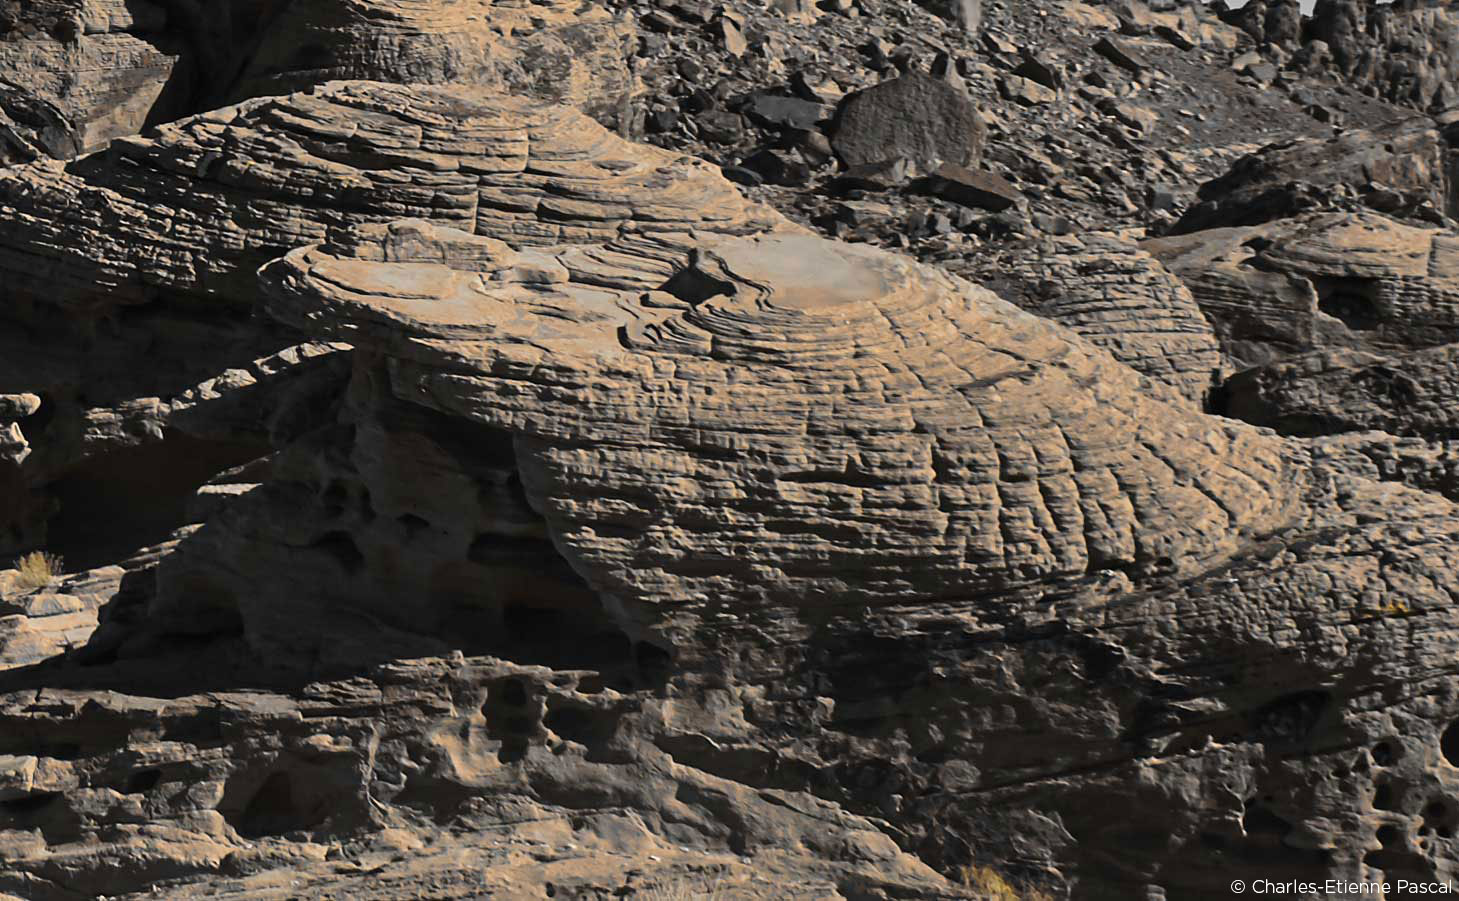
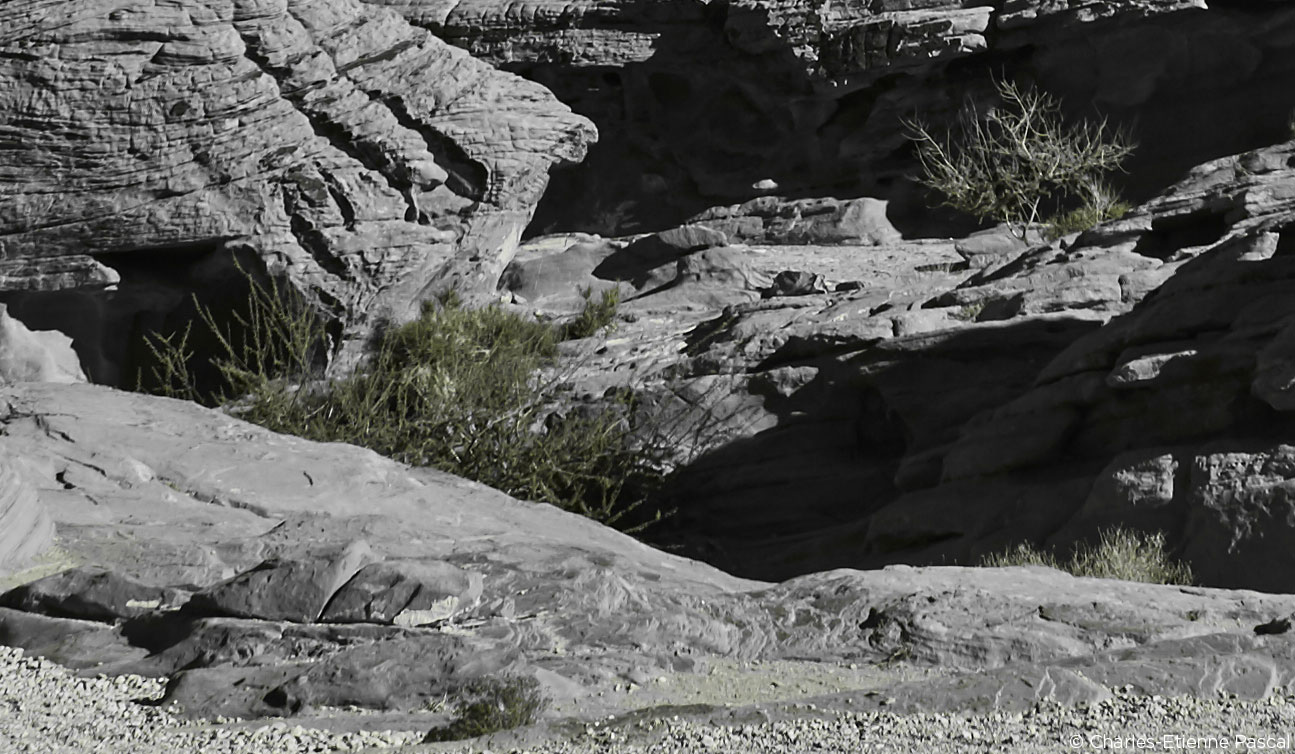
The rocks seem like they are only one color, but I climbed these rocks and remember noticing distinct yellow and red tones. To emphasize this natural phenomenon, I want to isolate the yellowish tones and slightly shift their hue to create a rich color separation. This selection has to be very narrow and sharp since I didn’t want to alter the red earthy tones from my previous selection. I’ve included a zoomed in screenshot of the key to further illustrate Capture One Pro 9’s precise color isolation tools.
H: 26.4 S: 22.6 L: 0
Sky Selection
I like how the sky came out naturally blue in the original picture, but it popped too much for my taste and felt a bit cartoonish. After isolating it (quite easily in Capture One Pro 9 I must say!), I want to shift it towards cyan and lower its saturation so that our attention is focused on the rocks. Cyan is close to the opposite of red on the color wheel, so it’ll also create a nice color contrast.
H: -30 S: -47.6 L: -1.5
Bushes Selection
I could’ve left the bushes alone… but for the purpose of this exercice, I keyed them with a sharp selection (almost no smoothness at all) and lowered their saturation to once again further emphasize the rocks.
H: -13.2 S: -50.8 L: 0
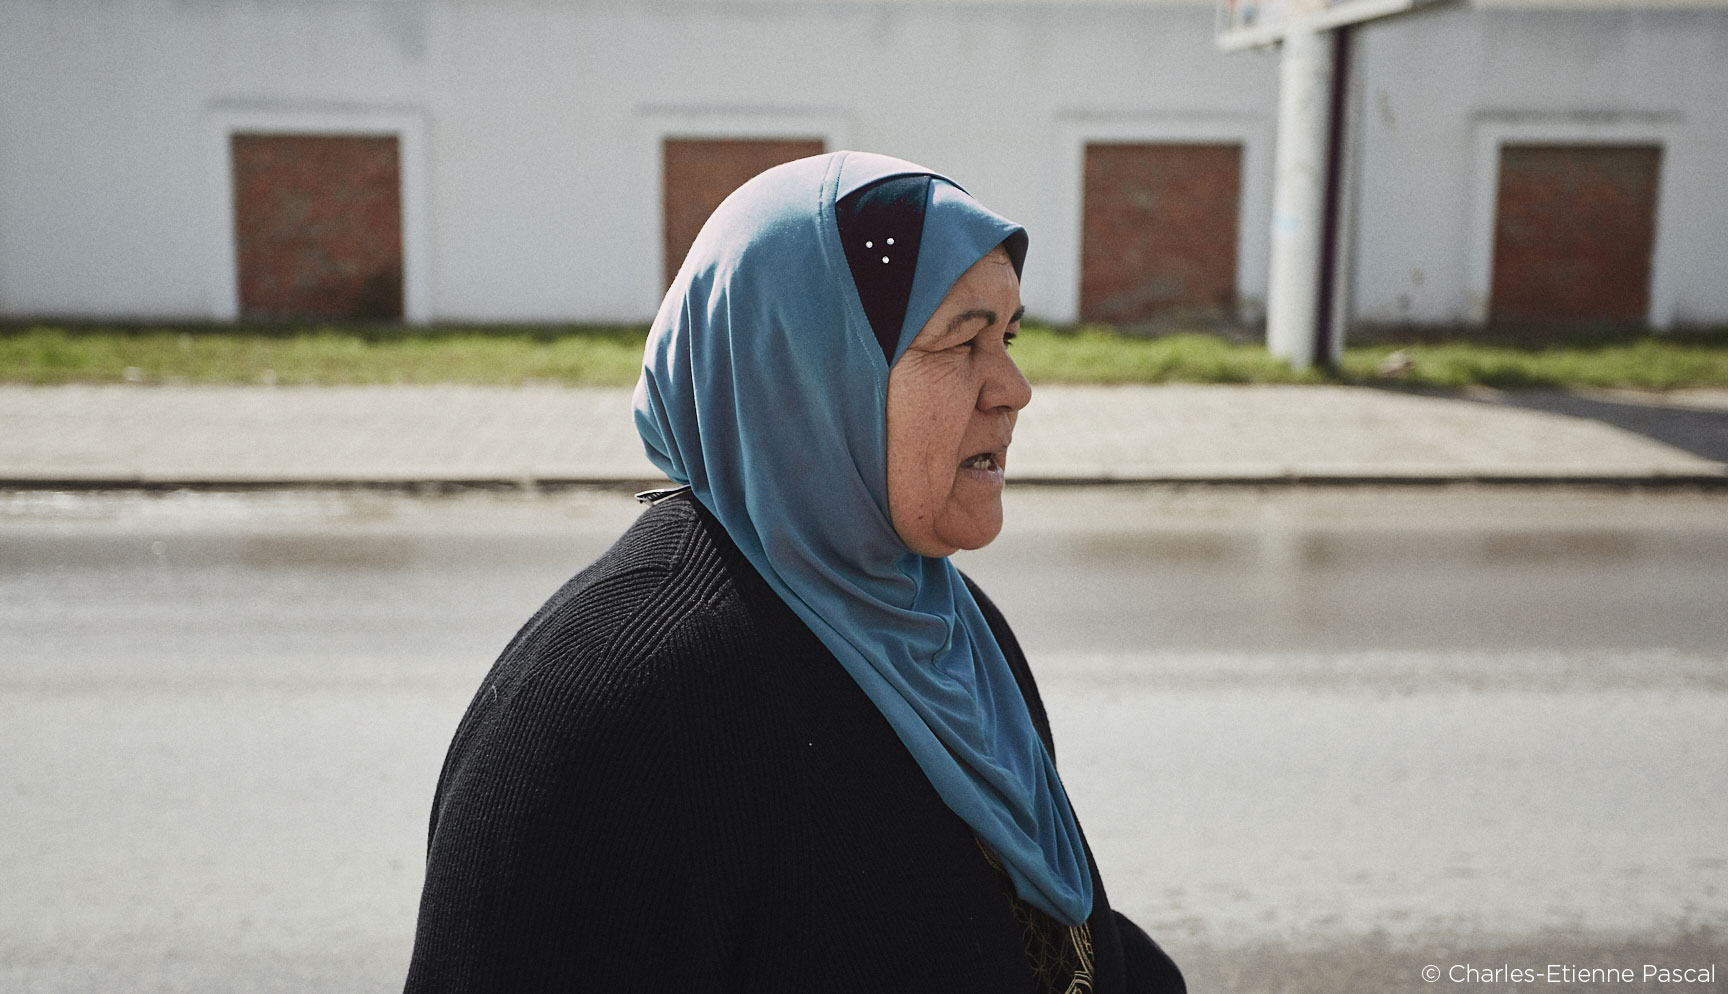
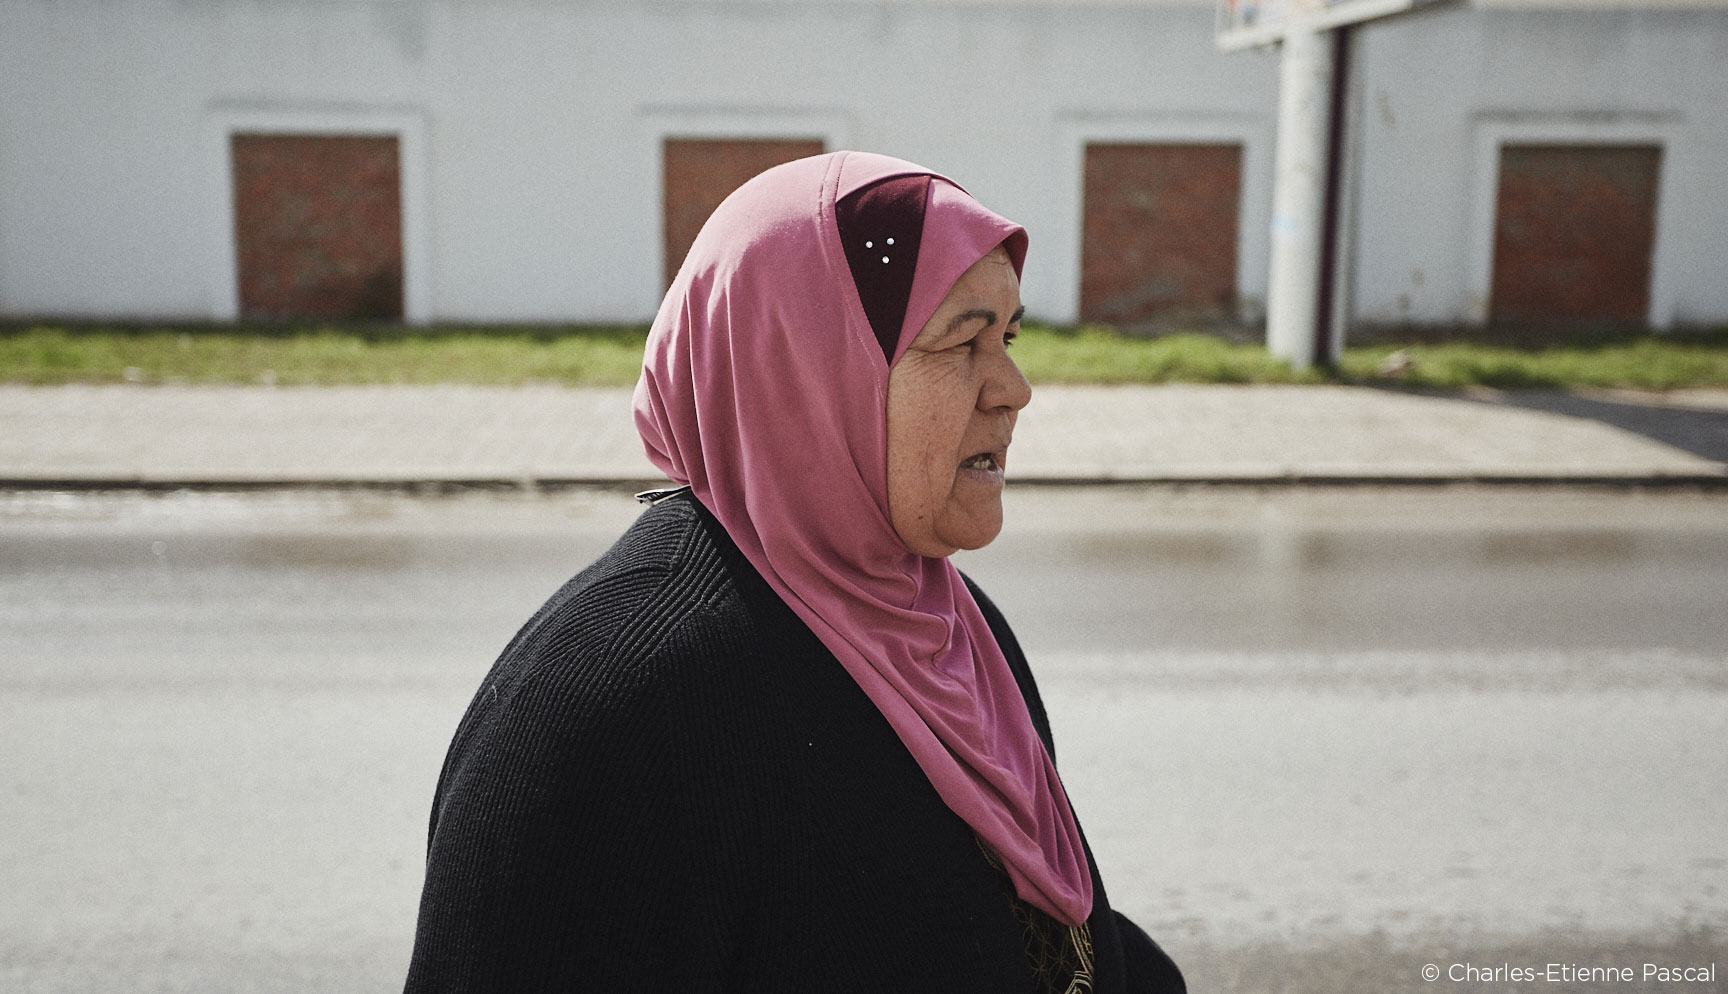
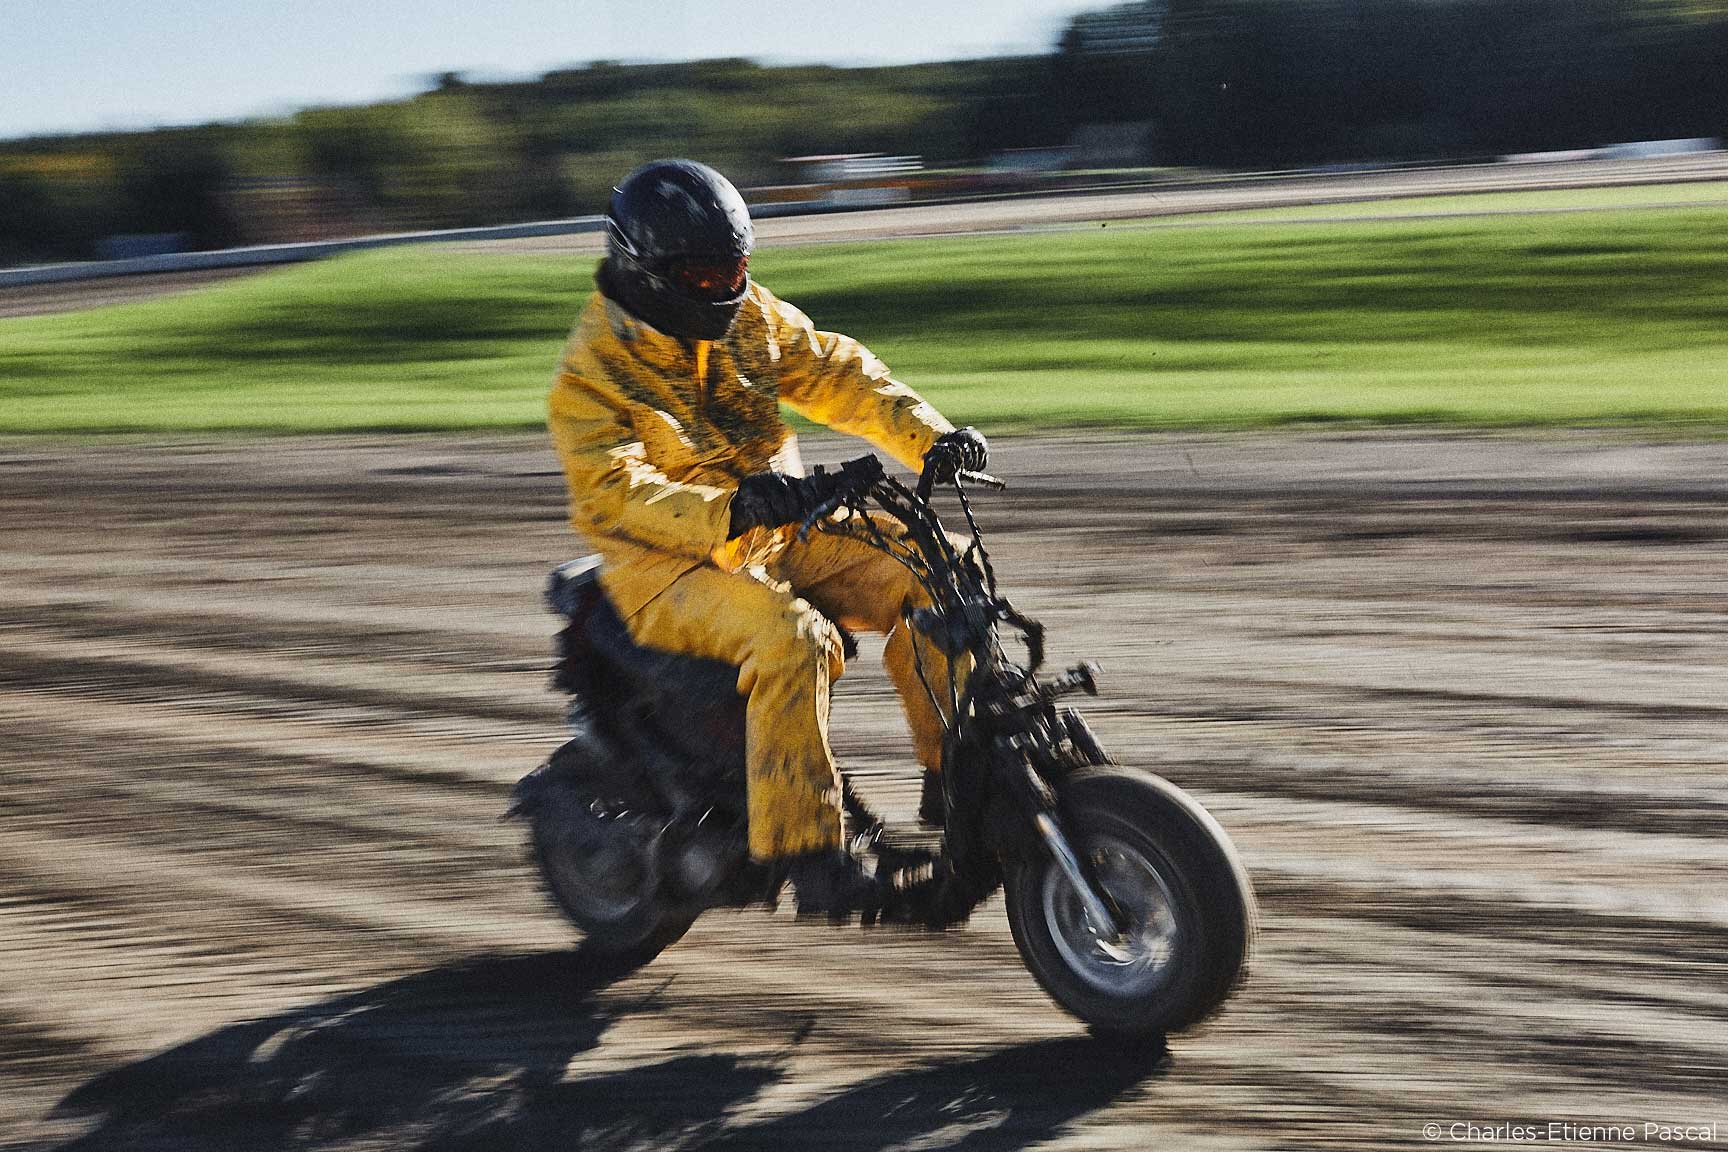
Alright, now that I have everything selected and labeled (yes, you can label your selection, which is a must when things get complicated), it’s time to apply the changes. And voilà… here’s the final result:




Charles-Etienne Pascal
I’m a freelance colorist based in Montreal, Canada. I have a filmmaking and photography background that inspires me everyday in the grading suite. Following my instinct and that of my clients, I craft a unique look that respects the original footage, while taking it to the next level. As a colorist, I believe that my role is to translate feelings into color, whether for a commercial, dance film, or music video. Check out my blog: blog.iseehue.com



Gerne hätte ich mir Ihren Beitrag angesehen.
Leider nur in englisch und nicht in Deutsch.
Ich spreche leider kein englisch
Hi Ludwig,
Thanks for your comment.
We are looking into the possibilities of having the blog in other languages.
Thanks and all the best,
Gitte