
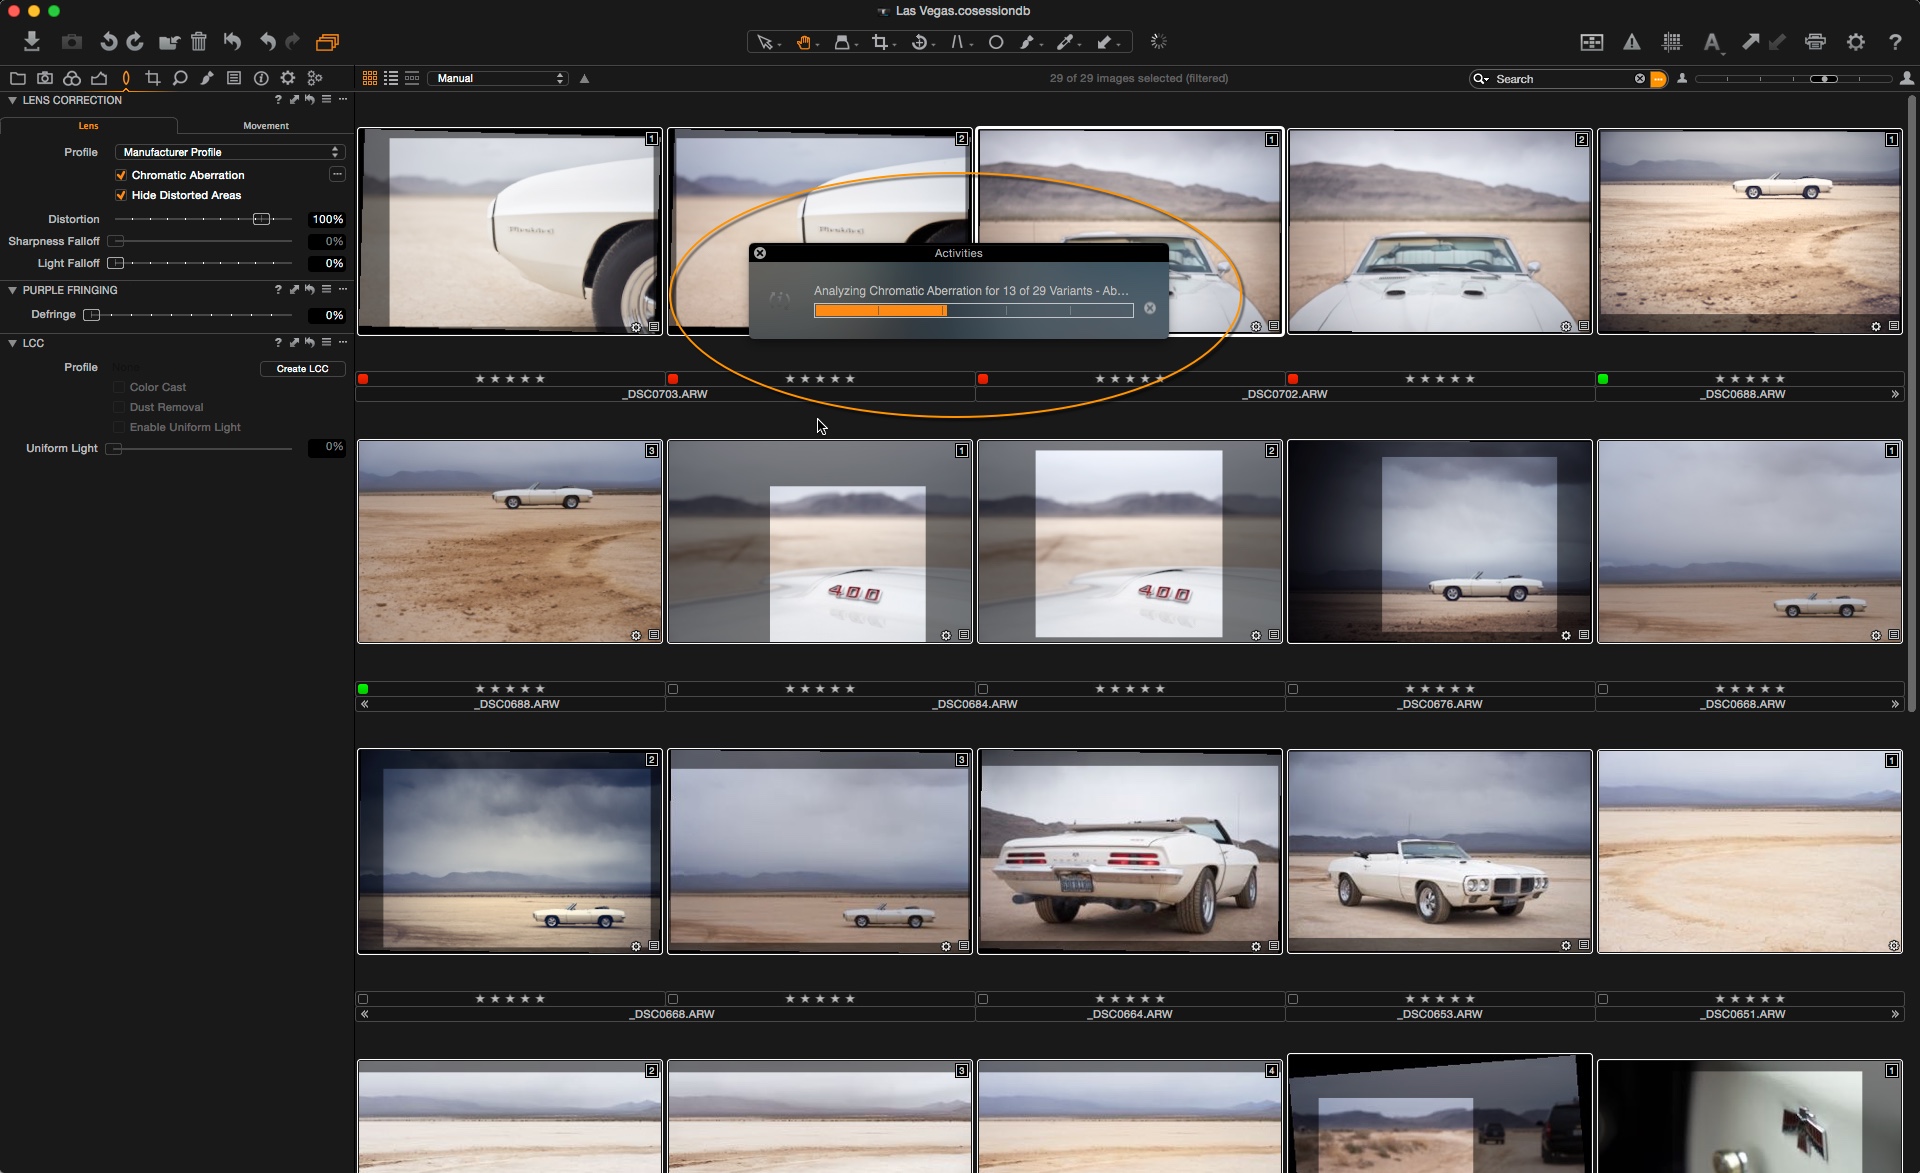
In my last blog post I used some of the new features in Capture One Pro 8 to work on an image by David Goldman.
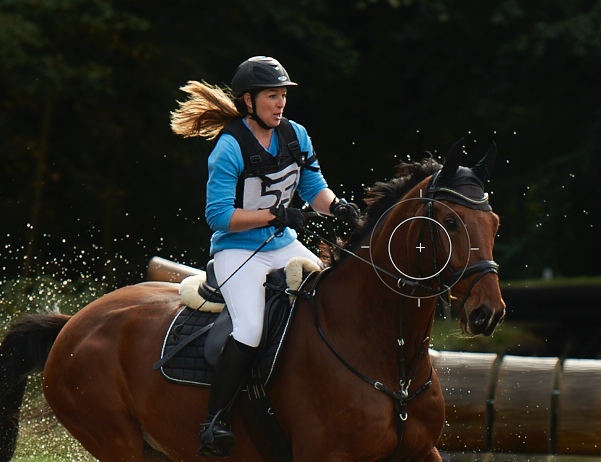
This time I have another really well executed action shot from Allan Mørch at animal-print.dk. Allan wrote in his email that as a sports photographer he doesn’t often get to choose the ideal place to photograph, and in this case it has resulted in the image being a little backlit.
Introducing lighting into the image
However, with dodging and burning techniques, much like that we did in the darkroom, we can introduce some lighting into the image to reverse that effect.
Fortunately the image is well focused and exposed, so no work to do here. Working with the RAW data in Capture One Pro 8, we will be able to enhance what Allan has captured in camera already.
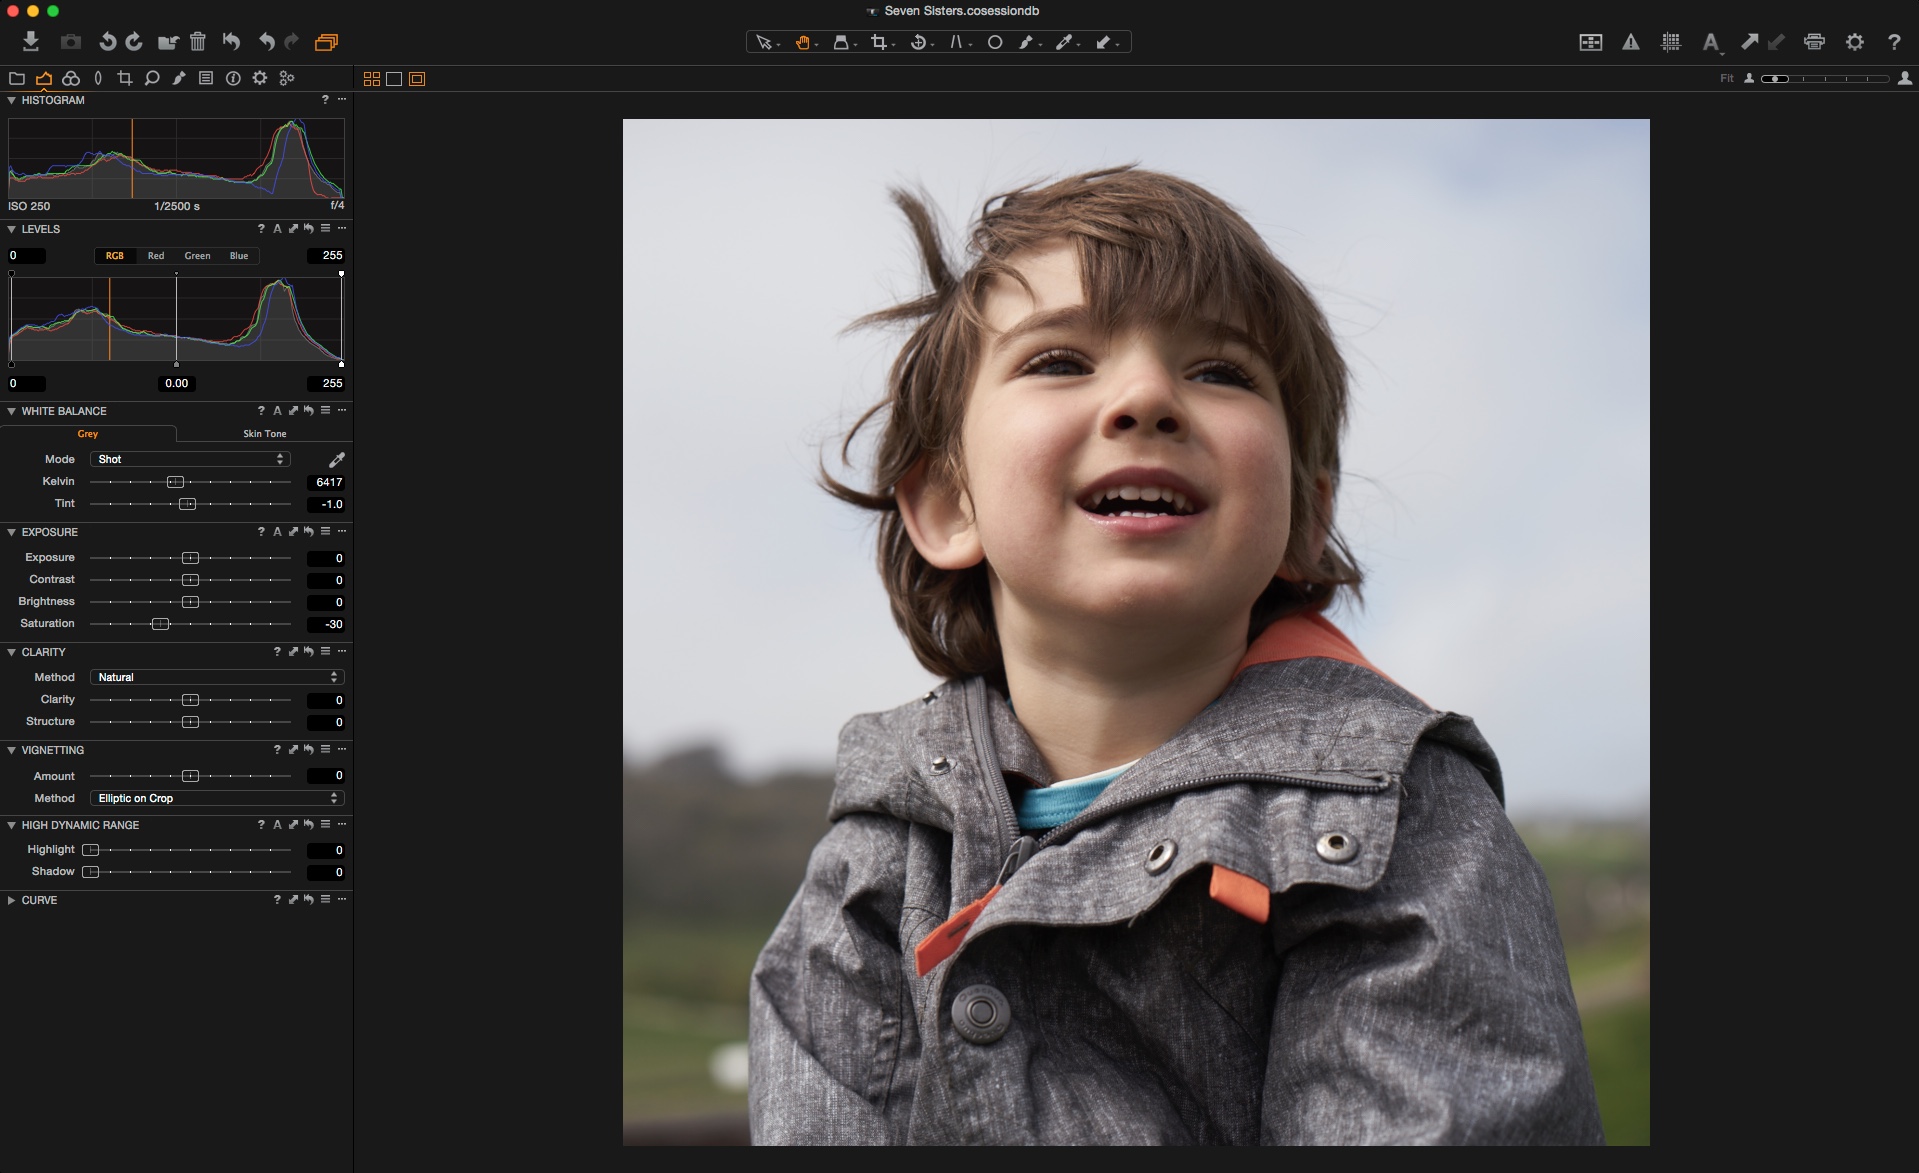
Here is the image with no adjustments in Capture One Pro 8.
What I would like to try and do is make the horse and rider stand out a little more from the background and see if we can enhance the water spray as well. Finally I think I will try to remove the photographer in the background with the new Repair layers!
Enhancing the water droplets
As I mentioned in the introduction, I can make certain elements stand out more by using a dodging and burning technique with the Local Adjustment tool. But before getting onto that, I will do a couple of basic corrections to the overall image.
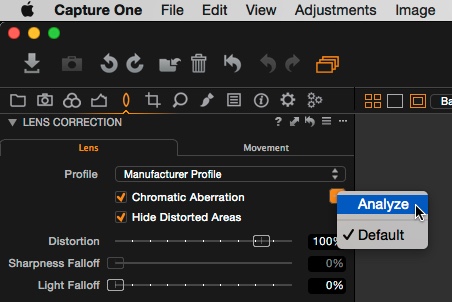
First, I will add some Natural Clarity to the image and some Structure. I am hoping the Structure will help to enhance the water droplets as well.
You can see the top image here has some Clarity and Structure applied and it has really helped enhance the water spray. I have used the new Natural method in order not affect the color saturation and to not overwork the image.
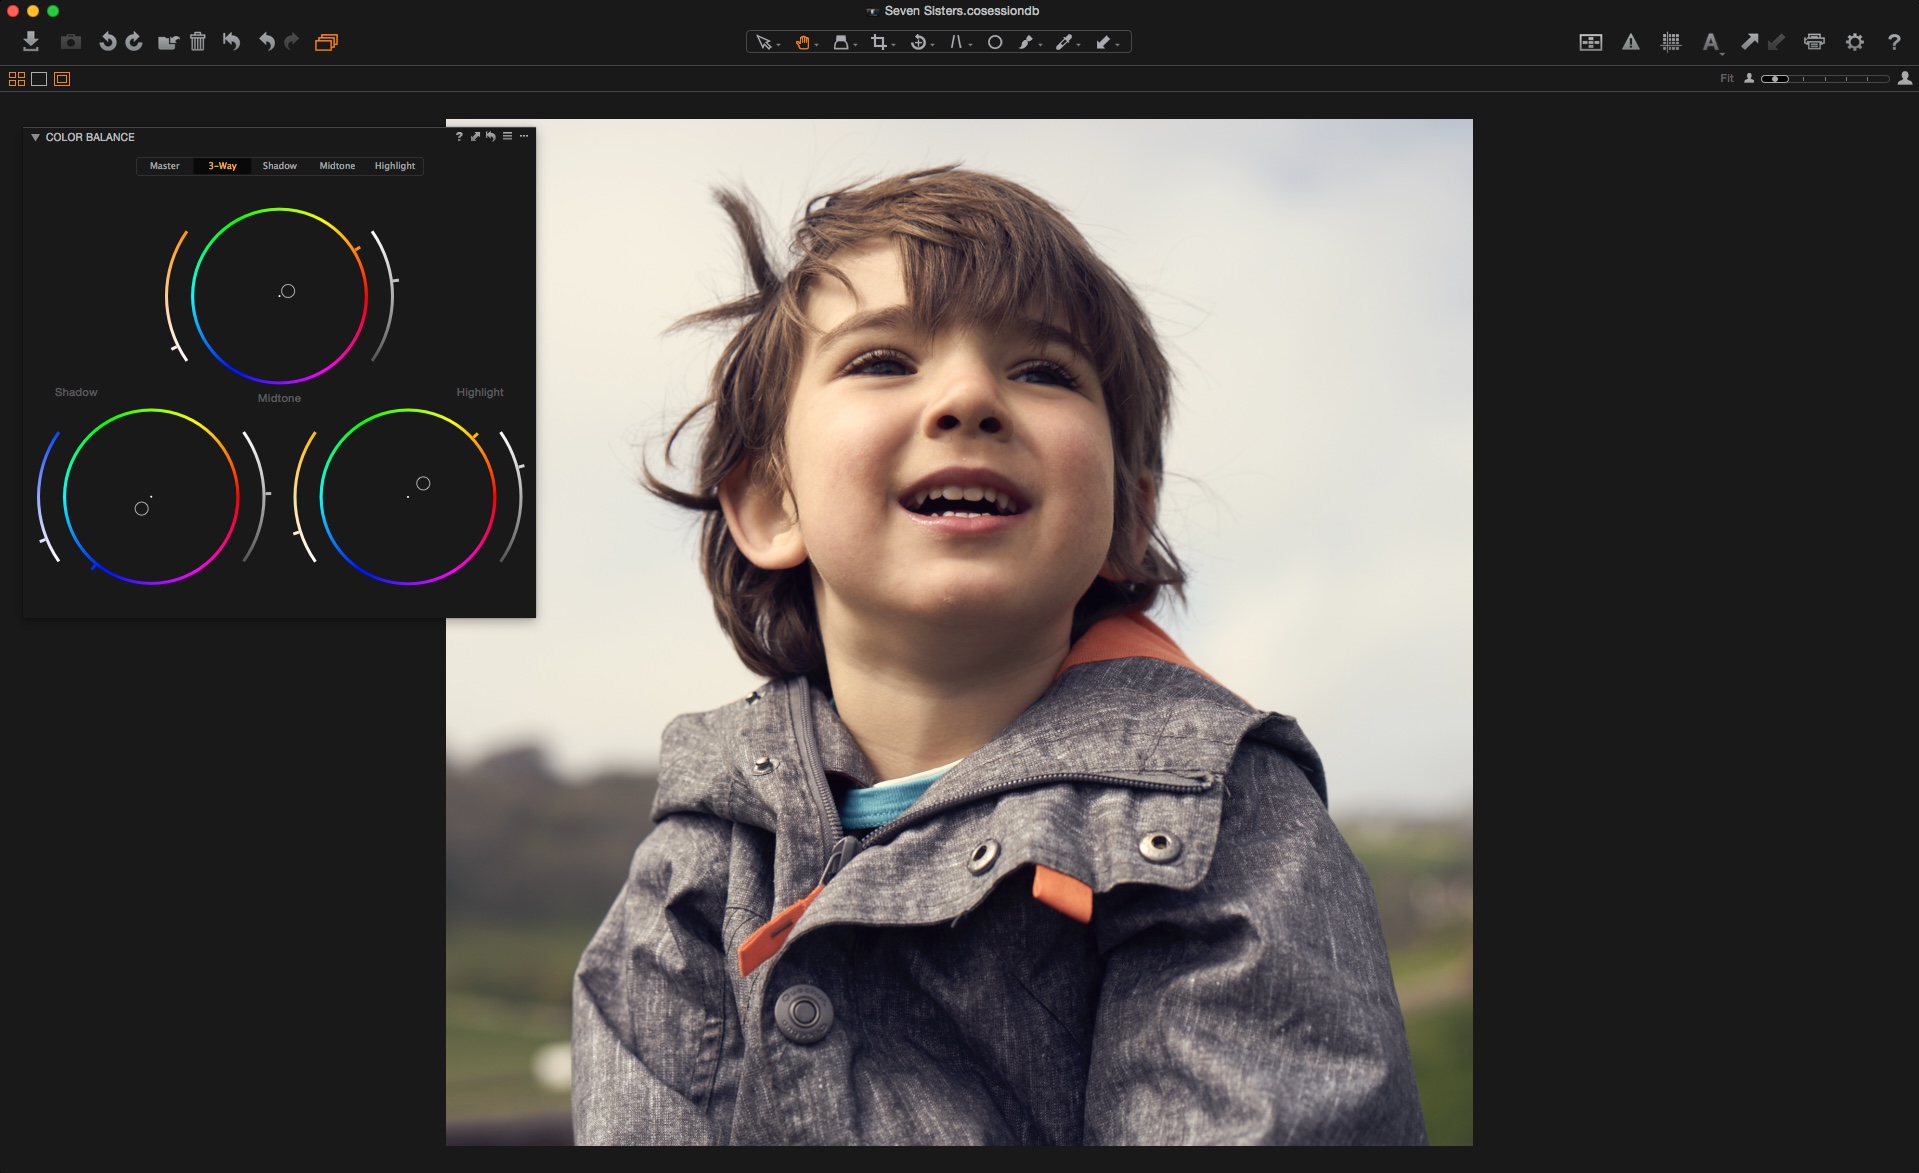
Incidentally, no changes have been made to the White Balance, it looks pretty good out of camera!
Make elements stand out more with dodging and burning
The next task is to begin dodging and burning. The first thing to do is to go to the Local Adjustment tool and make two new layers by clicking the ‘plus’ button and calling them Dodge and Burn respectively.
The Burn layer is set to -2 stops and the Dodge layer (not shown here) is set to +2 stops. This will allow us to selectively lighten and darken areas of the image.
The crucial part is how we use the Local Adjustment brush to do this, most importantly, the Opacity setting. Select the Draw Mask Brush by hitting ‘b’ on the keyboard or selecting it here.
Right-click anywhere on the image and drop the Opacity to less than 10. This will give us a really subtle effect to the dodging and burning.
Now, with repeated brush strokes, I can ‘burn-in’ the exposure around the horse and rider. By using a low opacity, the effect is much more subtle and allows you to vary the strength of our -2 stop correction. More brush strokes in the same area will have a greater effect and vice versa.
I also find using a large soft brush helps as well. So after a bit of time brushing, I can drop the exposure of the surroundings to a level I like. I also darkened the water a little below the horse, as there is a nice reflection there too.
A similar technique can be used for dodging. As the horse and rider is backlit slightly, I can make a few subtle brushes on the horse’s body to lighten it a little, not forgetting to switch to the dodge layer.
I have made the brush smaller too, to be more suitable for the horse’s body. Watch this short YouTube clip to see the effect of the dodge layer:
To finish with Local Adjustments, I will add one more layer with a graduated filter on the bottom of the image to darken the foreground a little. I have chosen the Gradient Mask brush (hit ‘g’ on the keyboard) and draw a small gradient from the bottom of the screen.

Now I just need to darken this area a little by pulling the Exposure slider to the left.
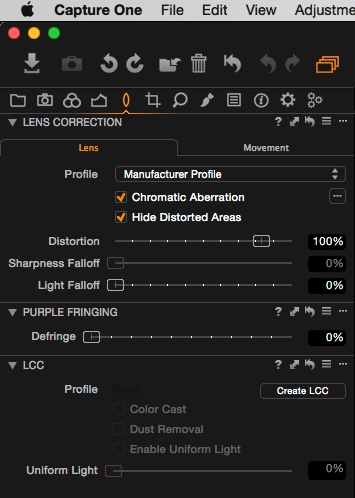
Two final jobs remain: One, to remove the troublesome photographer in the background and secondly to tighten up the crop.
Click and hold on the ‘plus’ button in the Local Adjustments tool, to make a new Repair layer.

In this case Heal will be the best function.
To select the source for repairing a section of the image, hold down the ALT key and click…

and then mask over the area to be healed.
 Our photographer has vanished leading to a cleaner background. Here is the final image, with a tighter crop.

and finally shown with the original image…
The effects are subtle but I think it enhanced an already good image.
Best regards,
David


Excellent! Good illustration of how little things can change the overall result.
Thanks Per!
Just to add one thing. These tips and tricks are most often very interesting and useful. There are so many things you can do in C1 and you can’t learn everything from the beginning. So every time I read one of these (or what a video) I find something new that I didn’t know of (or had forgotten.
Just discovered, as an example, how very convenient and time saving the loupe tool can be.
Just to say, keep on doing it!
It’s a Pity that files from an fuji xtrans sensor Cannot use auto masking brush.
Means I have to go to Adobe LR or Camera RAW to do This.
No problem with my Leica m9 files of course
Hi Maurice,
No auto masking was used in this example.. You could do exactly the same with your Fuji camera.
David
Nice improvements – but I think the work on the water drops had the side effect of making the water look “gray” compared to the initial look – perhaps it could be whitened by lifting the very top of the highlights sligtly. I think the cropping is a pity as it removes the impression of a “forest” setting – but of course it depends on the context.
Thanks for this lesson. Simple and efficient .
Ok – I hadn’t thought of doing this in Capture One. This is a great blog post!
I am confused, I thought dodging involves UNDEREXPOSING (lightening) and image and burning OVEREXPOSING (darkening) so how come the settings for -2 and +2 respectively for the exposure brush setting?
Hi Wade,
I will admit it can be confusing and I often mix it up myself! If we look at the description of Burning… (from Wikipedia as an example)
“burning increases the exposure to areas of the print that should be darker”
In the darkroom you would have more exposure time but the net result is the image is
darker
, hence the burn layer being at -2 stops.
And the opposite for dodge.
Maybe it would be better in this application to refer to the layers as Under and Over?
David
It would be great if in the future, dodging and burning i.e. the local adjustment brush could work with Shadows/Midtones/Highlights selectively.
Any hope for the next update?
Thor
Its a good suggestion Thor.
hope someone can help I have a picture that I took in the background of all my pictures how do I remove it ?
Sounds like you have added it in the Overlay tool.
Check in that tool and remove it!
Hi,
is there a possibility to save/copy local adjustment layers to work with in other Images? For example i alway use the same dodge/burn/healing/color layers for retouching a series of portraits so it would save a lot of time if the layers didn’t had to be created from scratch for every Image..
Many thanks in advance
Hi Thomas,
No, not currently. You can copy adjustments from one image to another, but not save a preset. You could always create a ‘donor’ image which you could use for that purpose.
David
Love this website and the content, I always read it and find it very interesting and entertaining. Continue like this <3