Getting back from a wedding with thousands of images to sift through and edit can feel like a daunting task. Having a few tricks up your sleeve to speed up the whole process can take some of the pressure off.
With years of experience working as a wedding photographer, Eric Ronald has gone through his fair share of late-night post-production sessions. But along the way, he has picked up more than a few ways to make the work faster and more enjoyable. In this post, he shares five ways he likes to speed up his workflow in Capture One and edit wedding photos faster.
Custom keyboard shortcuts
When you sit down with a mountain of work in front of you, the question on your mind is probably, “How do I edit my photos faster?”. Eric’s first tip is to cut out all the detours.
“It may not be very glamorous, but the ability to map keyboard shortcuts is huge. It allows me to instantly make adjustments at my fingertips without needing to rely entirely on the cursor, and it speeds up my edits considerably,” he says, having customized much of his workflow to be available with as few keystrokes as possible.
“One of the hardest parts of embracing this method is committing the shortcuts to memory, so what I’d suggest is printing them out for your quick reference.”

To get your own reference list, go to Edit > Edit keyboard shortcuts. At the bottom of the pop-up, you will see “list shortcuts”. This will then take you to your web browser with your shortcuts listed in a format that’s print ready.
“Stick it up somewhere close to your screen so you can quickly refer at a glance, and before you know it, you’ll be hitting keyboard combos like you were playing Mortal Combat on Super Nintendo in 1995. And yes, you can be hitting multiple keys at any one time,” says Eric and adds that for common adjustments like Exposure, White Balance, and Contrast, he likes to map the Speed Edit shortcuts to the exact same keys.
“What this means is that, for example, I can tap ‘F’ to increase explore +0.1, or for larger adjustments, I can push and hold ‘F’ to engage the Speed Edit function, where I can easily make larger adjustments using the cursor.”
“And let’s not forget with the ‘Edit Selection’ function enabled, you can select multiple images in your browser and edit them all at the same time!”
Get it straight with Auto Keystone
“I’m quite a fan of symmetry, and I often find after applying lens corrections, it can accentuate being slightly off-axis, especially on wide-angle lenses. A quick solution for me is the auto keystone feature.”
The Auto Keystone tool, which was introduced in Capture One Pro 22, helps you automatically correct any perspective distortion if you were not able to get the perfect angle. An important step to be aware of is that whichever axis you select under the Keystone Tool (vertical, horizon or both) specifies not only what axis you adjust manually but also which axis the auto adjustment will adjust.
“For me, rarely do I want to adjust both. It’s mostly the horizontal axis I’m looking to fix up,” says Eric.
“As long as there are enough points of reference in the image for Capture One to calculate, it will nail it every time. If not, that might be where you need to fine-tune it manually. That’s where tip #1 comes in – map keystone to your keyboard shortcuts, and you’ll have that dialed in in seconds.”
Related: How wedding photographer Alessandro Galatoli transformed his workflow with Capture One for iPad
Make the most out of Export Recipes
“I have to admit it took me WAY too long to embrace this incredibly helpful feature,” says Eric about his next tip.
“Simply investing a few minutes in setting up multiple recipes for each of the different image formats, resolutions, and destinations that you regularly need to export makes finishing up an edit no effort at all.”
Eric recommends first resetting your output counter when necessary to ensure that the files you’re about to export start at number 0001. You can do this by clicking the three dots at the top right of the Naming Tool and select “Reset Output Counter”.
“Also, I highly recommend setting up subfolder tokens under the Location tool. What I like to do here is add ‘Recipe Name’/‘Collection Name’. What this means is that Capture One will export all of the images to the output location divided up into subfolders – firstly by recipe name, then within each collection name.”
“The Collection Name is handy for me with weddings as I like to divide the day up into different parts such as ‘Getting Ready’, ‘Ceremony’, ‘Reception’ etc. So, for that to work you’ll of course want to arrange your images into collections first.”
He adds that you should remember to set the Catalog default export location, which you can do under the Location Tool by clicking the little button with a folder and cog right next to the folder selection. By doing this, the location will follow in all of the recipes where “Catalog Default” has been selected as the location, rather than having to set them all individually.
“I really can’t express how much time this saves me and what joy it is once I finish an edit to be exporting absolutely everything I need in just a few seconds.”
Luma range masking
This next tip is handy in a wide variety of applications, according to Eric. But there’s one place where he uses Luma Masking all the time – the sky.
“Usually, it is about pulling back some detail and/or adding some drama. And while the Gradient Tool can get you most of the way there sometimes, when you don’t have a clear horizon, Luma Masking allows you to dial in the luminance of the desired area you wish to adjust and only apply it to that range,” he explains.
“This makes an otherwise tedious task with your cursor or tablet a breeze. However, do pay close attention to the edges of the mask to ensure the best results.”
“When you can clearly see the edges of the mask, try this: in the Luma Range popup, try making use of the Display Mask option where the overlay will make it much easier to dial in the Range, Falloff, Radius, and Sensitivity,” says Eric and adds that it can be helpful to zoom in for fine-tuning.
Eric also explains that you should remember that the mask refers to tone, not necessarily a particular location of an image, so if you have that in mind when creating the mask, you will be able to copy and paste your mask to other similar images to apply the same adjustment even if the composition is different.
Smart adjustments for instant consistency
When it comes to speeding up the editing process, knowing how to bulk edit your images is going to save you hours. This is something Eric has also discovered.
“I couldn’t not mention the most recent game-changing addition to Capture One; the new Smart Adjustment Tool fueled by our new friend AI. This is particularly helpful for me in weddings where I need to edit a large number of images at any one time.”
The new Smart Adjustments feature, which has been designed specifically for portrait, wedding, and event photographers, uses faces and skin tones as guidance to determine which adjustments to make to your photos to give them all a consistent look with just one click.
“I tend to find this most useful for a sequence of similar-ish looking images,” says Eric. “Specifically, for good, consistent results, you want the light on your subject to be similar on your reference images as the ones you’re going to apply Smart Adjustments to. But if it’s not already there, be sure and add the Smart Adjustments Tool to your toolkit.”
How do you use Smart Adjustments? Easy. Just edit your reference image as you like (Eric likes to have both Exposure and White Balance selected for this). Then, in the tool, select “Set as Reference” and simply select the images you want to edit
“To take it a step further, you can even save those Smart Adjustments, including your other regular adjustments if you like, as a Style. I haven’t made a lot of use of this particular feature yet, but I have no doubt it would be super handy for photographers in other fields. The on-the-fly approach of setting a reference and applying as I go works wonderfully for me.”
Bonus round
To round it all off, Eric leaves us with a final tip to get the most out of your editing and save hours down the line.
“I can’t stress enough – invest the time in designing your workspace in a way that works for you. It’s all about having the tools that you need at the ready and tucking away or getting rid entirely of the things you never use.”
“Especially if you’re new to Capture One, this will make you feel right at home much more quickly.”
New to Capture One? Try it for free for 30 days here
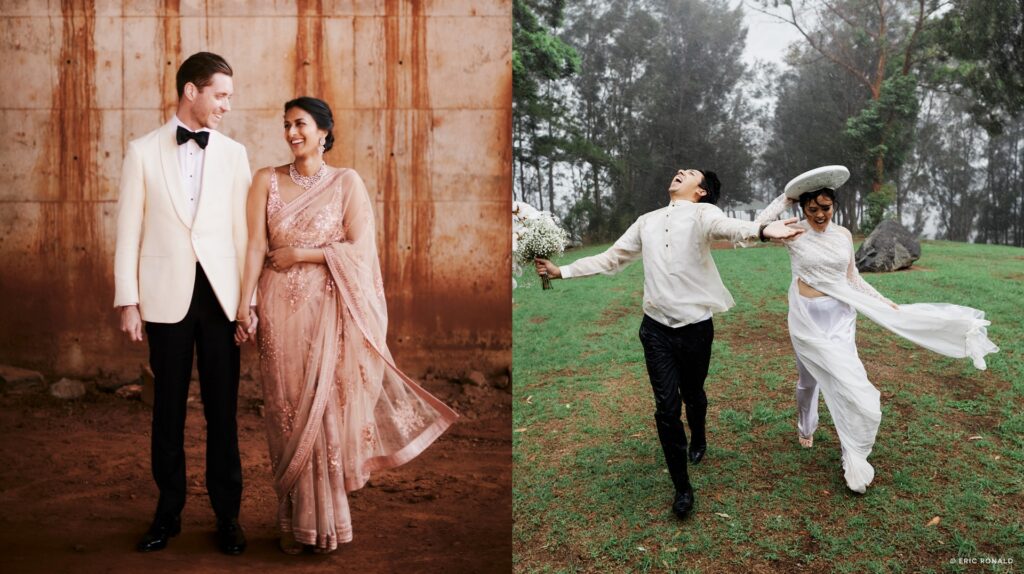
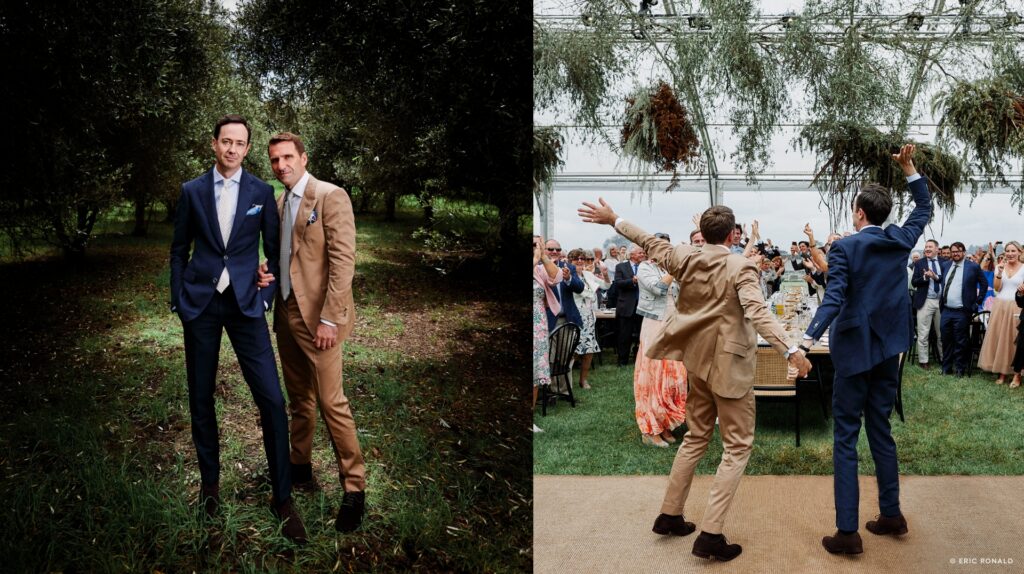
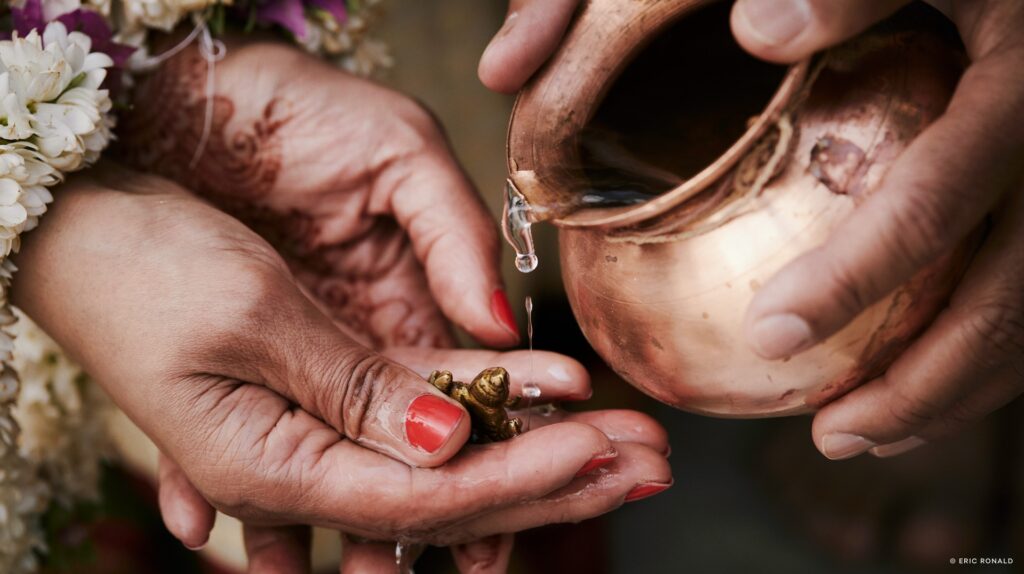
Eric Ronald
Eric is all about doing things differently. Not interested in norms and passing trends, he prides himself on paving his own way, creating dramatic, emotive stories passionately crafted for his beloved wedding couples. It’s no wonder Eric has been highly awarded for his wedding albums as he not only puts great importance on a single image, but by taking inspiration from his background in cinematography he applies a wholistic narrative-based approach throughout his process. Eric’s passion and unique ethos has served him well having worked with couples in some of the world’s most incredible locations including Kenya, Sri Lanka, Jordan, Cyprus, Montenegro, India, the Philippines and Egypt.


