NOTE: This article discusses an older version of Capture One Pro. To learn more about our latest version, click here.
“Color is everything”
Color is everything. Coloring is what sets a mood and helps tell a story – it keeps the viewer intrigued, and good color processing via photo editing software is a huge part of being a good photographer. For me, it’s about making an image come to life.
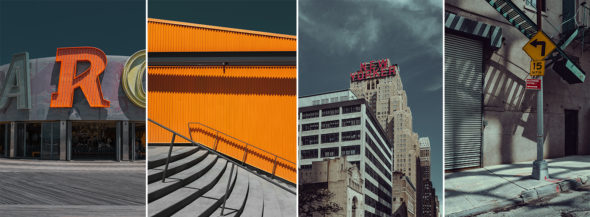
I often try to create a cinematic feel with my photography series – dark tones, moody vibes with contrast and popping colors, but with lightened and toned shadows. Photos where the white isn’t necessarily white and the tones can do the magic.
Of course, for bigger commercial jobs my “moody” color grading doesn’t always perfectly suit – but it’s important that I include a degree of my own look in the post processing. I try to blend my personal color grading with my more commercial, “correct” color grading and try to create my own vibe.
Must-have tools for color grading
To achieve my exact vision and vibe, a good RAW file is always necessary – and of course, good photo editing software! My toolkit of choice is Capture One Pro – since day one I have been very interested in coloring and expanding my color grading skillset, which is why I chose the software with the best possible color tools.
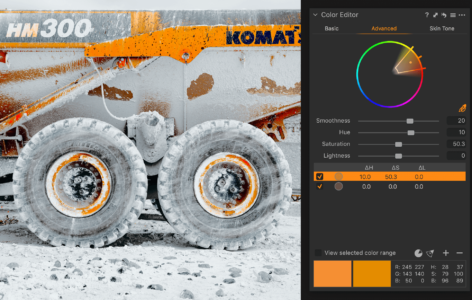
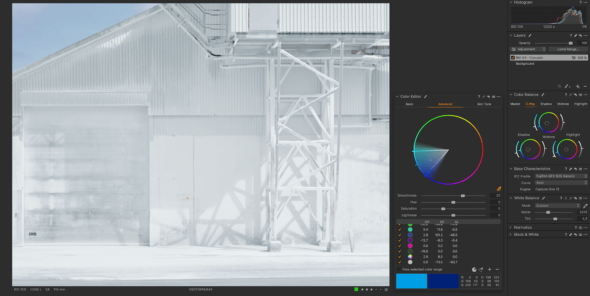
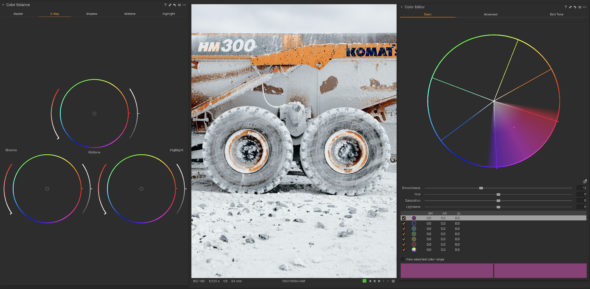
For example, I can’t live without the Advanced Color Editor, the Color Picker tool and the lovely sliders. I never finish an image without turning a knob or two in those tools. I love it!
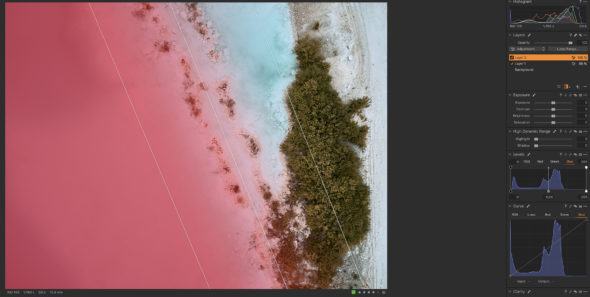
The Linear Gradient Mask is another go-to. I almost always play around with it when working on the depth of an image. I often have the Linear Gradient Mask in mind when working on specific photos, and I use it to help me shape my vision of how it should look. I use it to darken or lighten the gradient, and it’s amazing every time – and the Linear Gradient Mask has really great possibilities.
When it comes to preset adjustments in Styles – my advice would be to follow your own vision and start playing around with the color tools yourself! Get creative and try things out. I love playing around with the Capture One Styles, but I always end up changing them up a little, making changes to opacity and color so you end up with a completely different look than the one you began with. It gets me inspired for the final look of my images.
My color grading process in
Capture One Pro
It’s a bit tricky to explain my work process as it is never quite the same every time – I’m still learning and having fun with the RAW editing software! But there are a few things I almost always do:
When I first import the image into Capture One Pro, I make basic adjustments to “correct” the image and then play around with sliders, tabs and color grading tools. I like to experiment with the different choices available in Capture One Pro to mix up the coloring in my images. I try to create a look in my head, and then execute it on-screen with the color grading tools.
Sometimes I play around with Styles, but I never end up choosing just one – I always tweak them to fit the image or suit my style.
More reasons to edit in Capture One Pro
Besides the advanced color grading tools, there are tons of other reasons I prefer to edit my photos in Capture One Pro. Here’s just a few:
- I can redesign the entire interface and personalize my workspace. It’s genius! I love being able to scale back to the tools I can’t live without and ditch the few that I barely use.
- Floating tools for the win! It just makes it so easy and enjoyable to slide around in the editing. Plus being able to drag the tools out and pop them bigger for more precise editing is just perfect!
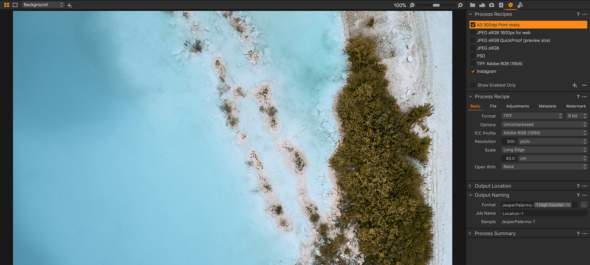
- I can export multiple files at once for different outputs, like print or Instagram. It’s a clever touch!
There are really a ton of reasons to choose Capture One Pro as your go-to photo editing toolbox, but I would say the main reason is: you simply get a cleaner and better file from your export – you will improve yourself as a photographer because your final photos simply look better.
In Capture One Pro, highlights and shadows are cleaner, while color gradients – they are simply beautiful. I was once a pro user of Lightroom, but after shooting tethered directly into my computer using Capture One Pro and switching to it as my go-to software, I have been so much happier with the final result.
The Advanced Color Editor is just beautiful and works like magic – once you get around to using it properly. Play around a bit and see for yourself – it won’t take long!
Stay true to yourself
Whether working on my own series or commercial projects, I always try to be curious about new ways of editing images and be willing to experiment and explore – but of course, my mission is always to have my own personal touch, a subtle hint of Palermo. The most important thing as a photographer is to never stop – never settle. Open your eyes, be curious, be nerdy!
If you don’t already have Capture One, you can download a day trial and try it out.
Eager to learn? Access webinars, tutorials and expert help in the Learning Hub – completely free.

Jesper Palermo
Initially schooled on the streets, Danish photographer Jesper Palermo later earned a bachelor degree in visual communication from the Danish Media & Journalism school. Shooting both digital and analog, Jesper is now in his tenth year working as a freelance photographer. Previously based in Berlin where he also ran a video production company, Jesper can now be found in his central Copenhagen studio or travelling the world on shoots, creating fine art series and artworks for personal projects or major commercial brands.

