Recently I shot aerials of New York City for a long-term personal project. This is a view that many photographers have shot – the southern tip of Manhattan showing The Battery and the Financial District.
This image was shot on a Hasselblad H1, 35mm lens and my trusty Leaf Credo 60. Supporting the camera and back was my Kenyon gyroscope. I was shooting from a turbine helicopter piloted by a friend who I have worked with for many years.
I will walk you through my process of taking the uncorrected RAW file to a final full-res image.
8 easy steps
First off, let’s look at this ugly mess of a RAW file. The sky is too bright, the color is off and a bit green plus there are dust spots and lens corrections that need to be made.
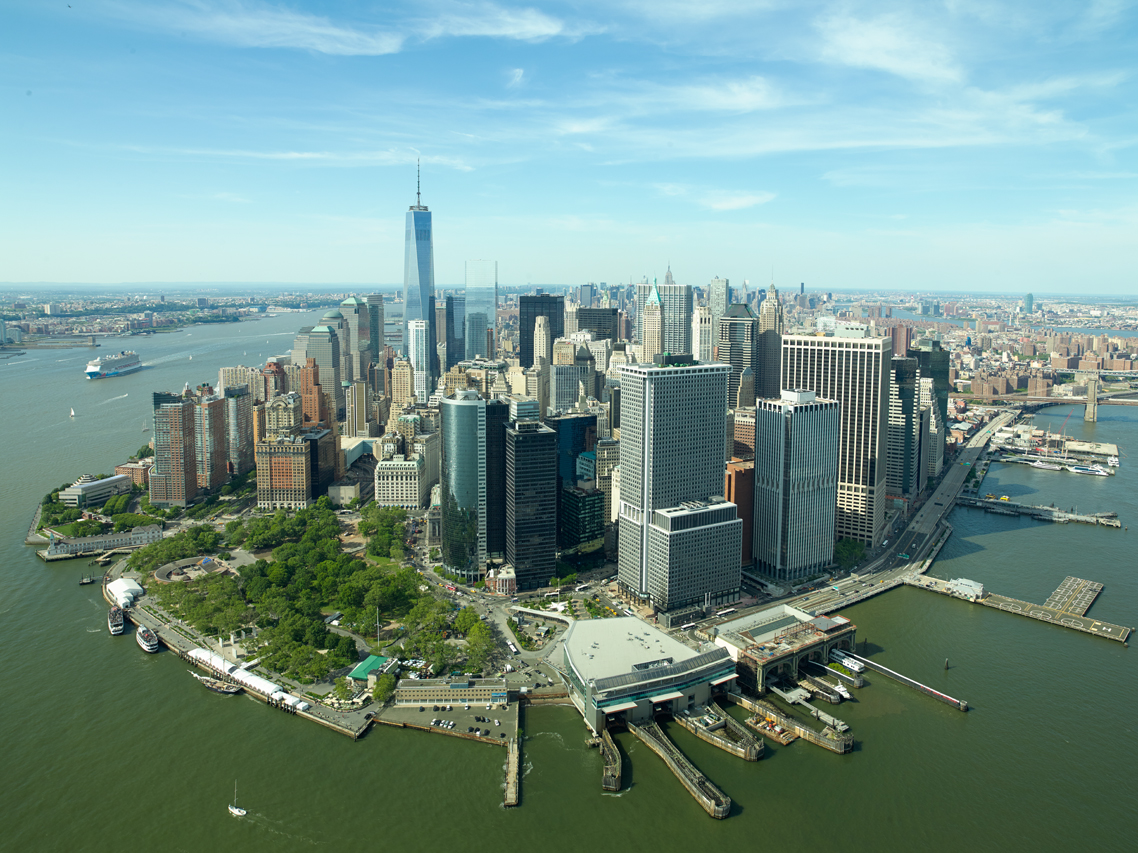 Step 1: The first part of my process was to get my black point set and to knock down any glaring highlights that may be clipping. I set the black point to 5 and brought the highlight recovery up to 36. This brought the highlights down to 252/251.
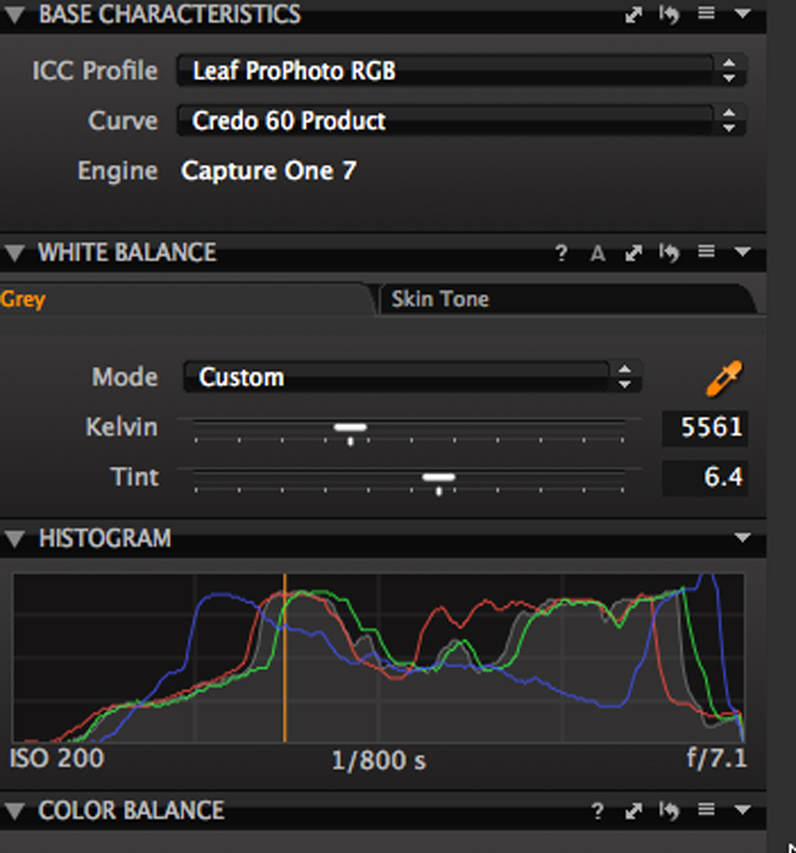
Step 2: I then changed my ICC Profile to Leaf ProPhoto RGB and the curve to Credo 60 product. This gives me a bit more contrast and a slight amount of magenta.
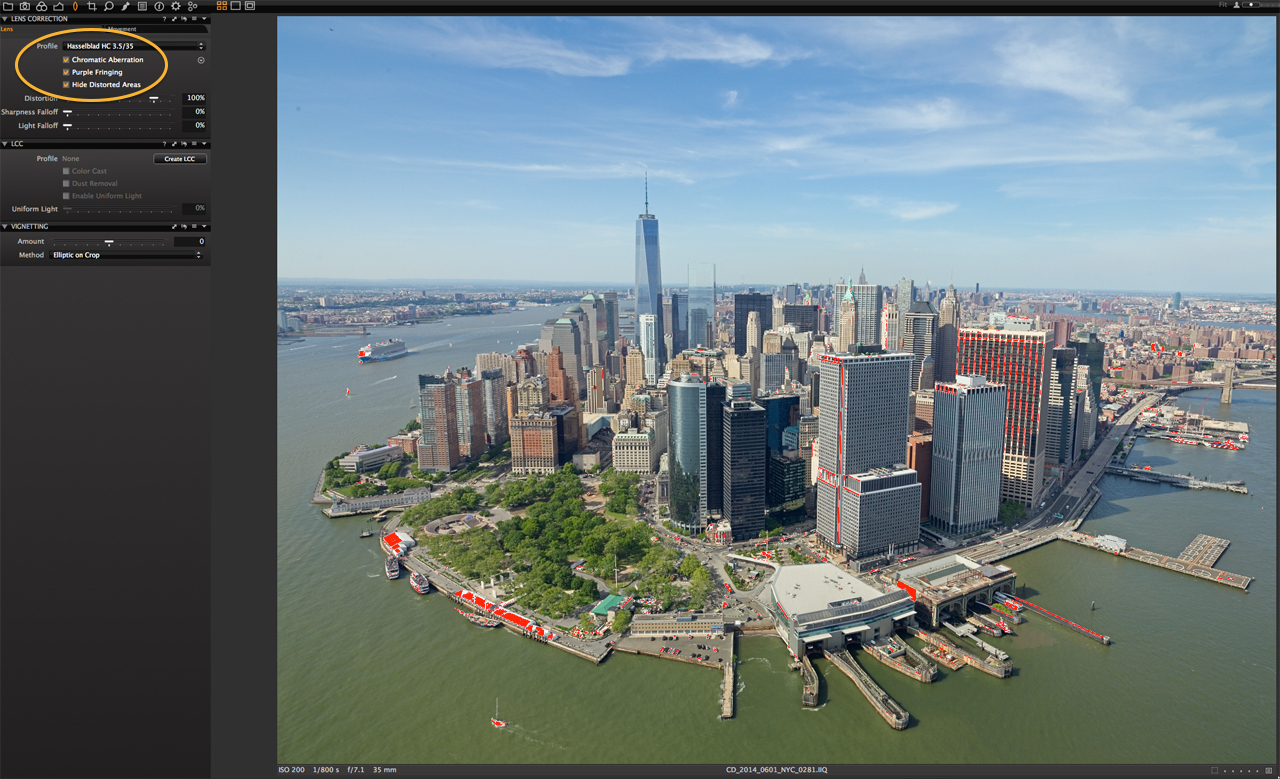
 Step 3: Next up were lens corrections. Capture One Pro 7 is able to correct the distortion in the Hasselblad 35mm lens easily. I checked all three boxes: Chromatic Aberration, Purple Fringing and Hide Distorted Area (see below).
Step 4: Then I applied the keystone correction. This is critical with aerials because you are often looking down on buildings, and it tends to push the perspective a bit when you shoot extreme wide-angle lenses. I am not looking for complete correction but more in line with bringing the image closer to how the eye sees and believes.
For this image I chose two buildings close to the center of the frame to use as the keystone reference. If I had chosen buildings toward the edge of the frame, the corrections would tend to be too dramatic for my taste plus it would crop the image more than I want. Occasionally, the correction will shift the horizon to the left or right and a small correction will be needed.
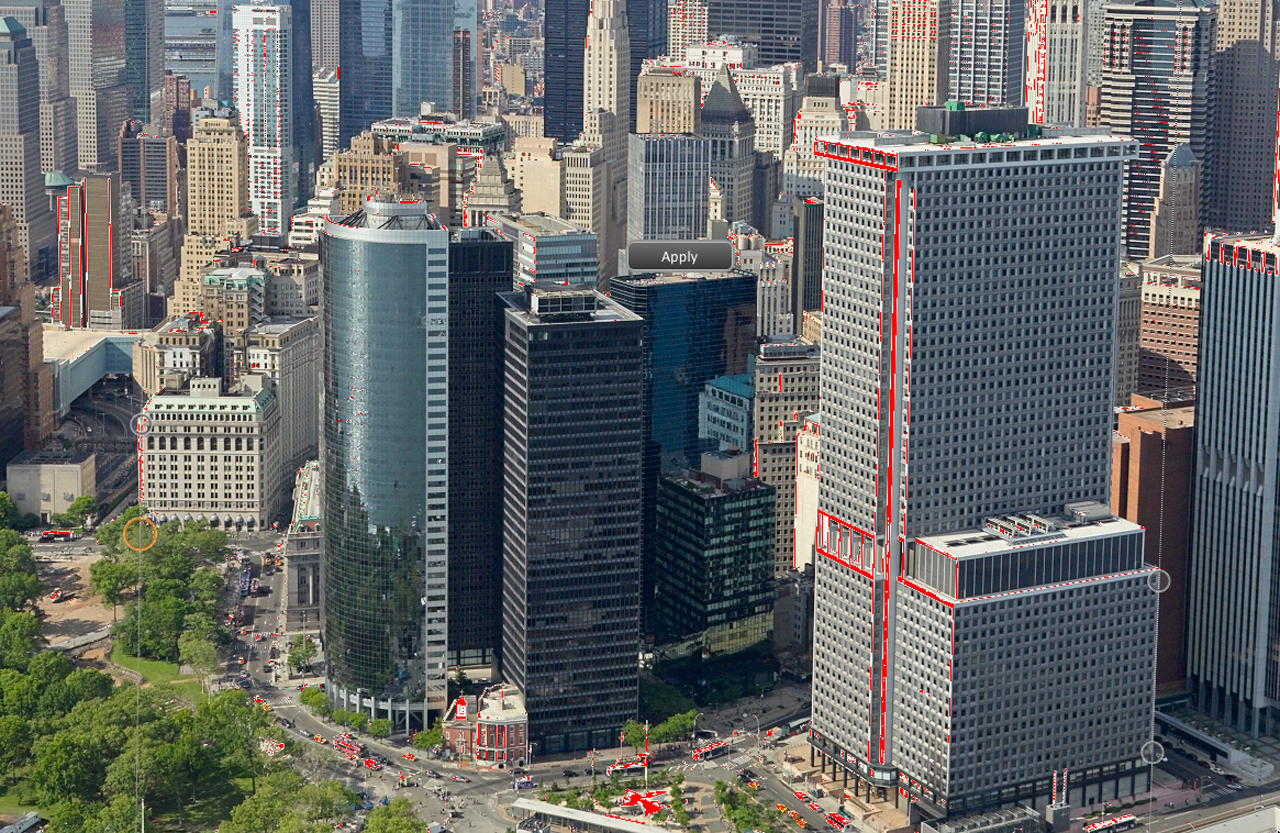
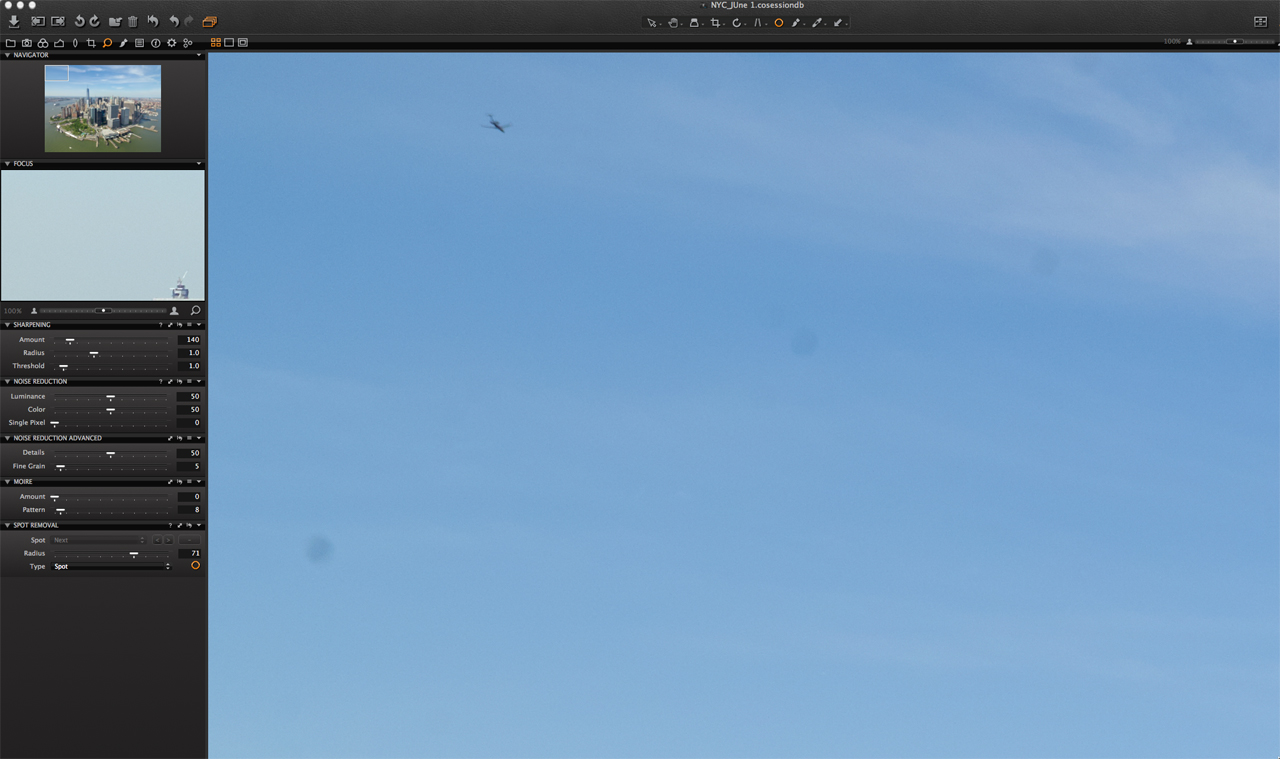
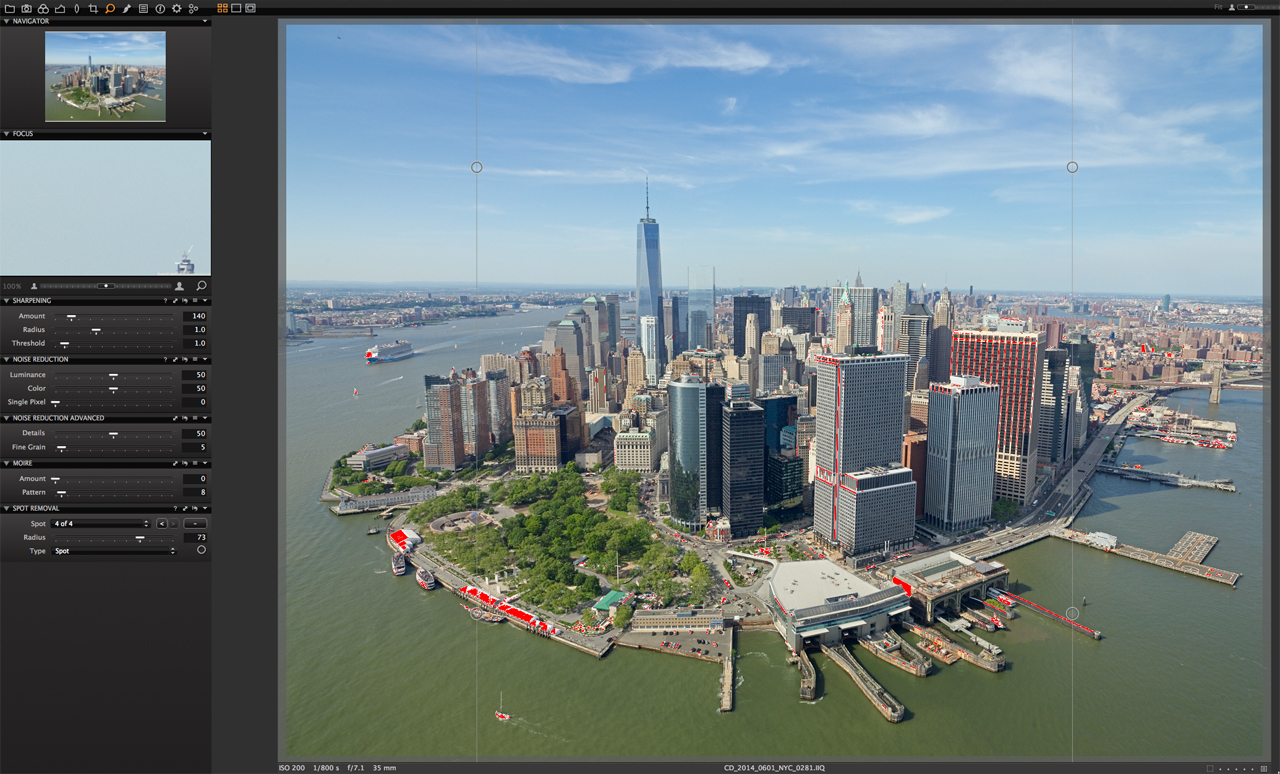 Step 5: I like to spot an image before adding correction layers, major color corrections or gradients. I use the Spot Removal Tool more than the Dust Tool even if it was a dust spot. It just works for me. The radius was a bit larger than the dust spots and yes, I did leave the airliner flying out of Newark Airport in the frame.
 Step 6: After I finished spotting the sky, I used one of my favorite tools in Capture One Pro 7: The Color Editor. In the advanced mode, I clicked on the center of the sky. I pushed the smoothness up to 30, left the saturation alone (although I was tempted to push it up a bit) and dropped the lightness to 49.4. Without using the Gradient Tool, I was able to bring the sky color and tone down quite a bit by using this Color Editor.
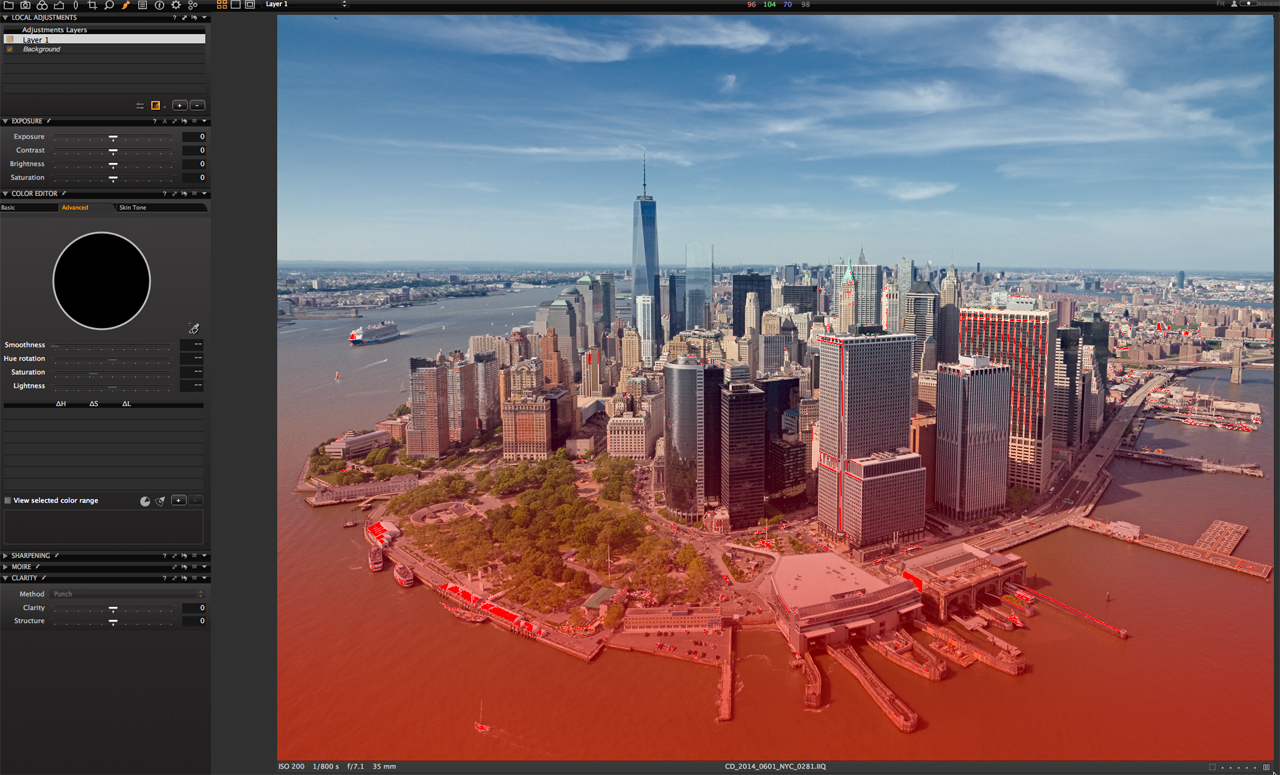 Step 7: I applied a gradient on the bottom of the frame to bring the exposure down just a bit. I played with it for a while, adding contrast and then backing off to make it a little more subtle.
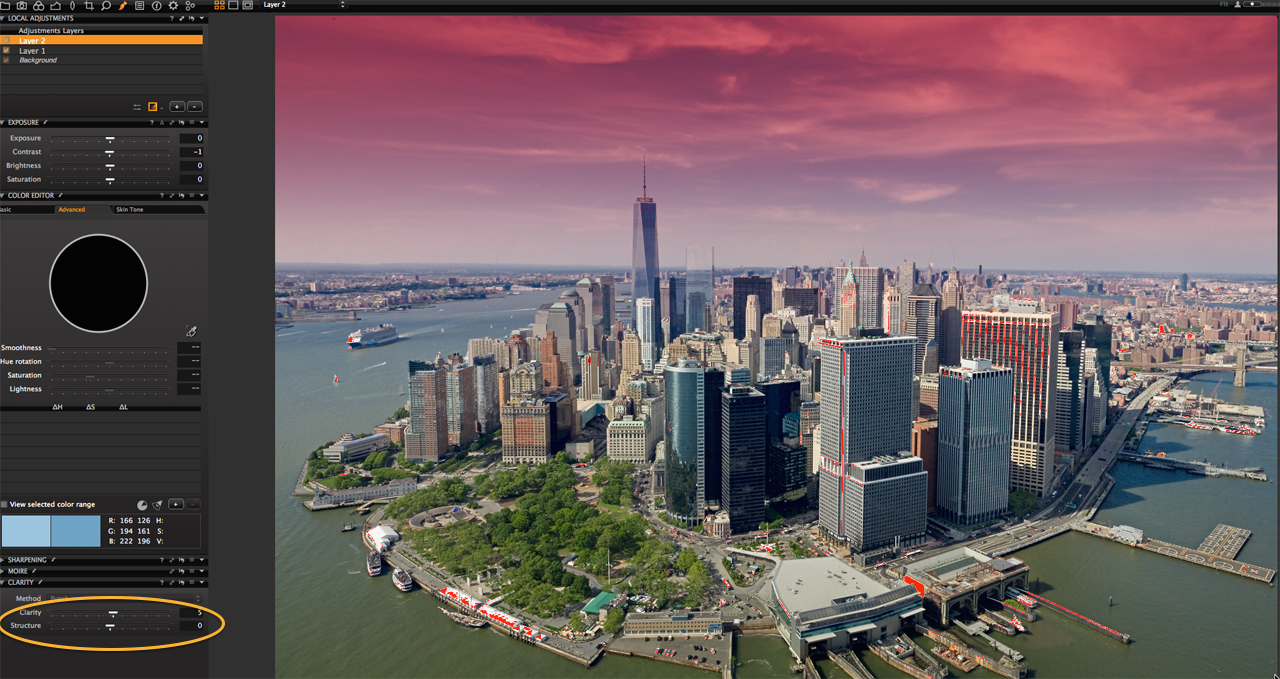 Step 8: Then it was off to top half of the frame and bringing out the clouds with Clarity. This one is tough – you can easily overdo it easily and make your skies unbelievable. I added just a bit.
That’s it for this one. Clean, simple and easy.
Thank you to David Grover and Gitte Maj Nielsen from Phase One for asking me to participate in the Capture One Blog.
Best regards,
Cameron Davidson | Photographer
email: [email protected]
web: http://www.camerondavidson.com
Cameron Davidson
Cameron Davidson is a well known American aerial and location photographer who shoots for a healthy mix of editorial, NGO and commercial clients including Vanity Fair, Dominion Resources, Virginia Tourism, Money and ESPN The Magazine.

