
Why do we edit pictures?
There is a lot of different answers to that question. For me personally, it’s mainly to give the image the “feel” that I want it to have, and to ensure the overall image quality. My editing process consists mainly of adjusting color, contrast and details. I don’t do larger multiple composition work, clone in or out larger areas or do heavy skin and body retouching.
This workflow means that I don’t need the extensive possibilities offered through Photoshop, and instead can use Capture One Pro 9 as a one-stop software for all my editing, sorting, rating and IPTC needs. For me this means I get a highly efficient workflow that allows me to do a lot of work in a short amount of time – not only on assignments where time is of the essence, but also everyday in the office. A focused workflow enables me to be very effective and thereby adopt a “work smarter not harder” mentality.
I find Capture One Pro 9, combined with the highest image quality, to be the strongest asset to me as a photographer.
The new engine in Capture One Pro 9, specifically the changes to the Contrast Tool, is something I’m very happy to see. The Contrast Tool doesn’t allow adjustments to become too contrasty too fast, which older versions had a habit of doing. This is further helped by the High Dynamic Range Shadow and Highlight Tool, as well as the Clarity Tool, which allows me to control contrast very well.
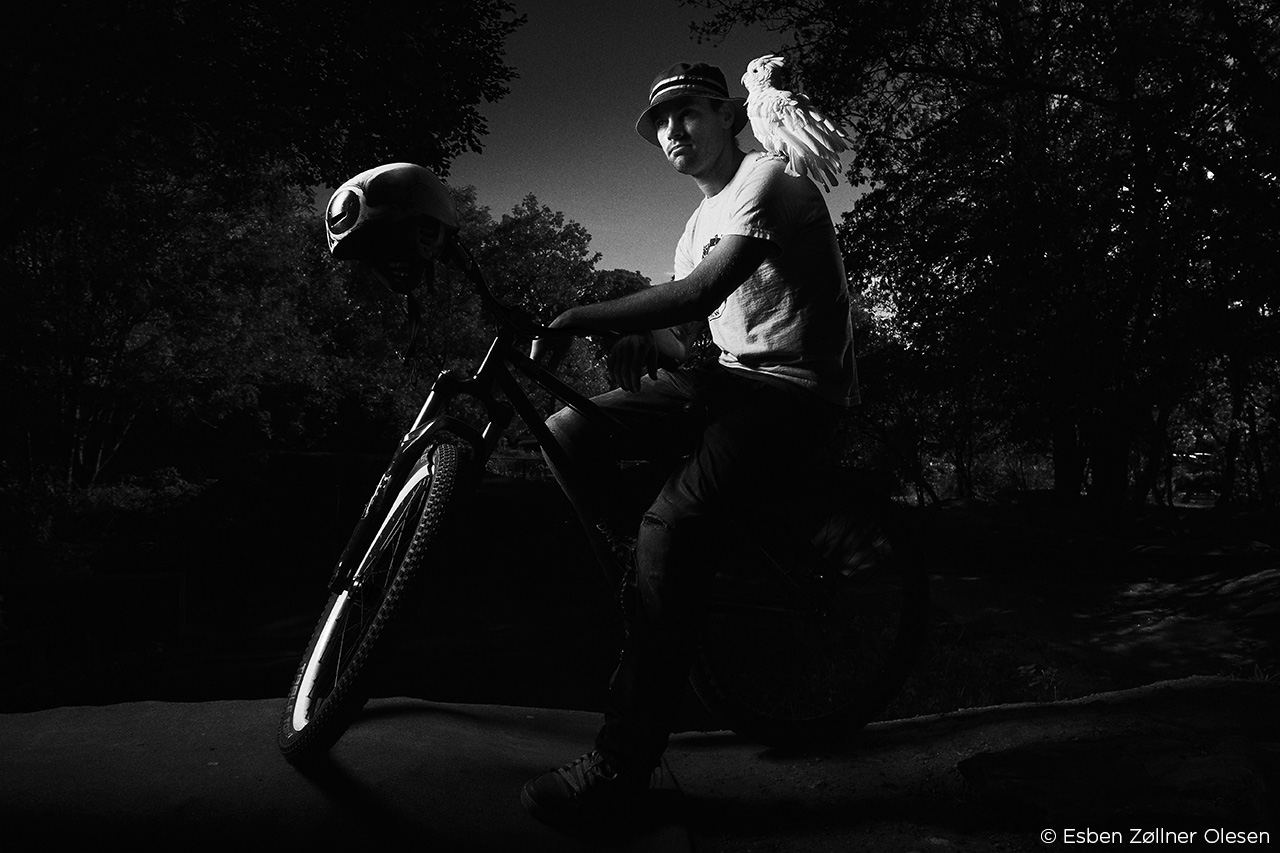
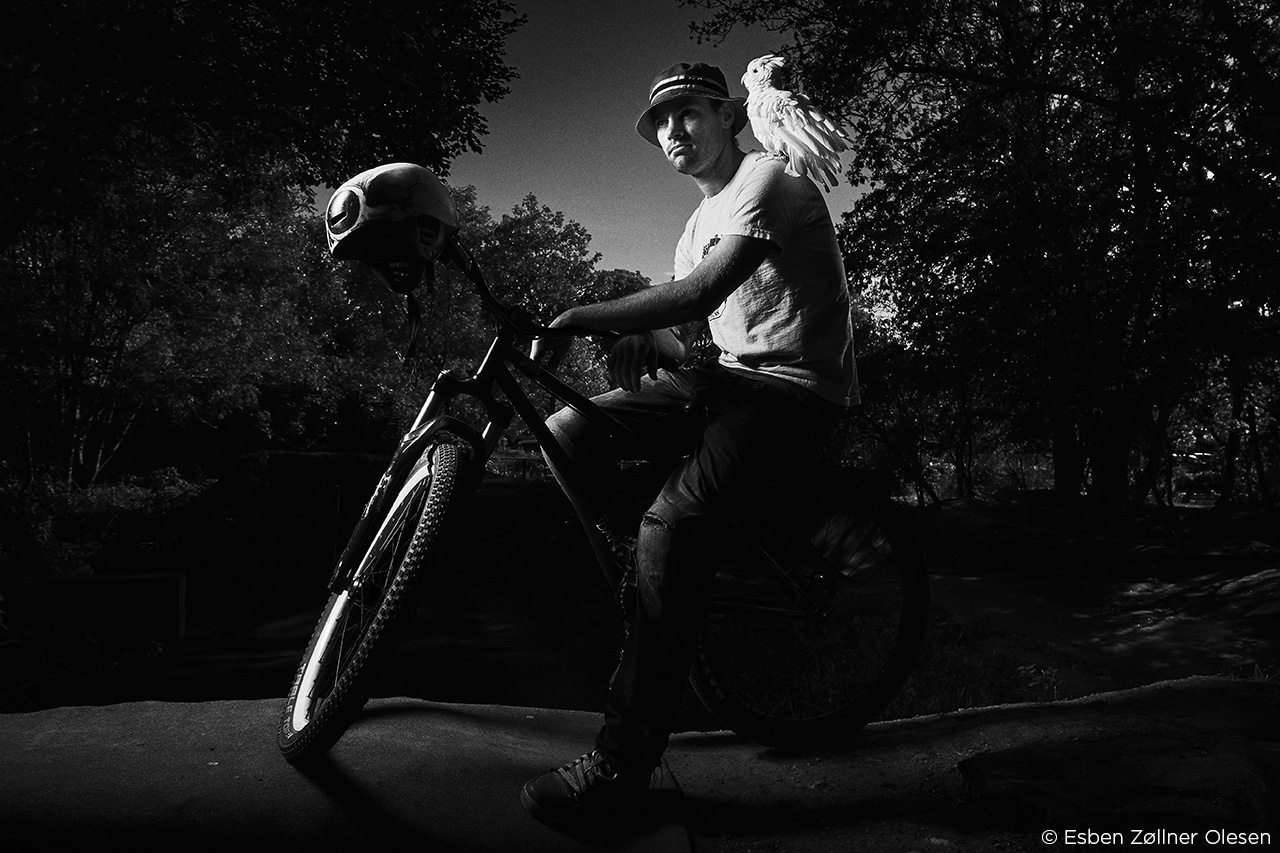
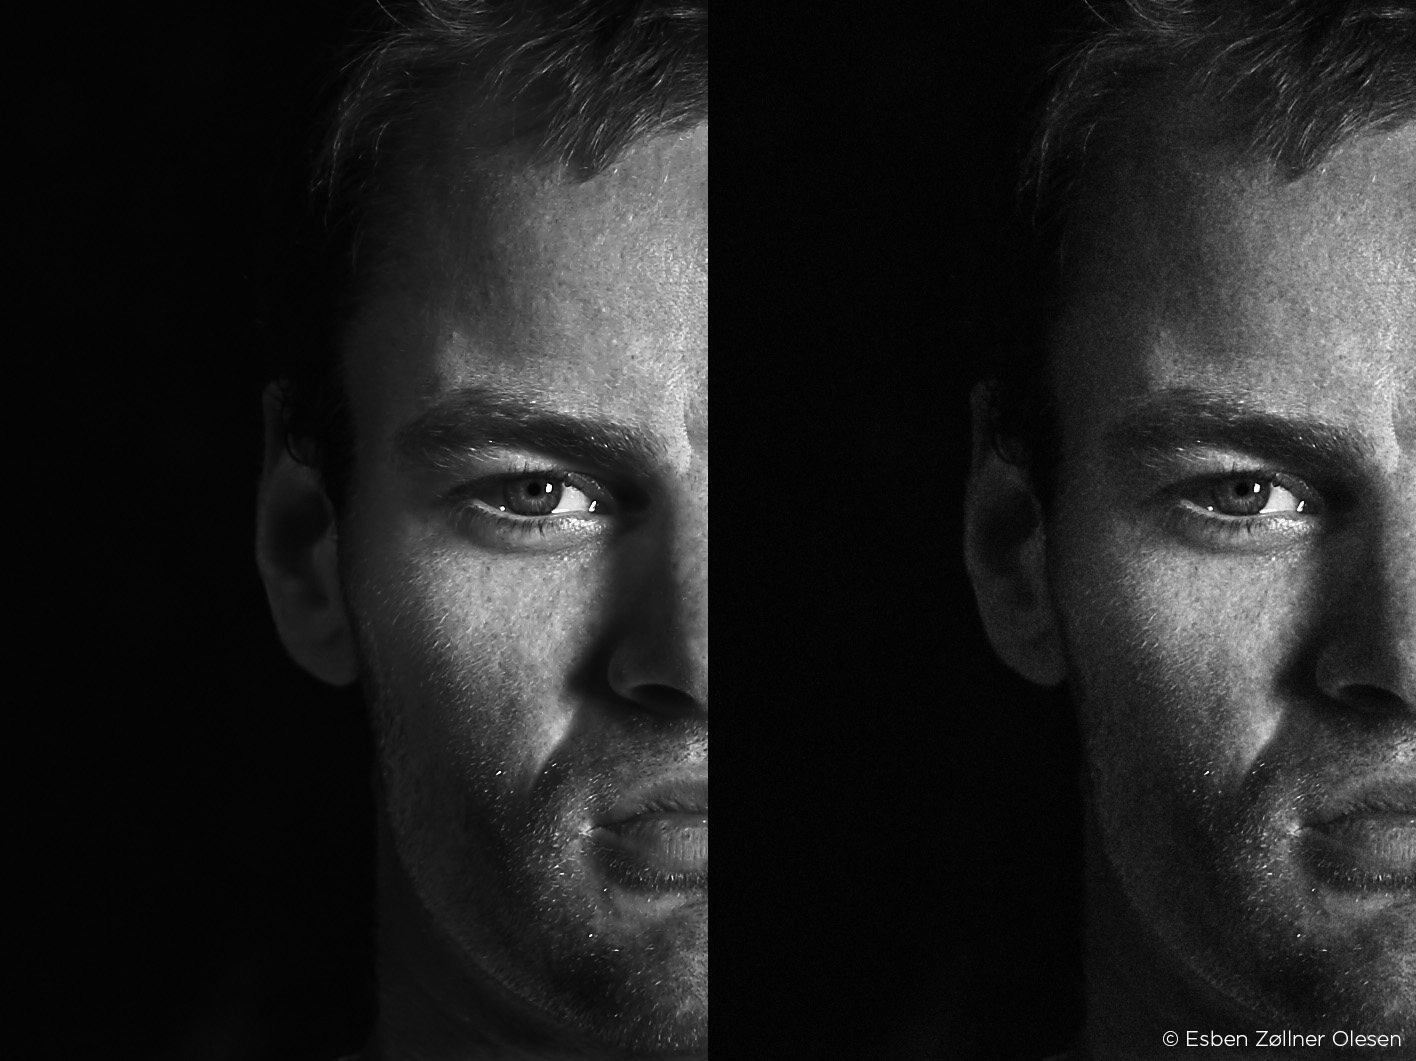
Image without and with shadow/highlight 20/20
Another feature that I really like in Capture One Pro 9 is the Film Grain tool. This tool gives the images, especially when printed in large scale, a film-like look instead of the “perfect” digital files and thereby adds that last bit of detail and feel.
 Without and with Tabular Grain 50/50 – 100 % zoom
The Local Adjustment Tool also got an upgrade in Capture One Pro 9, which is very useful for both detailed work and broader adjustments using, for example, the Gradient Mask tool.
Without and with Local Adjustments with the Gradient Mask too
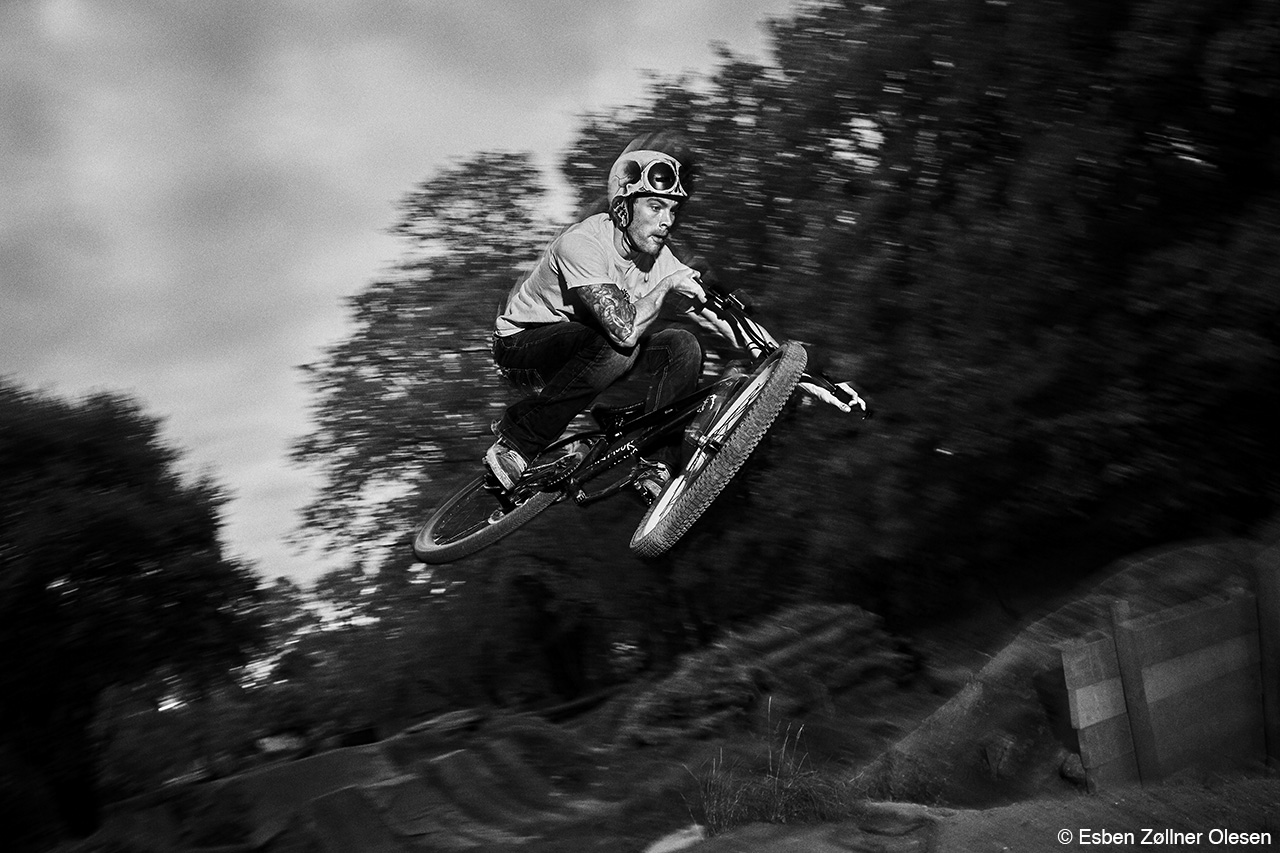
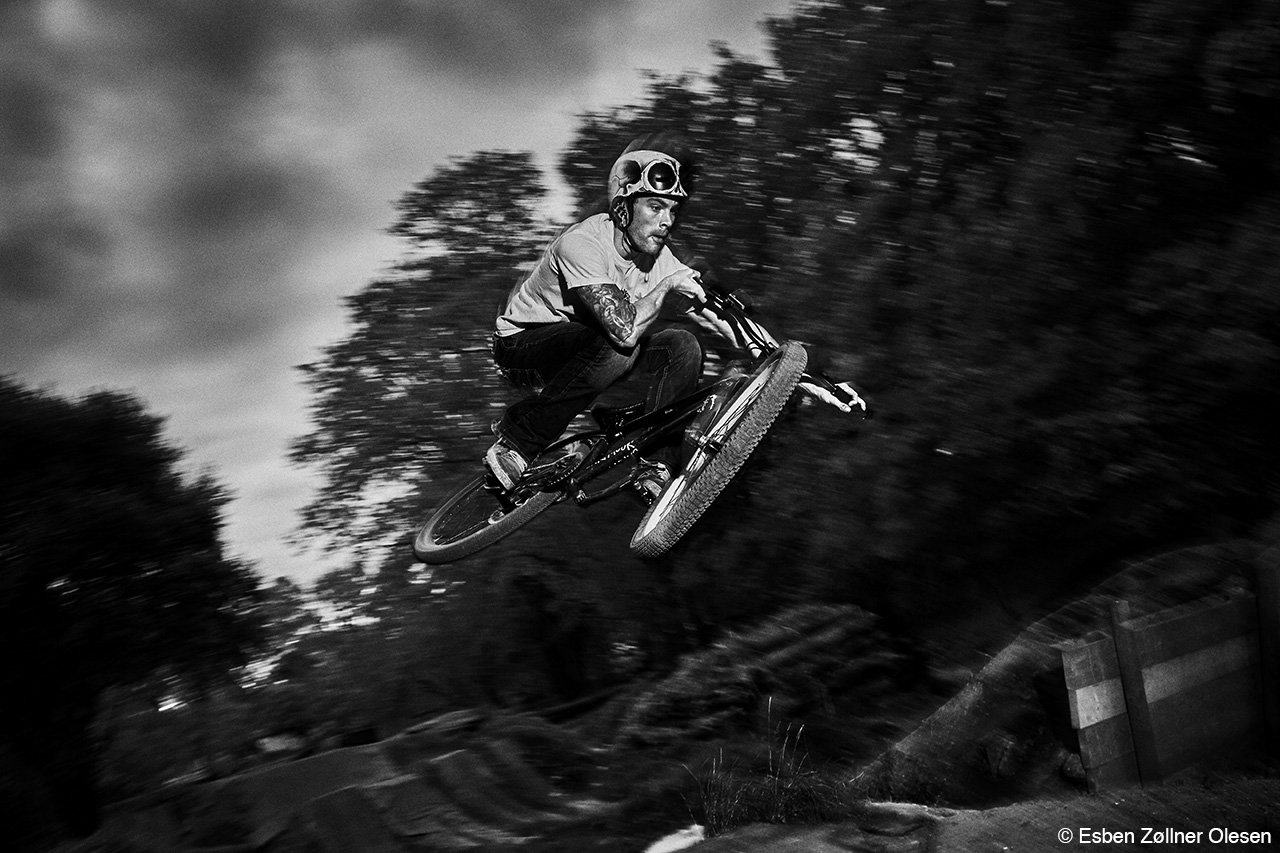
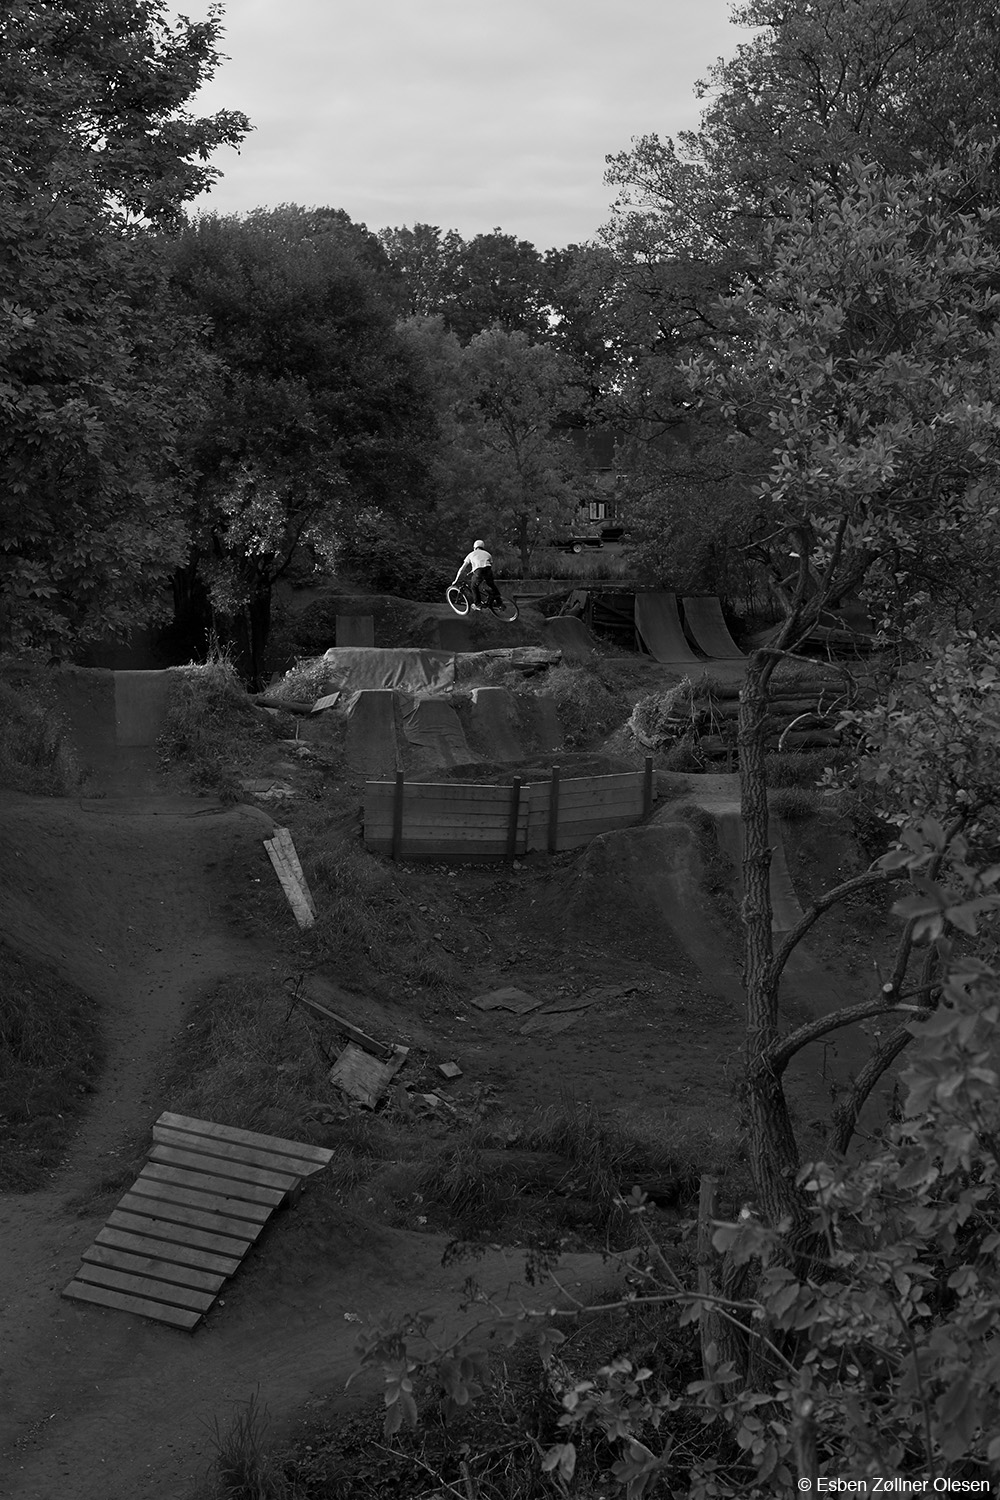
With all these great new improvements to Capture One Pro 9, I was excited to be invited to test the Beta version well before the release. While testing the beta version of Capture One Pro 9, I did a photo essay of a dirt bike rider named Ronni, here in my home city of Copenhagen.
I wanted to have a heavy contrast/rough style to the edited images, something that matched the location and sport while at the same time allowing me to test the new engine of Capture One Pro 9 and it’s improvements, specifically those improvements for contrast.
With this goal in mind, I set out to sort and edit the photos. Below you can see a step-by-step run through of my workflow:
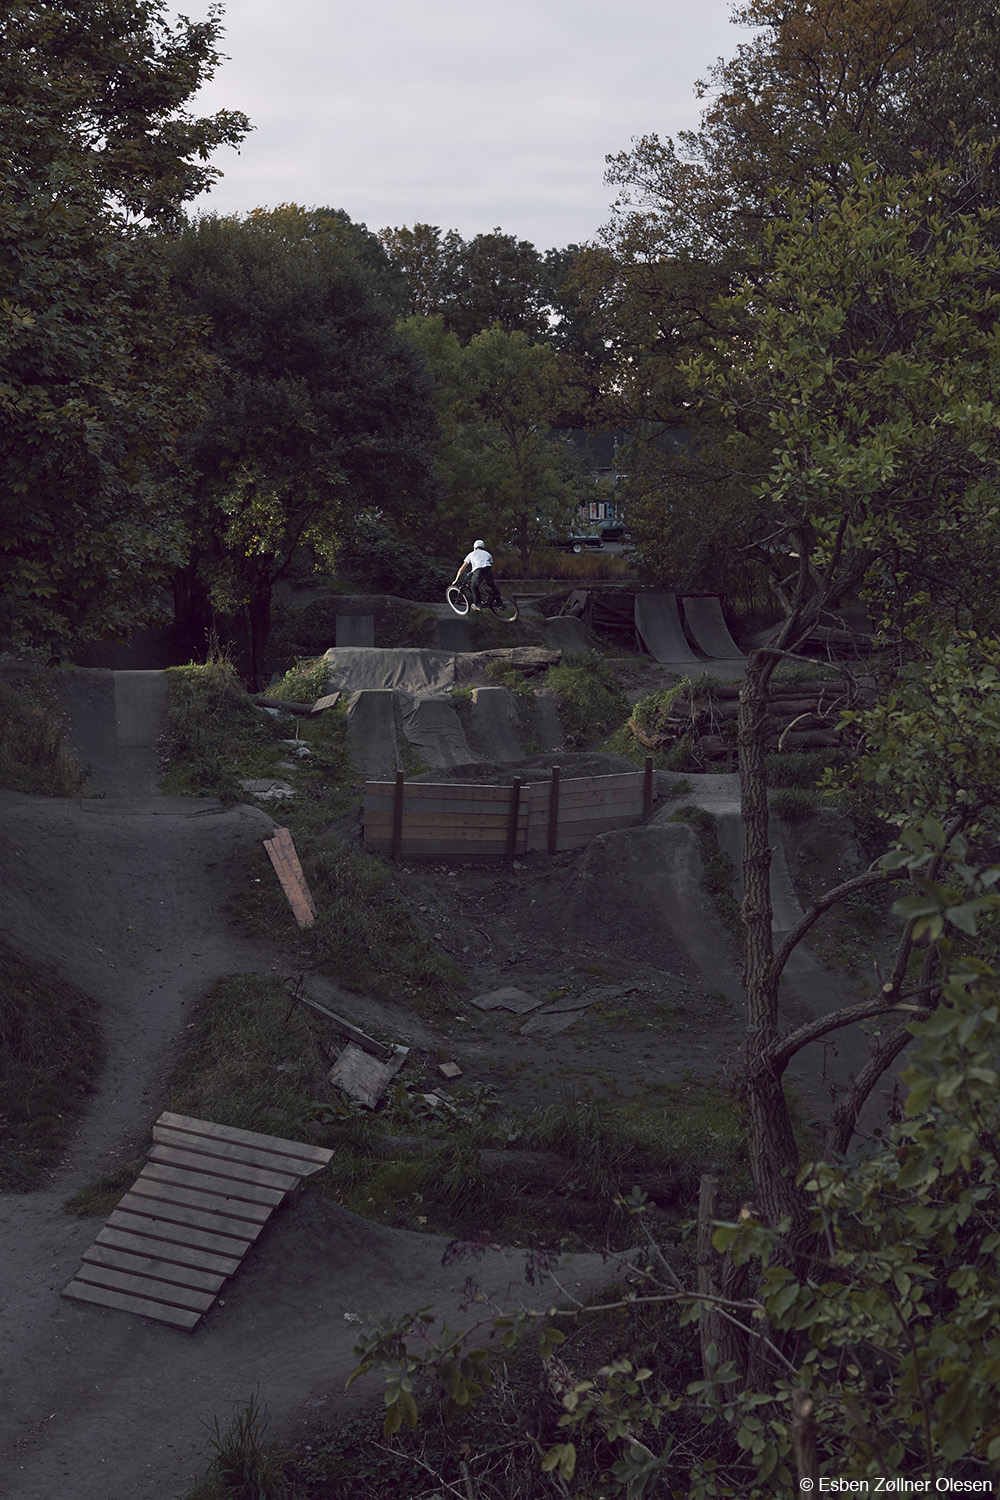
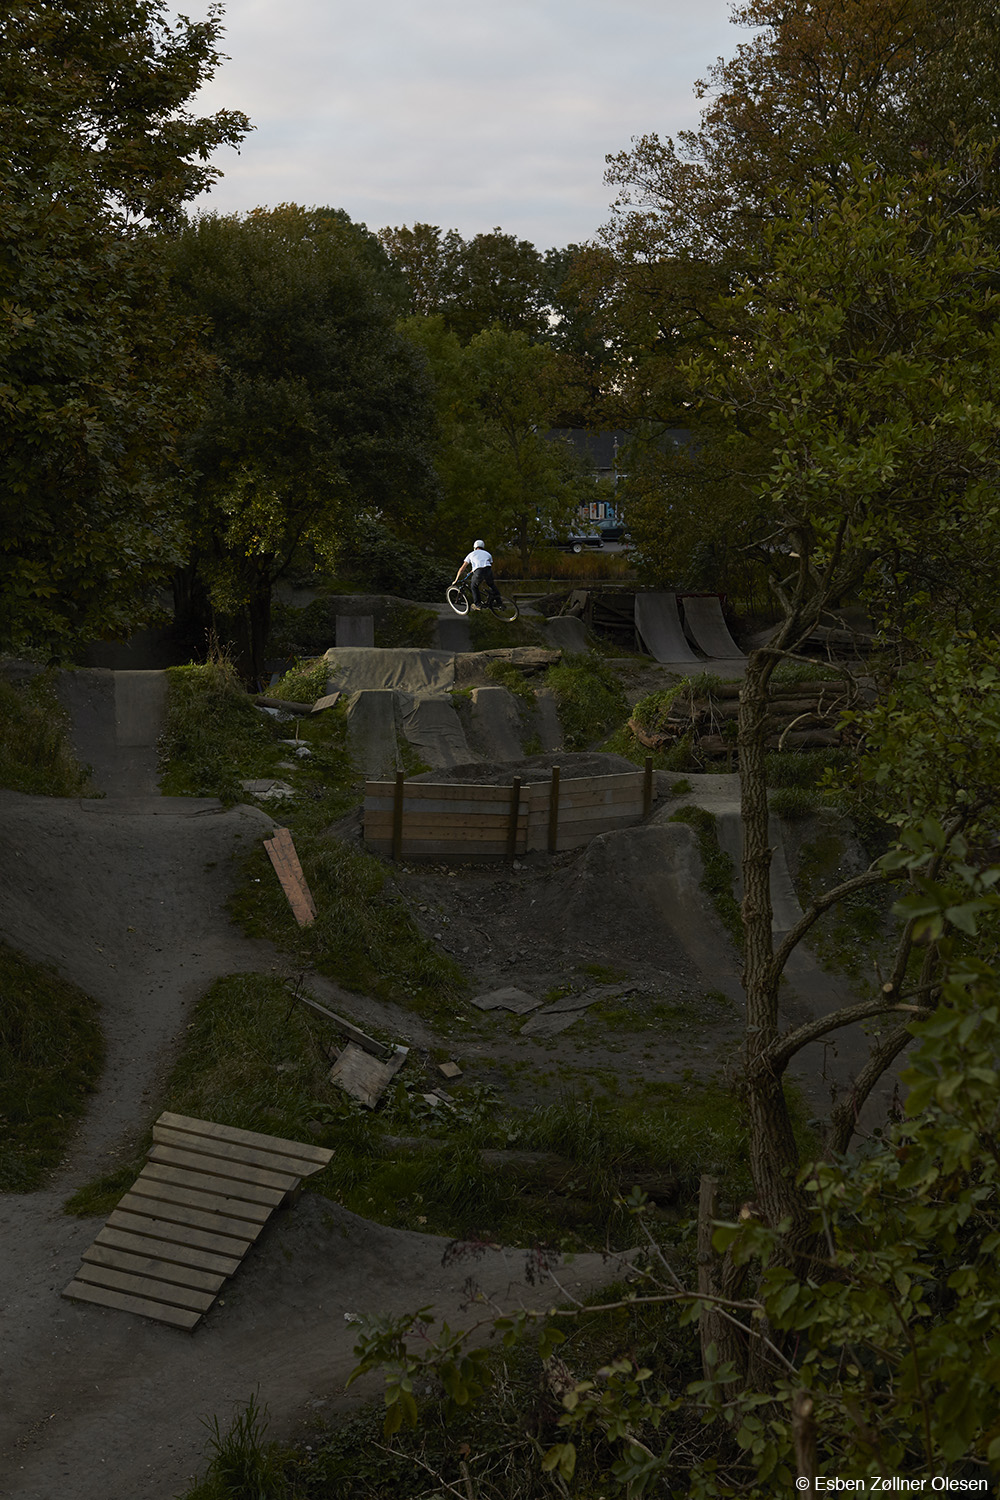 The original RAW, directly from the camera.
The first thing I need to secure, when I start to edit my pictures, is a good base. Therefore I start by establishing the starting point for dynamic range and colors using the Levels tool. I use the RGB Levels tool to secure dynamic range, followed by the three separate channel Levels tool windows to reach my desired colors for the shadows, midtones and highlights (this is more important for color images, but also has some effect on B&W images).
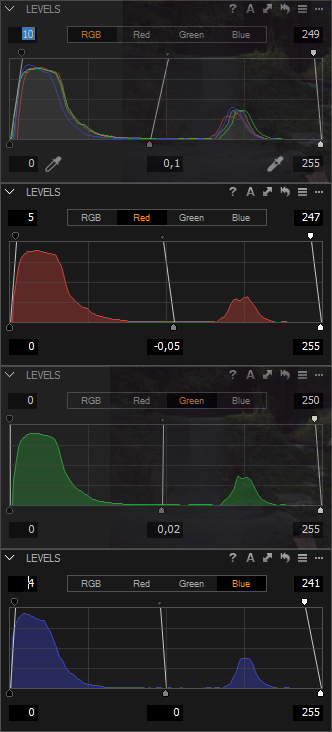 Correcting Levels for desired details and colors in the whole dynamic range in the Levels tool
After the base dynamic range and color is secured, I switch to black and white mode using the Black & White tool. Here we can edit each color channel separately for greater effect, and even use the Color Editor tool for even more possibilities.
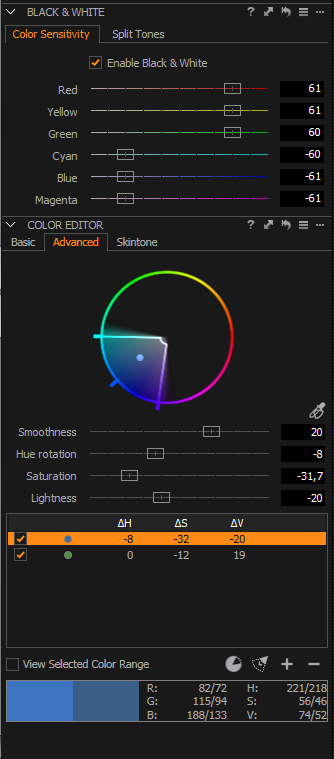 Using the Black & White tool and color editor to control how the colors transform into black and white
Now that the image is monochrome, we need to add contrast to achieve the desired feel of the image. For this series I wanted to have a dark and moody effect, so I added a lot of contrast, balancing on the dark tones, but without getting all black. When I reached the right contrast, I then used the HDR Shadow slider to balance the dark areas, and the HDR Highlight Slider, along with the Brightness slider to tone down to sky. All of this greatly achieved the dark moody look I was after.

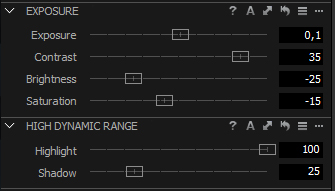 Correcting the exposure, contrast, brightness and dynamic range in the photo for the desired effect + tool corrections
To guide the viewer towards the centre of the frame, where the action is, I here added some vignette to the frame, using the Vignetting tool.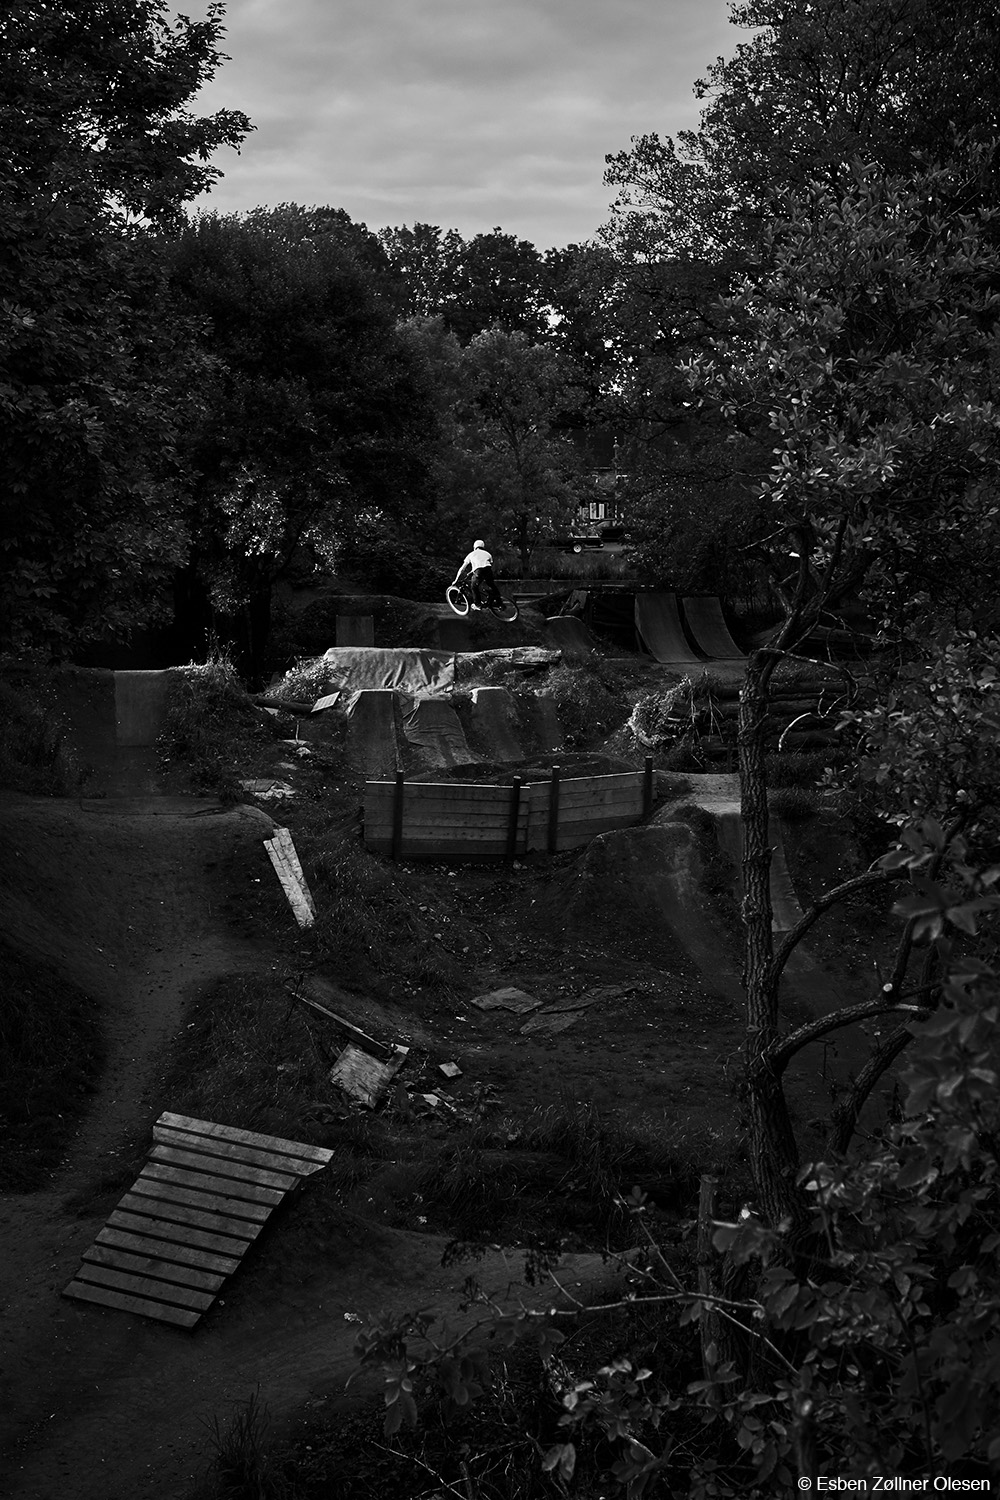
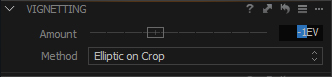 Adding vignette + tool corrections
At this stage it’s time to add detail. To do this I used the Clarity tool to bring a bit more details forward, and the Noise Reduction tool for a clean file, which I can then add beautiful Film Grain to. It might seem a bit odd to first use Noise Reduction and then add back noise; but in my mind there is a clear difference between the digital noise, and the beautiful film noise from Capture One Pro 9. The Film Grain also helps to further strengthen the dark and moody look I was going for.
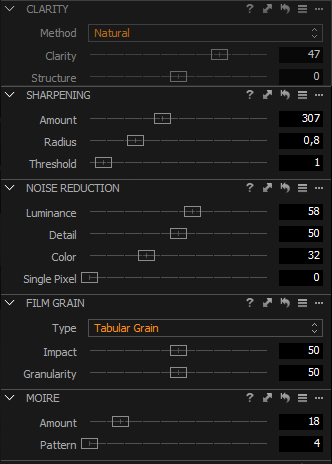 Adding details with clarity, noise reduction and film grain + tool corrections
For the final touch-up I use the Local Adjustment tool,for areas that needed special attention. I used it to get a darker sky, to add a bit more Clarity to areas that needed it, and then finally to darken a few highlighted areas, all without ruining other areas.

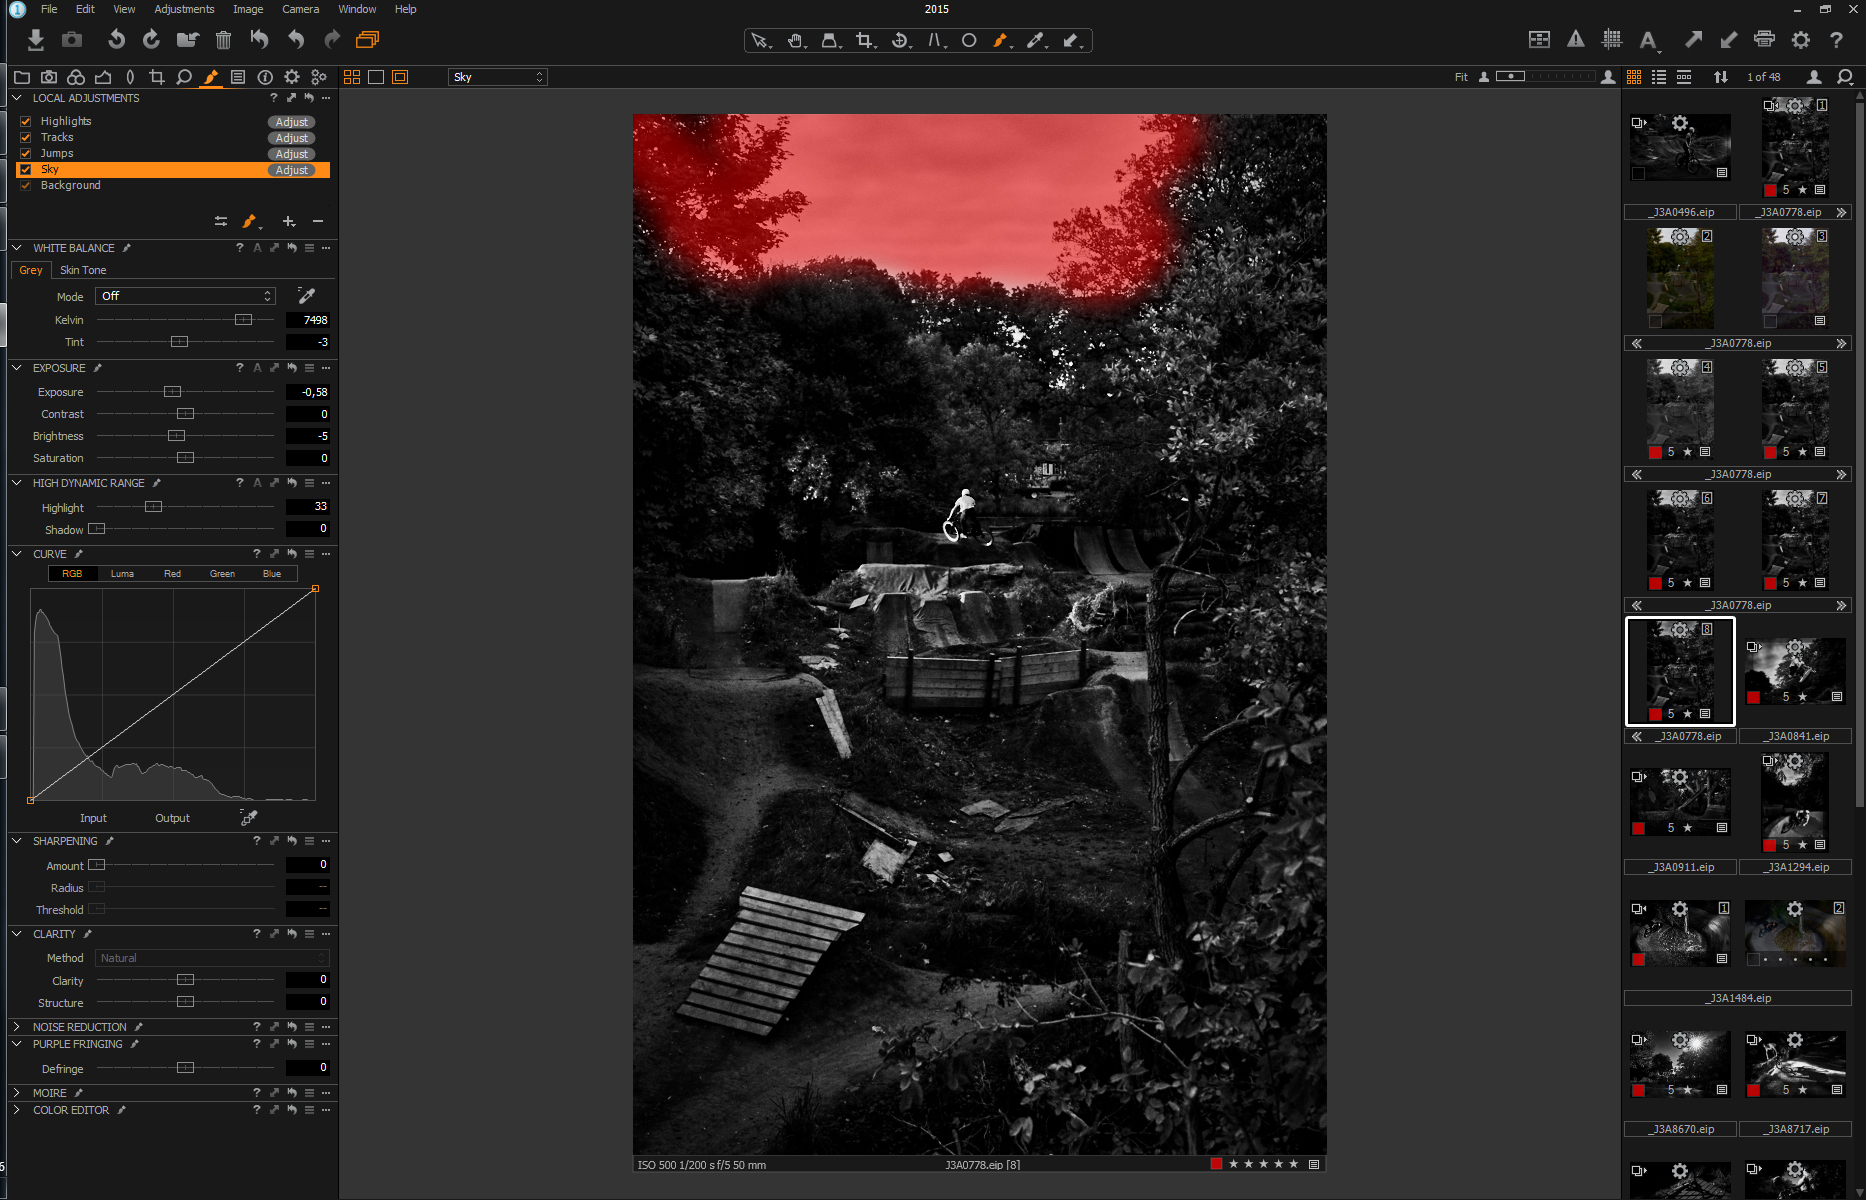
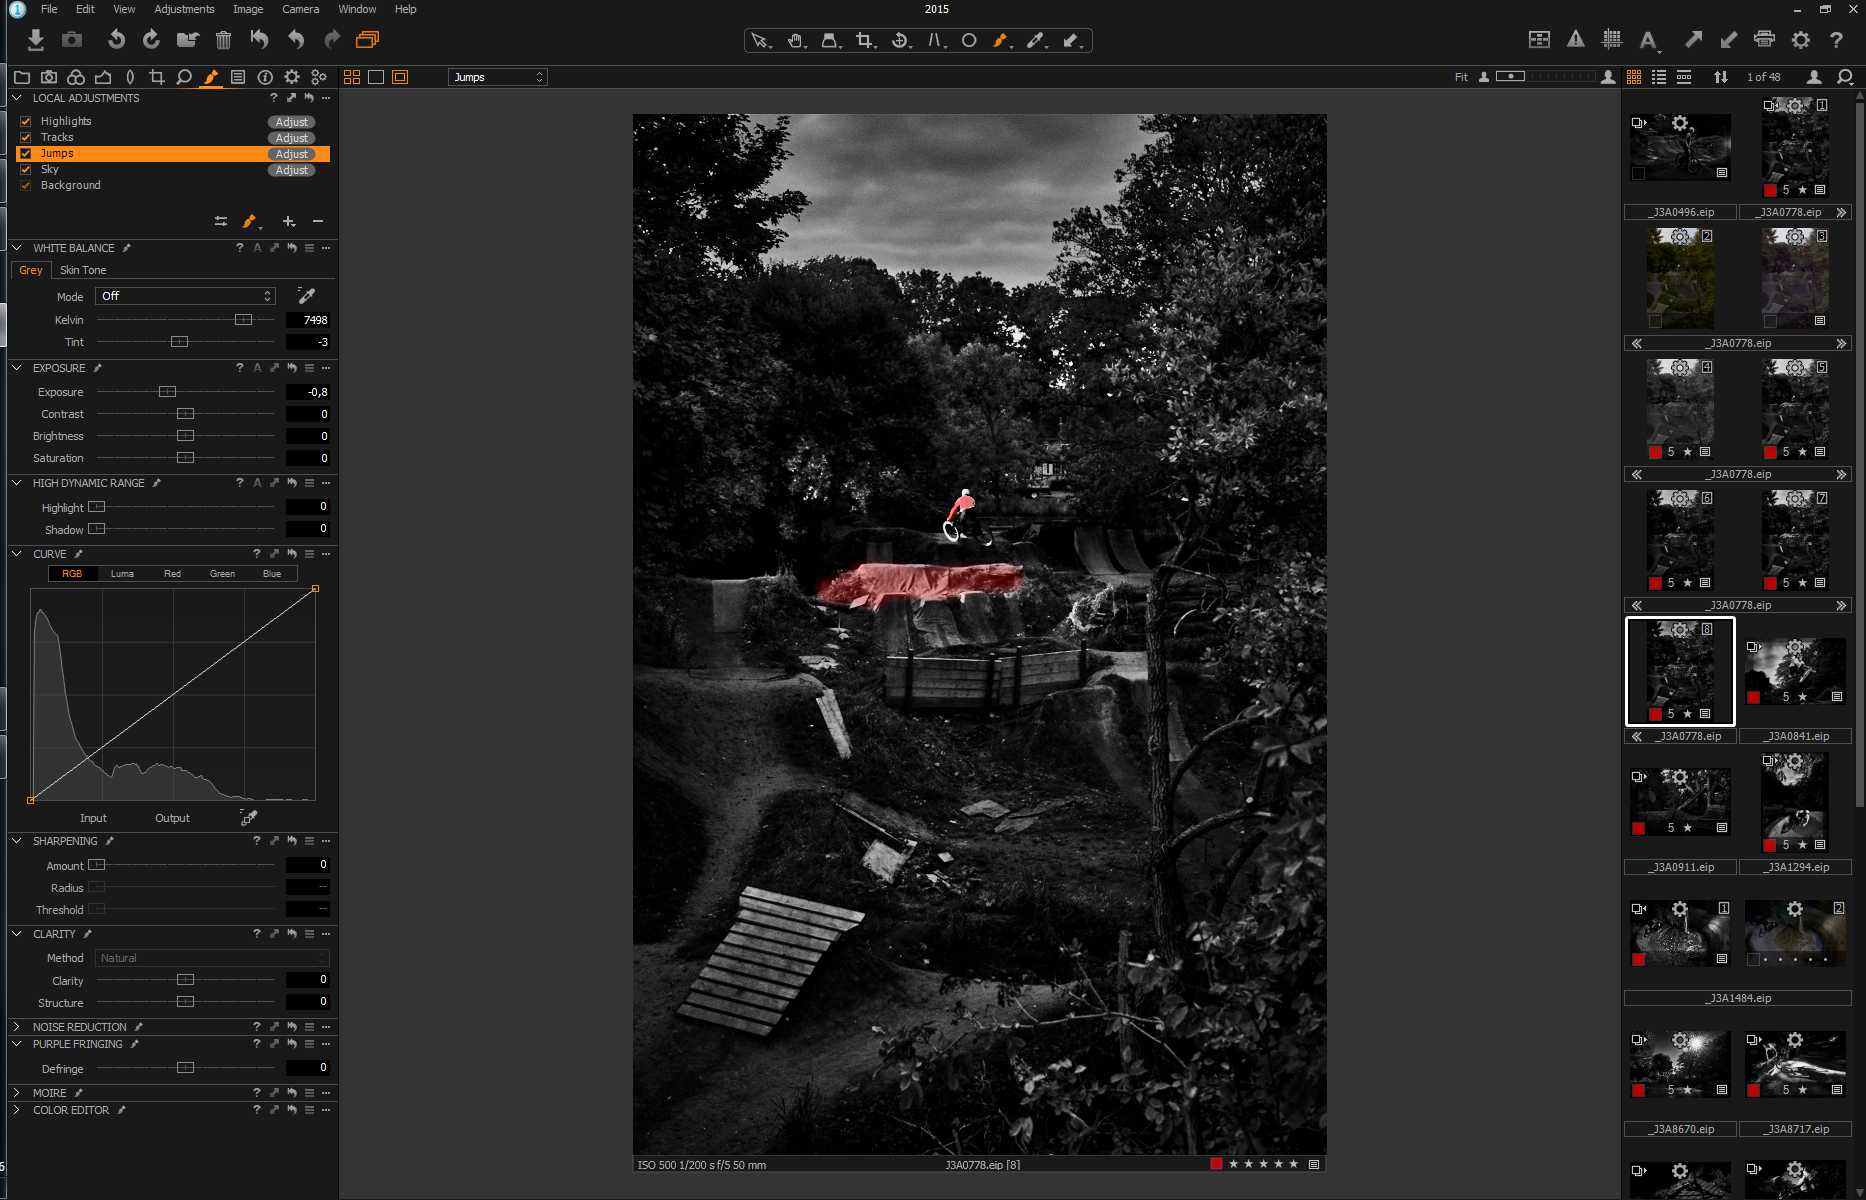
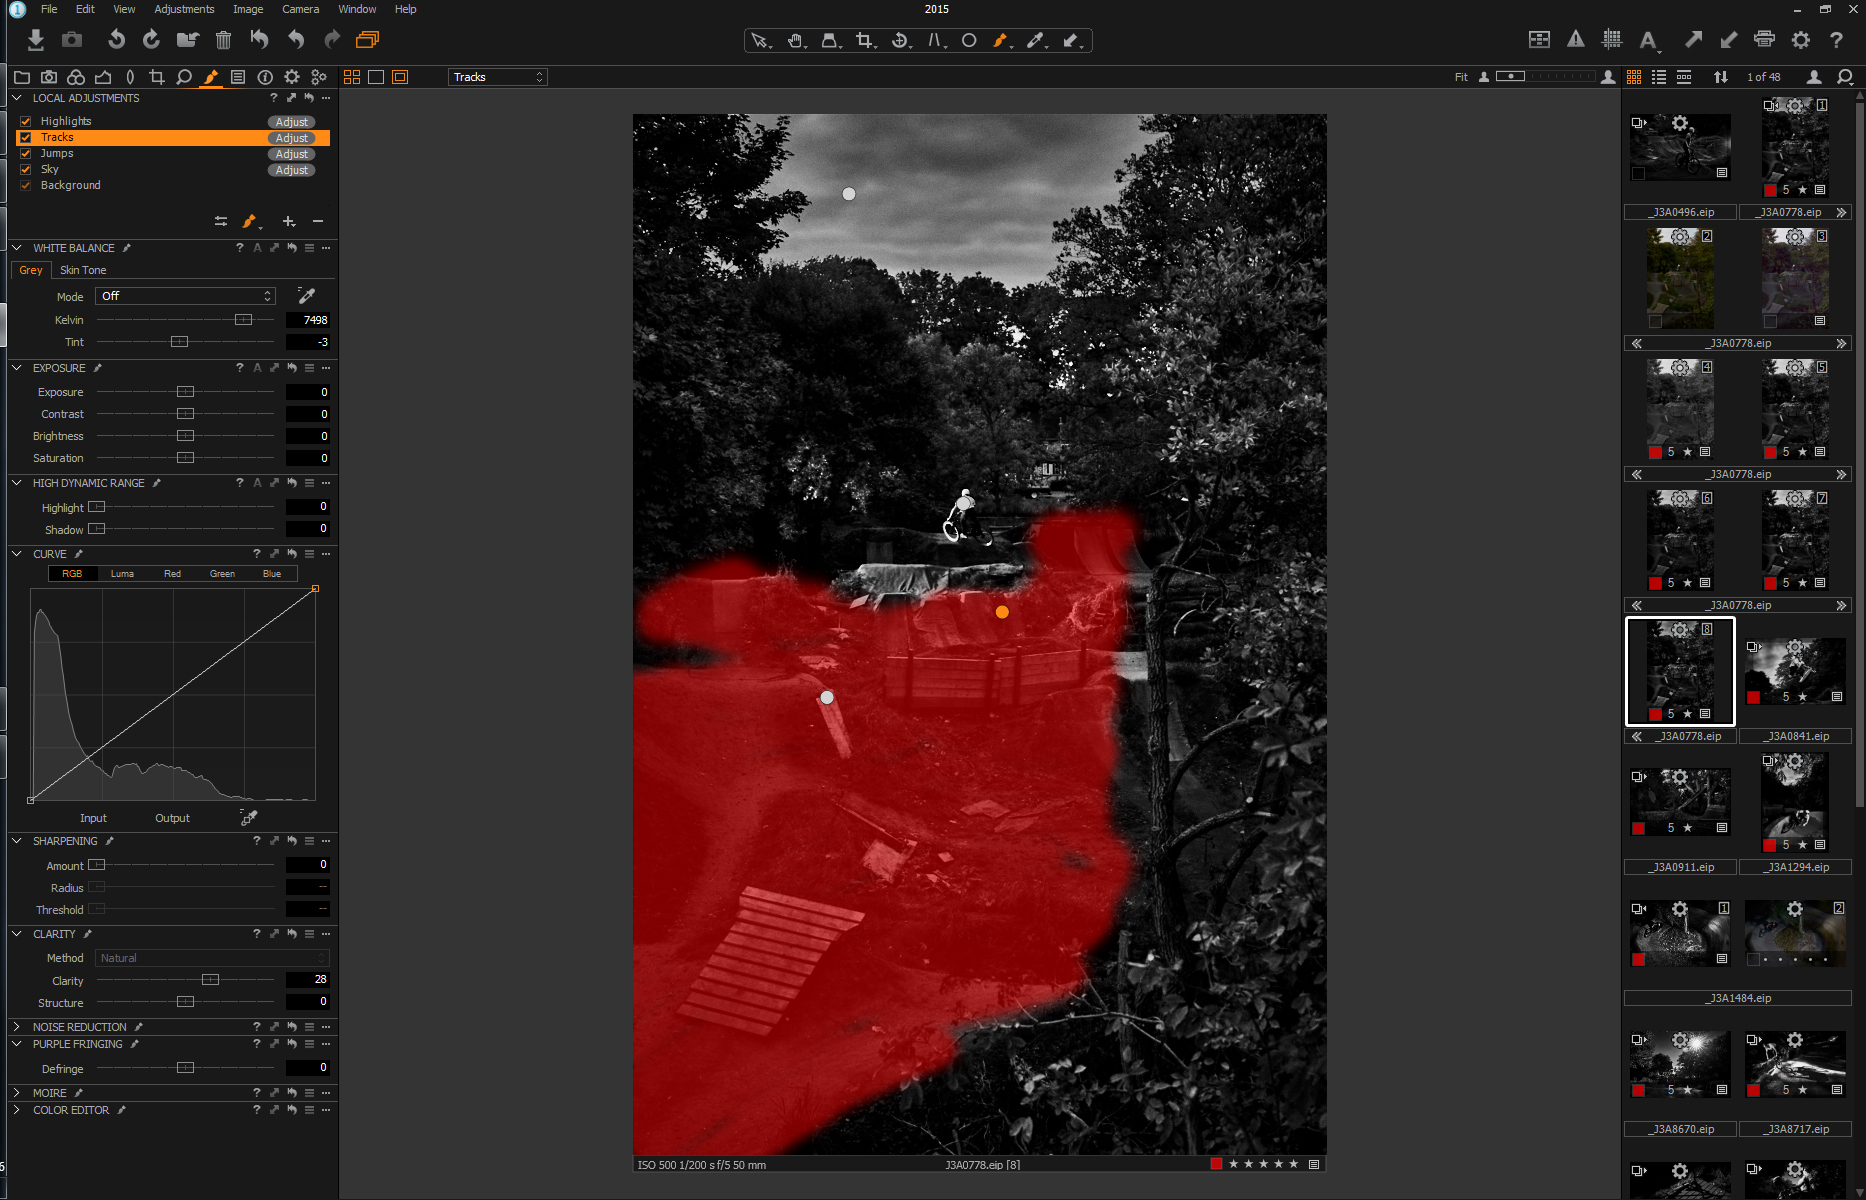
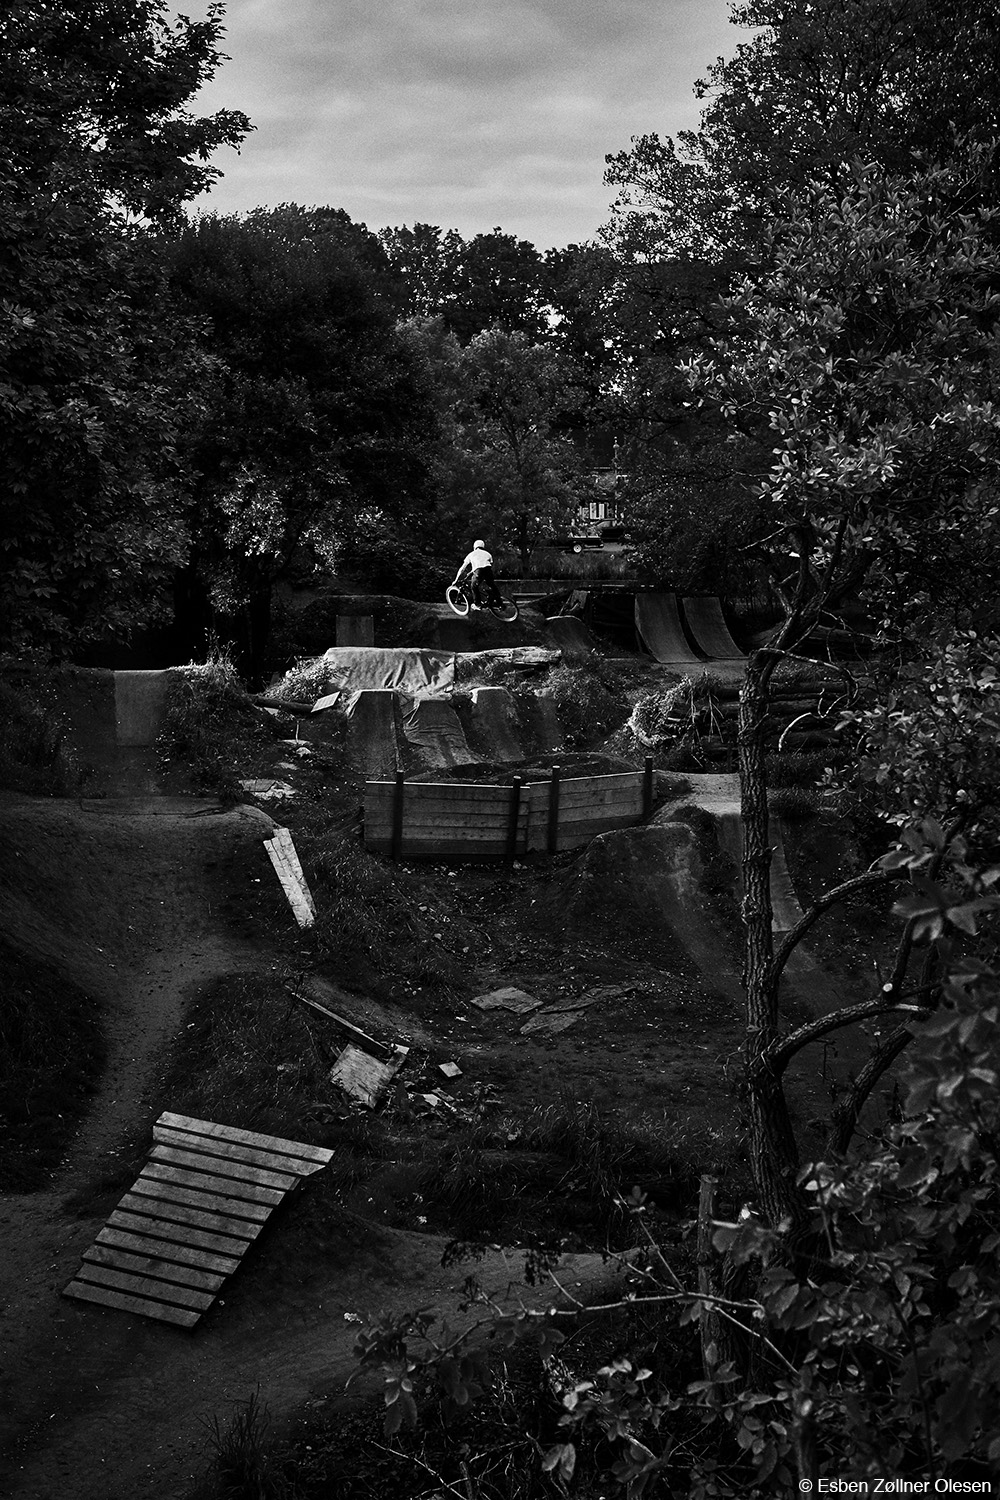
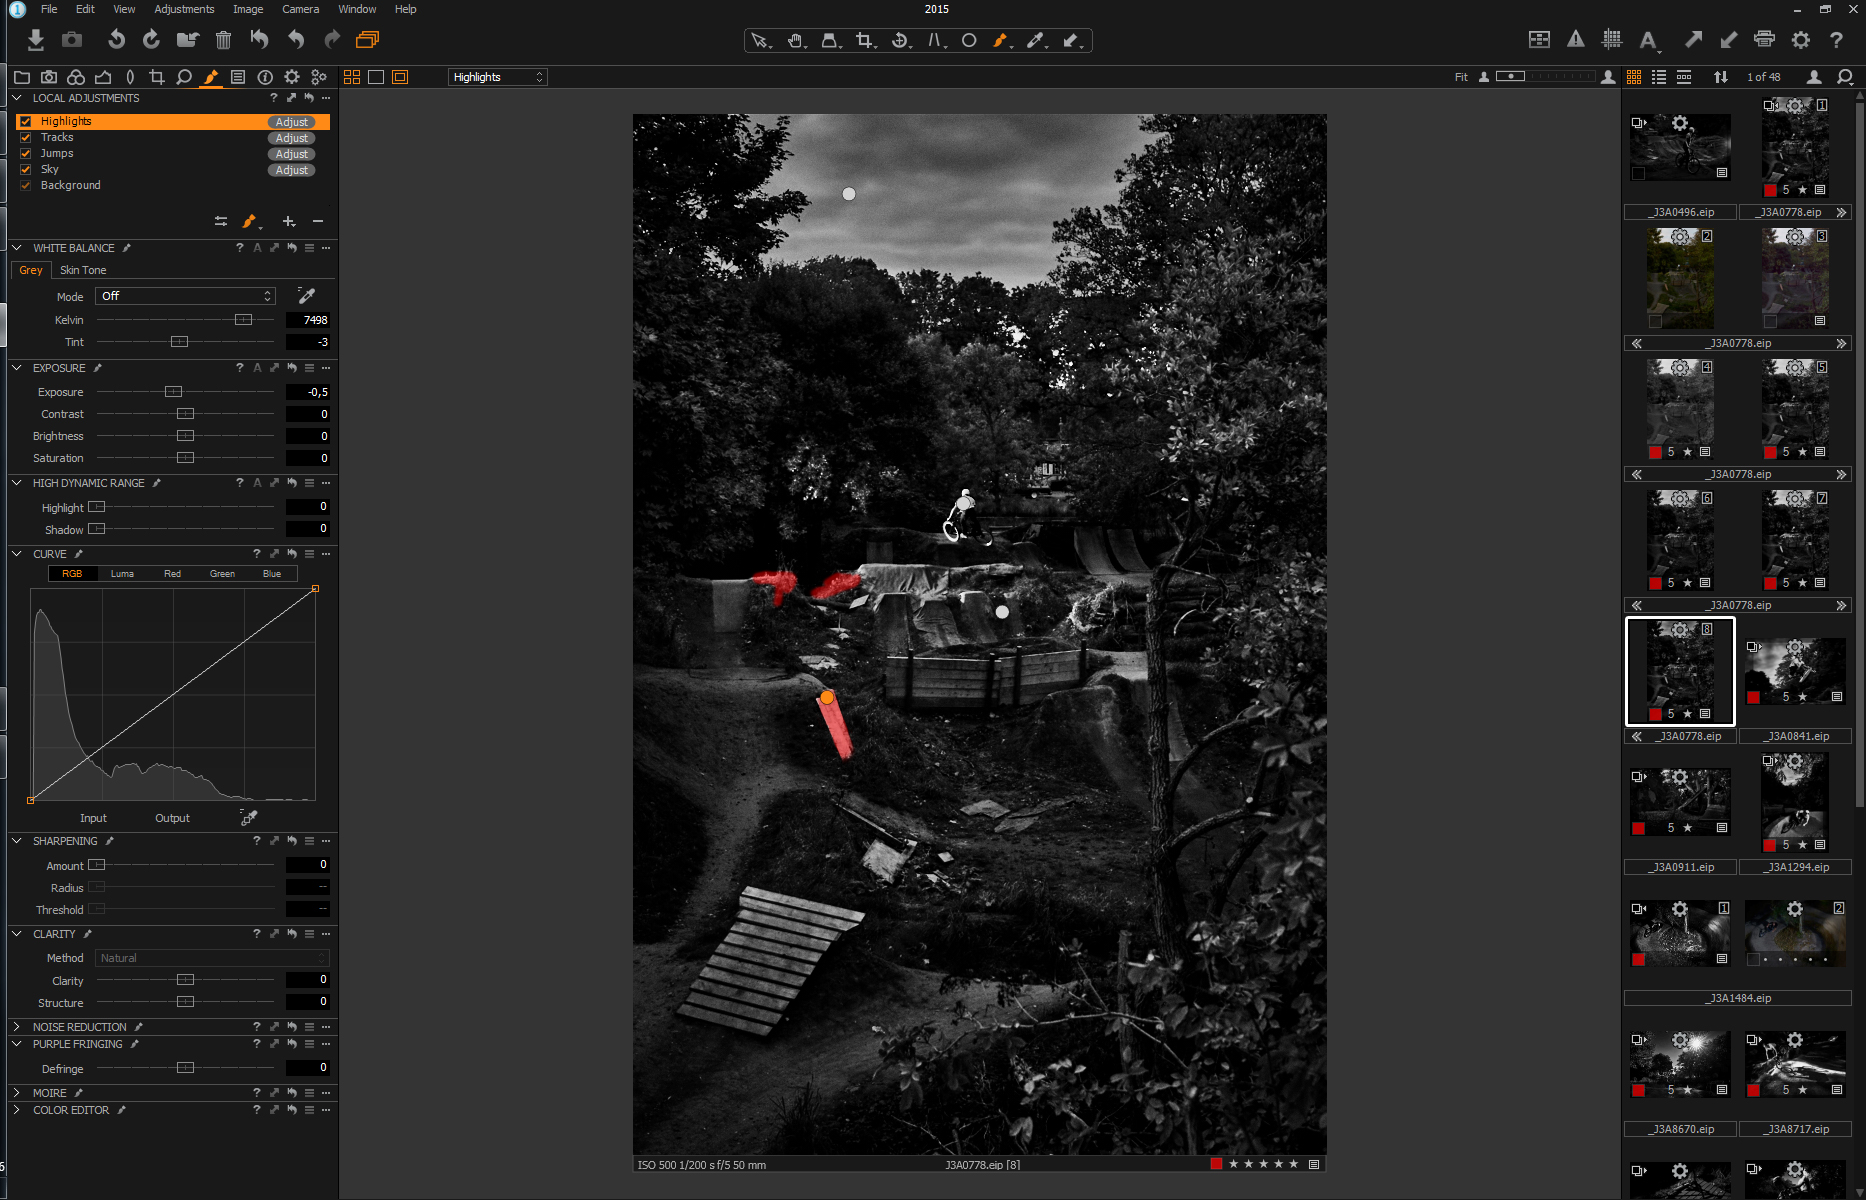 Putting the final touch to the photo with local adjustment to create the last dramatic effects + tool corrections
I’m very happy with the overall results of the series and am especially pleased with the new engine in Capture One Pro 9. Capture One Pro 9 gives me even more creative possibilities, in a fast and effective workflow, and still deliveries second-to-none image quality.
Best regards,
Esben Zøllner Olesen
Esben Zøllner Olesen
I am a Danish, Copenhagen based photographer specialized in dramatic on location photos that stand out from the crowd. This is achieved by using the environment surrounding the object to add drama and story to the photos, while using creative techniques and dramatic lighting for further strength. I strive to add value for my clients by going above and beyond.


Maybe you can explain what you mean by “once the base dynamic range is secured”.
Just to reduce highlight and add details in the shadows by using the level sliders. So the overall dynamic range is better when I start working with file.
Thank you for the clear step-by-step demonstration. I am still learning a lot, because Capture One Pro 9 has so many features. I have played with the Clarity, High Dynamic Range, some Levels (have not yet tried the different channels), and Curves. I like the new Luma feature. With the ability to make local adjustments, I find I use Photoshop less and less.
Hi Esbon
Really clear instructions. As a newbie to Capture One this helped in providing clarity (pun) in developing B/W images.
Thanks
Hi, Great step by step, thank you
Looking at your first Local Adjustments and see the progression of your thumbnails on the side.
Did you clone a variant for each new adjustment to better evaluate changes and go back easier?
Hey Dominique
There are many different ways of working in C1, and I thinks its mostly down to how it works for you.
But I normally just evaluate the layers by ticking on/off the different layers, as I find that faster and easier.
But I’m sure there will be a lot out there, that does it the way you suggest.
I do not work that way either and also tick on/of the layers; was wondering why you did it that way and if it was just for the post?
Yes just for the post 🙂