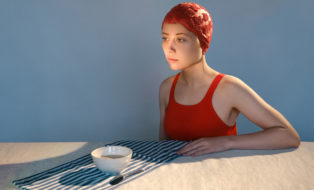
Beauty and still-life photographer Zoë Noble has been using Capture One for years. Working with big brands like L’Oréal Paris, Ogilvy, and No7 and personal projects like We are Childfree, which tells the stories of women who choose to not have children, Zoë works meticulously to make her images look as good as they can.
In this guest blog, Zoë shares her five favorite features in Capture One Pro and how she uses them to get more control over her images, save time on her editing and make her images stand out.
1. Style it out with Layers
It’s important to be able to control as much of the editing process as possible so I can bring my own personal vision to life. I love that I can now use Layers with my Styles with the new Capture One Pro 23 because they allow me to play with the opacity of the layers and tweak the edit to my taste.
The editing process is so much simpler now that I can have different elements of the workflow on different Layers – one Layer will have all the color adjustments, and another all my contrast adjustments, meaning I can hone and perfect each component individually.
Learn how to use Layers in Styles here.

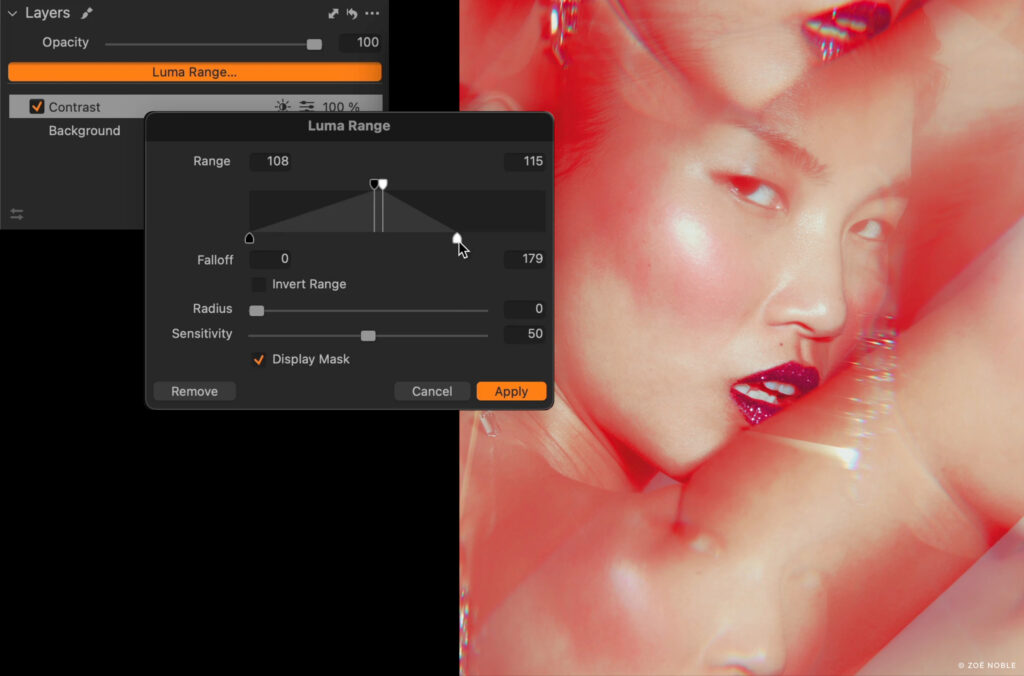
2. Making the most of Masks
One way I keep my editing workflow efficient is by using luminosity masks to create selections and target different areas of an image super quickly. I’ll often create a luminosity mask of just the midtones and then pull down the RGB curve to bring out even more detail.
As well as using masks for contrast and luminosity changes, I will also use them for color, creating a luminosity mask of the shadows or highlights and then adding color with the Curves tool and playing with the opacity to my taste.
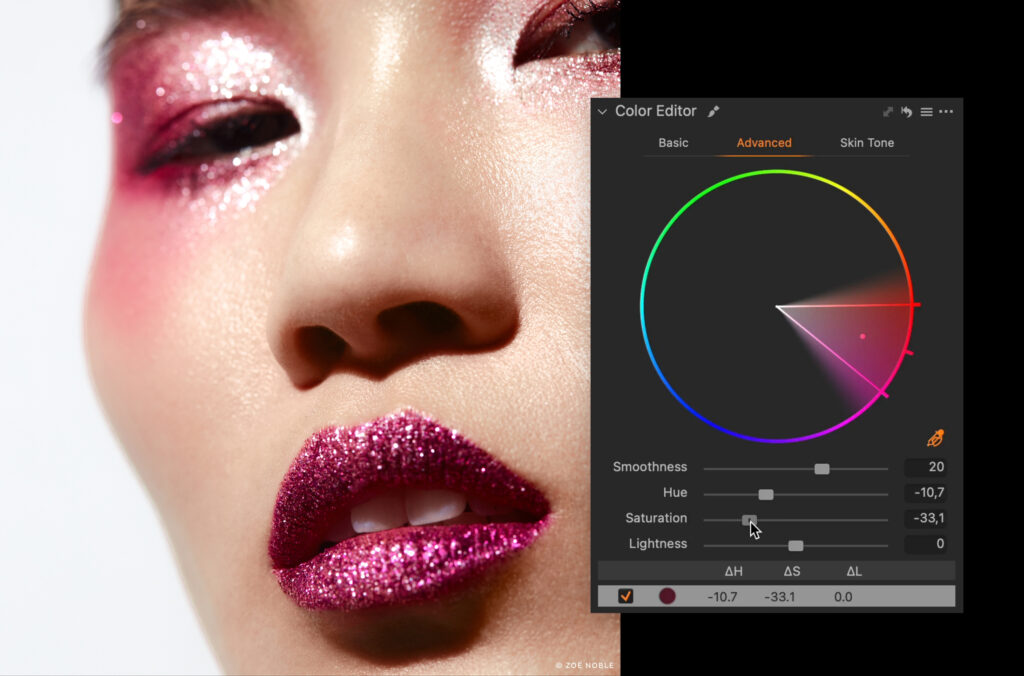
3. Creativity and the Color Editor
One of the most important parts of editing my images is correcting color issues and ensuring that the color is harmonious and balanced. For me, color correction is even more important than color grading, which often adds a more stylised “look” to the image.
The Color Editor is an incredibly powerful tool for manipulating and targeting colors, making it really easy to correct issues. I especially love the Skin Tone tool which makes unifying skin tones super simple and can even be used to correct other issues like smoothing out the tones in background paper or clothing.
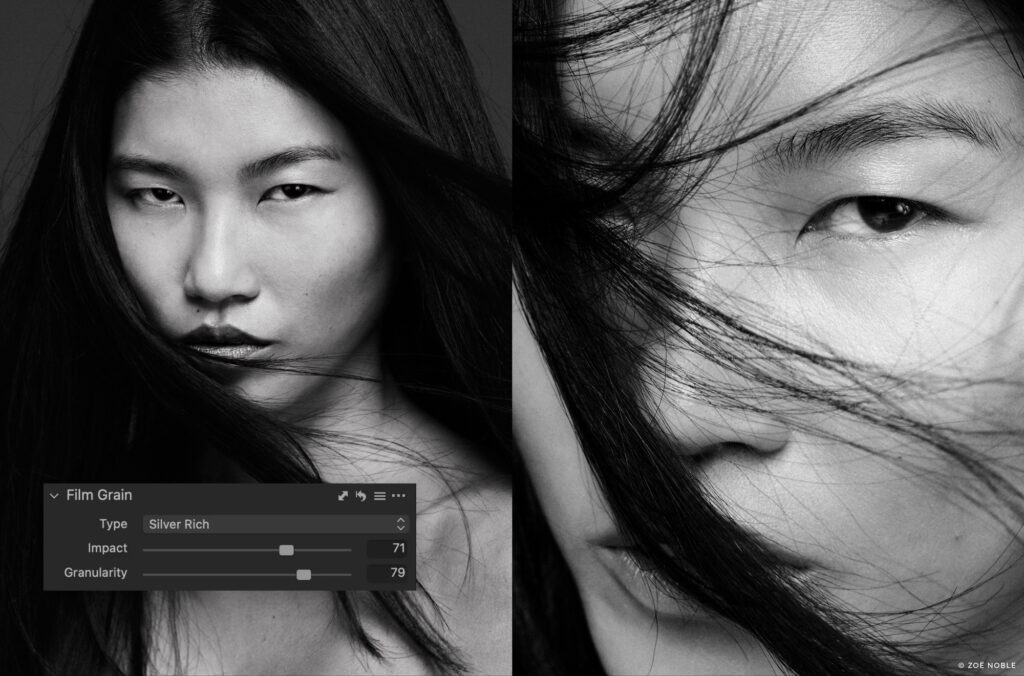
4. Getting granular with Film Grain
I love the look of film, so when I shoot digital, I often try to give my photos that analog feeling. Adding grain using the Film Grain tool is the last part of my editing process, which ensures that my images don’t feel too sharp and synthetic.
To make sure I get the right level of grain I’ll turn on Proofing, choose the intended output size and view at 100% zoom so I can accurately view how the grain will affect my image.
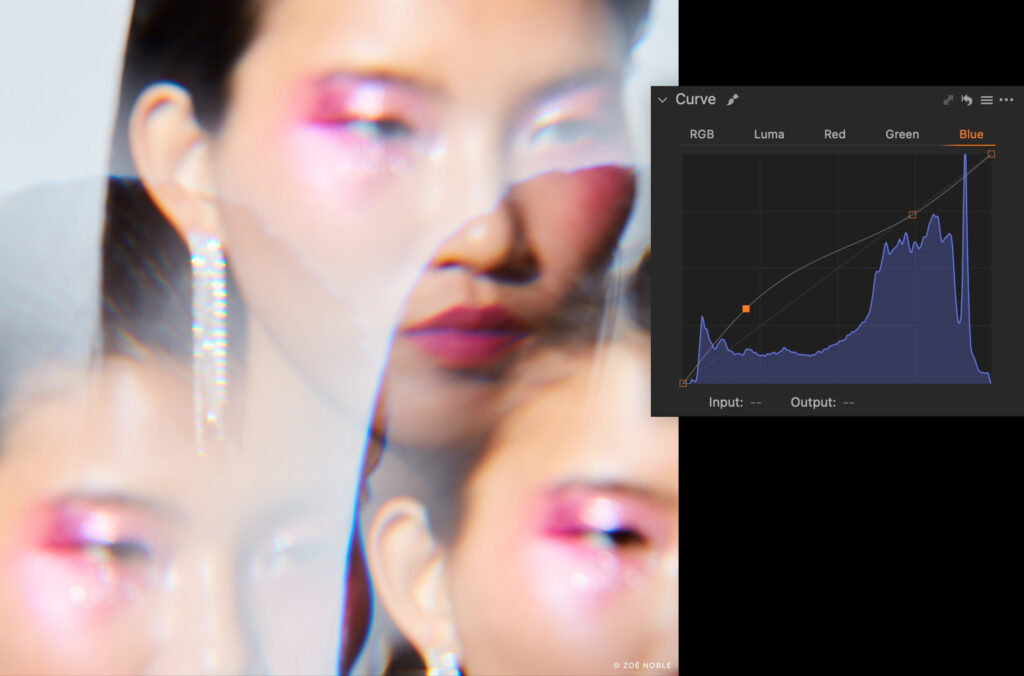
5. Embrace the Curves
While Curves can be the most daunting tool to learn, it’s definitely the one I value the most. Being able to control the luminosity, color, and contrast of the shadows, midtones, and highlights from one tool is incredibly powerful.
To keep things simple, add a layer for each type of adjustment you want to make. Add one called “Color” where you only work in the red, green, and blue channels. Then add another called “Luminosity” where you can work in the Luma Curve to adjust the brightness. Finally, add a layer called “Contrast” where you can add an “S” shaped curve just to the RGB curve. Once you separate things out you can clearly focus on just one thing, which makes life easier.
Want to find out how Capture One can improve your work? Try it for free today!
Zoë Noble
Zoë Noble is an English beauty and still life photographer, retoucher and educator, based between London and Berlin. Her commercial and editorial clients include Vogue, Harper’s Bazaar, L’Oréal Paris, Etsy, and Ogily. Passionate about beautiful lighting and natural retouching, her work showcases women as strong, authentic and wonderfully unique. An advocate for female empowerment, Zoë founded We are Childfree, a storytelling platform and community centred on the childfree choice, as featured in the New York Times.