If one thing is clear, film photography is not dead. We see it across genres, from commercial fashion photography to enthusiast communities. So, it’s perhaps not a coincidence that Negative Film Conversion has been one of our most requested features.
Last year, we got to it.
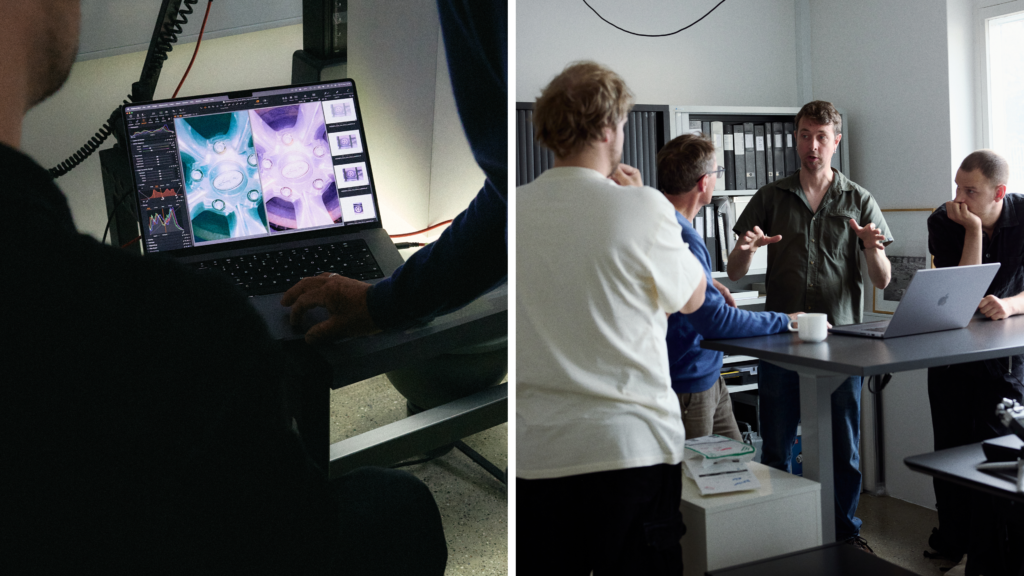
Now, let’s explore how the solution came to life, how it was designed, what needed to be right, and who we collaborated with to bring it to market.

Designing the feature: Capture sets the foundation
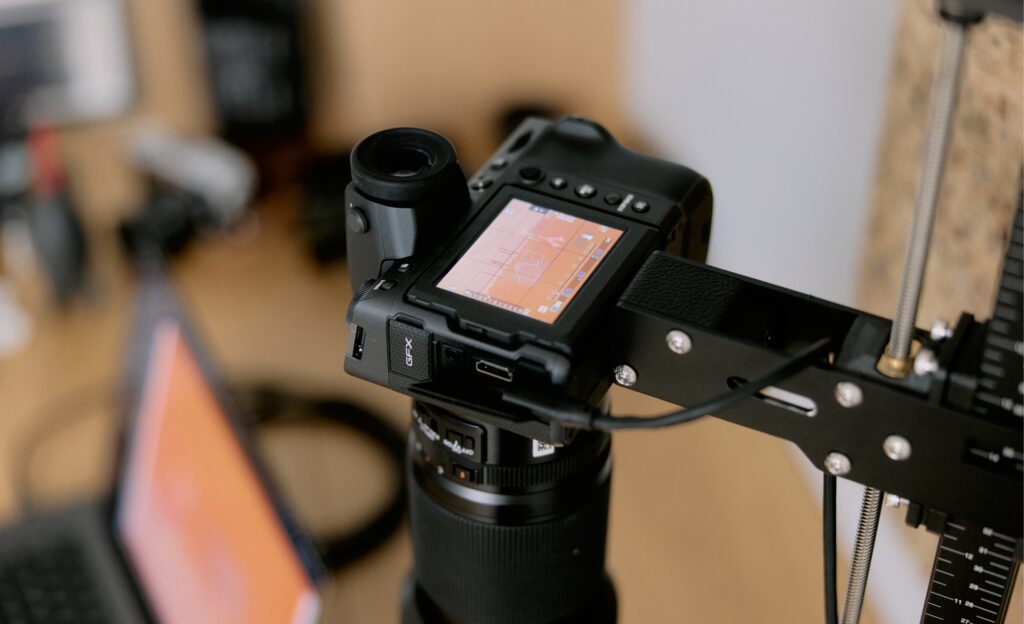
When scanning and converting film, the earliest decisions in the workflow have a lasting impact. That means the quality of the conversion depends heavily on how the negative is captured. To get the best starting point, the goal is to extract as much information as possible from the film, which means maximizing dynamic range and minimizing digital noise during scanning.
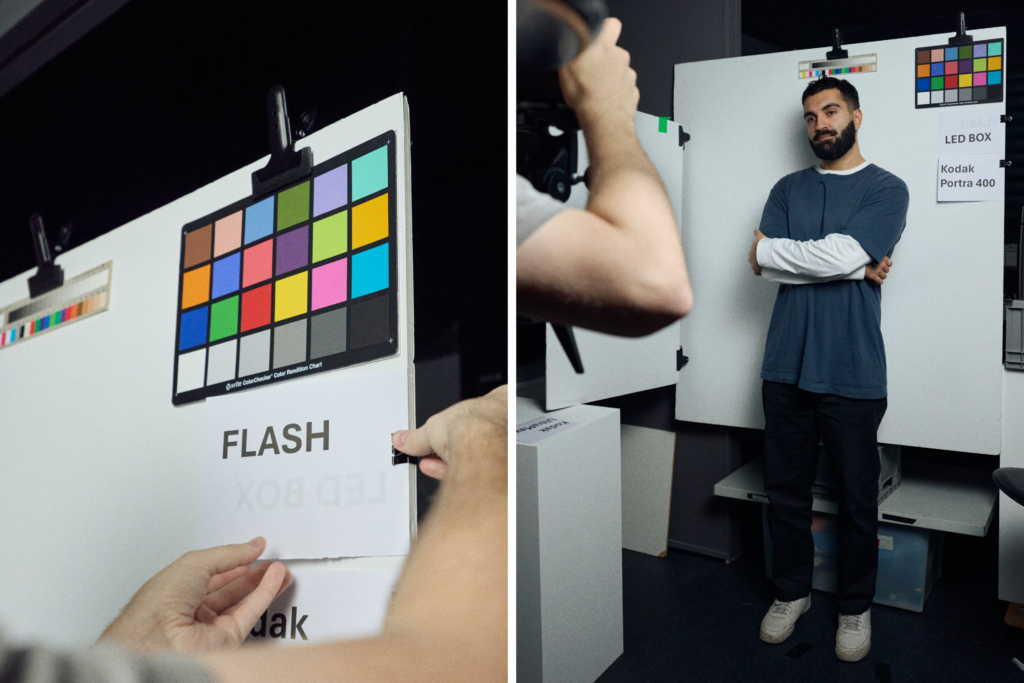
A camera-based scanning setup with a stable film carrier helps keep the negative sharp, while an even, consistent light source ensures uniform exposure across the frame. When the camera is tethered to Capture One, exposure warnings make it easy to immediately see whether a capture is over- or underexposed, so adjustments can be made before moving on. The process helps ensure each negative is captured properly and provides a solid foundation for conversion.
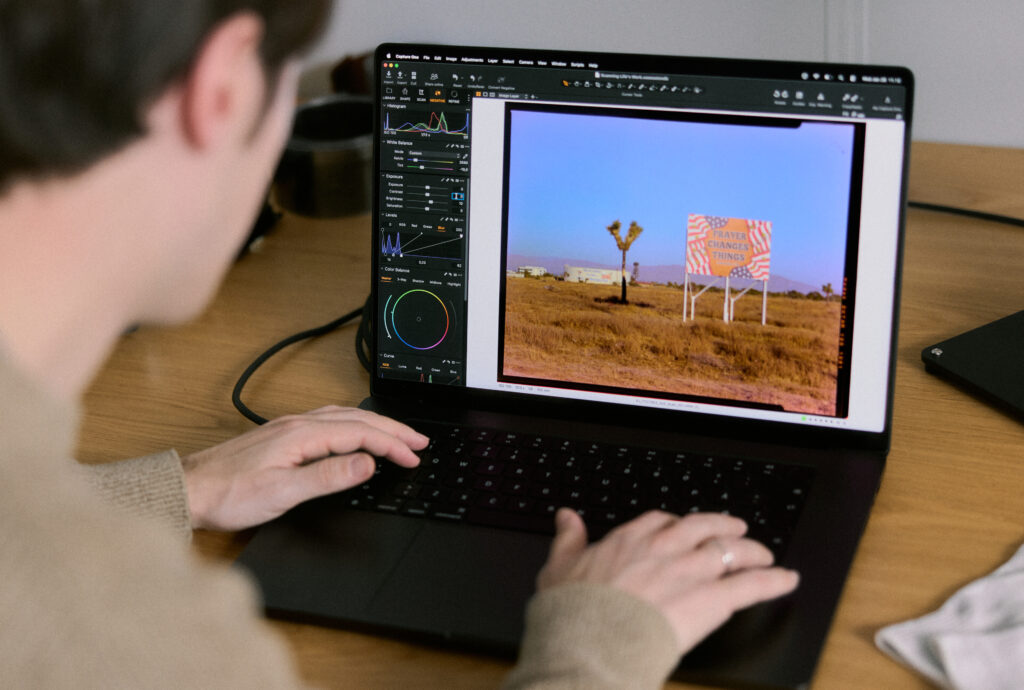
Conversion is a distinct step
Once the negative is captured, the focus shifts from capture to conversion, and this is more than simply flipping the image or inverting curves.
To support film properly inside Capture One, the team built a new, dedicated editing pipeline designed specifically for film negatives. It introduces a dedicated mode where the tools remain familiar, but the way they affect the image is adapted to suit the nature of film, instead of standard digital photography. The conversion itself happens in a carefully defined sequence, where the image data is treated differently at specific stages, such as adjusting for the unique color characteristics and grain structure of film negatives to ensure accurate representation in the final image.

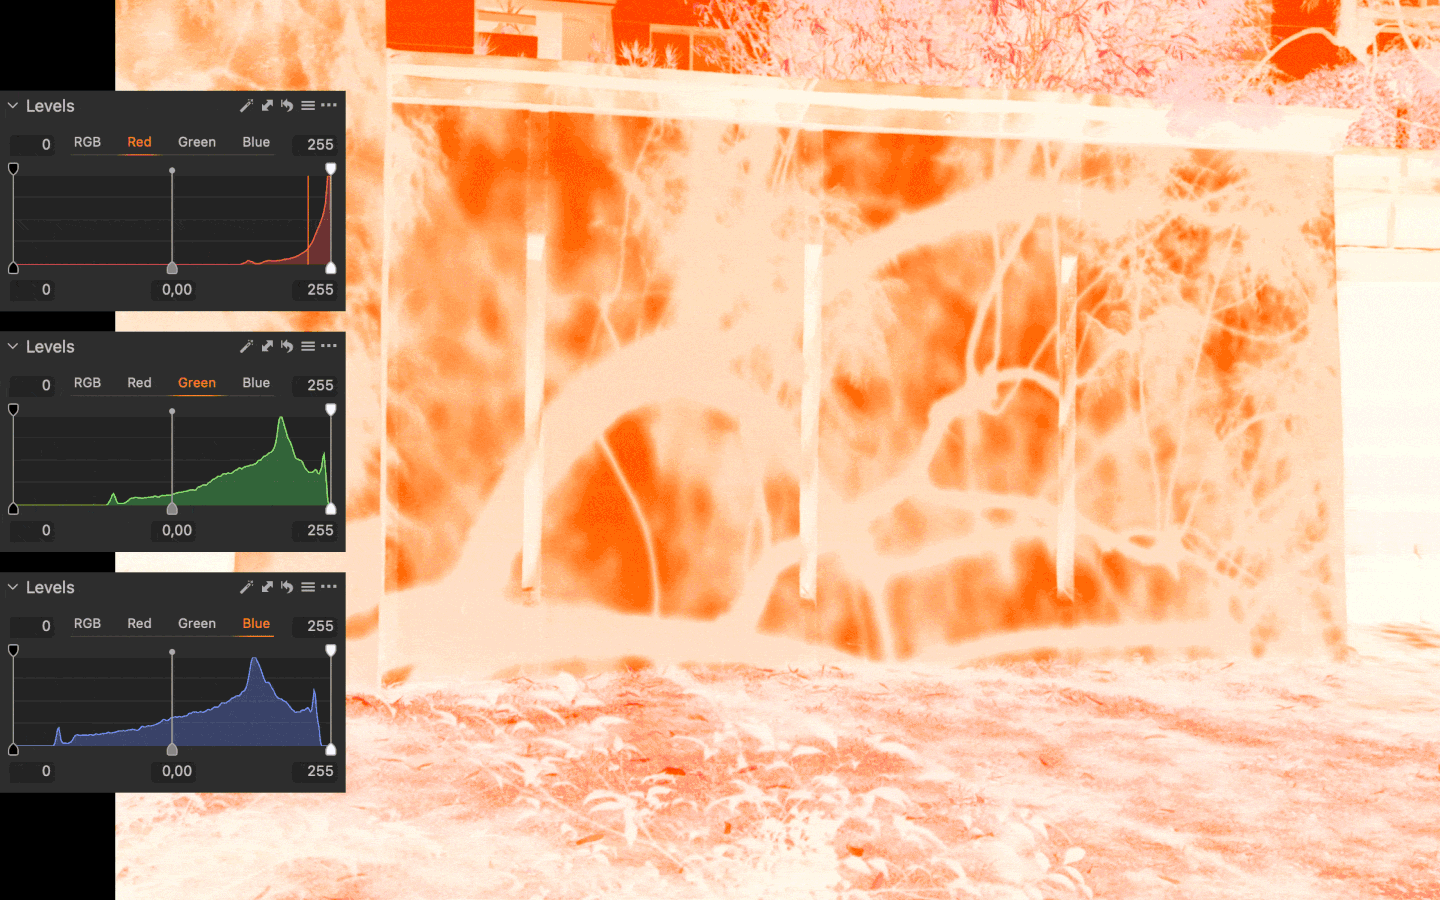
When the negative is photographed, the full dynamic range of the digital sensor is used to capture as much information as possible from the film. That data is first interpreted in a linear working space, where white balance compensates for the film base and aligns the red, green, and blue channels.
The image is then inverted to produce the initial positive result, while retaining the full captured information for further editing. From there, the Levels tool defines the black and white points, expanding the film’s density range into a usable positive tonal range. The data is redistributed within the available range rather than prematurely discarded.
Because the process is predictable and based directly on the captured image data, photographers retain control. Dynamic range, clipping points, and tonal curves can still be adjusted later. A well-captured frame that represents the full tonal range of the film can serve as a reliable starting point for the rest of the roll.
Familiar tools, different behavior
Some adjustments, such as white balance and exposure, behave differently in this mode. These tools are designed for standard digital images, where color and exposure are applied to a positive image with a predictable tonal structure.
A negative doesn’t follow those assumptions. Bright and dark values are inverted, and color information is affected by the film base. Because the image needs to pass through inversion and base correction in a specific order, certain tools cannot operate exactly as they do with a standard file. In this workflow, the exposure slider and white balance tools are used primarily as corrective measures to ensure the rest of the tools function as intended.
For that reason, the conversion begins by defining a clear baseline. At the center of this workflow is the Levels tool. This stage is where the foundation of the conversion is established and where the most critical decisions are made. Getting this step right determines the amount of information preserved from the scan and the consistency of the results across a roll.
Built for batch workflows
Once you are happy with the conversion, you can repeat the process in batch and continue editing with the tools available in Capture One. Settings established on one image can be applied confidently across subsequent captures, making it possible to convert entire rolls efficiently while maintaining predictable results.
“Film photography is seeing a revival, especially among photographers who started in digital. With Negative Film Conversion, we wanted the experience to feel like Capture One. Familiar tools and the same efficient workflow, while still respecting the craft of color negative film with a dedicated conversion pipeline.”
– Mathieu Bourlion, Director of Product Management, Capture One
Color, film stocks, and testing
Color is at the core of Capture One, and the way we worked with color here was no different. We know that choosing film is an intentional decision, and the conversion needed to carry those differences through, not reshape them.
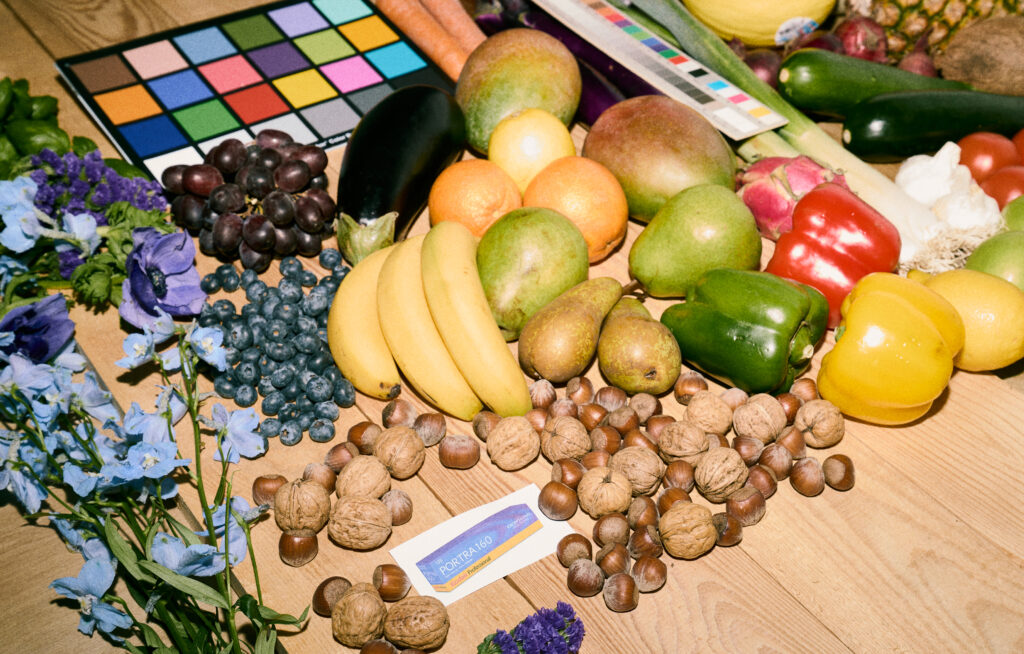
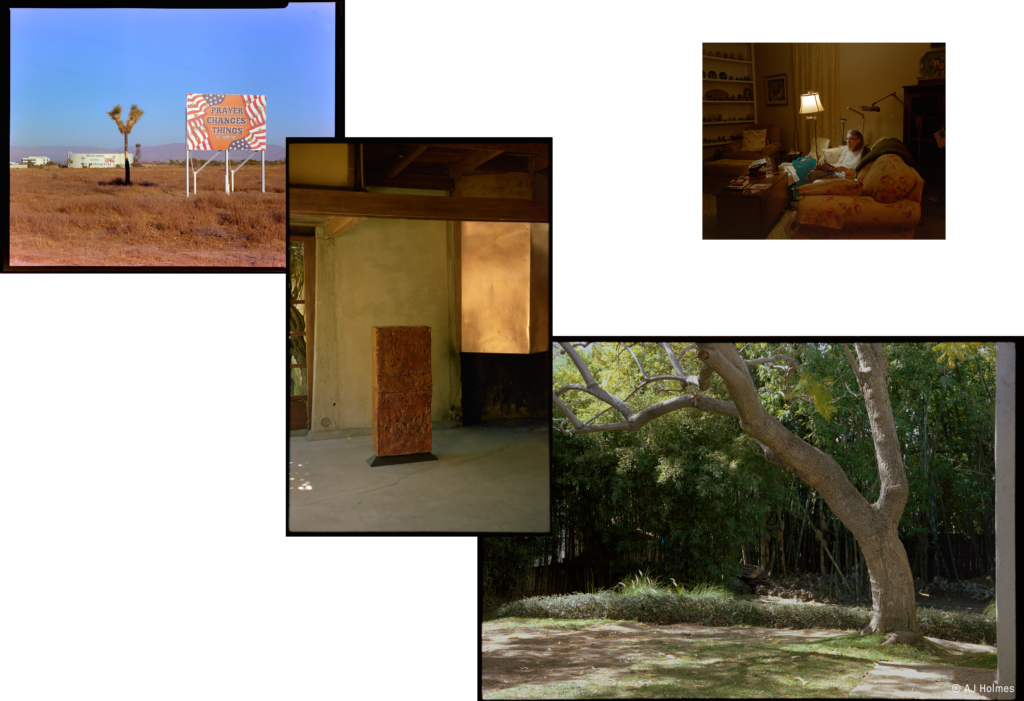
With that principle in place, the team tested the conversion across a wide range of film stocks and real-world scans. The aim was to understand how different films behave under varying conditions and to make sure the conversion held up across that variation, rather than optimizing for a single film stock or scanning setup. Testing covered a broad range of subjects, from portraits to landscapes and still life, ensuring the conversion behaved consistently even when capture conditions varied within the same roll.
Early on, the team discussed whether to include predefined styles that mimicked popular lab looks, such as the Noritsu or Fujifilm’s Frontier scanners. In theory, this was possible. In practice, it didn’t make sense for camera-scanned negatives.
When negatives are captured with a digital camera and light source, the result is influenced by the setup itself: the light, the sensor, and small variations from frame to frame. In that context, a predefined style quickly loses relevance. It might suit one image, but not the next, even within the same roll.
Rather than baking a look into the conversion, the team chose to leave that decision to the editing stage. If a photographer wants to recreate a specific look, such as the green shadows often associated with Noritsu scans, that’s still possible. But the conversion itself doesn’t impose that direction. It leaves room for photographers to decide how their images should look, based on what they actually captured.
All of these factors keep the conversion flexible and dependable, while giving photographers control over how their images develop after conversion. It also allows the photographer to create distinct styles they can reuse for their specific setup to achieve a desired look in one click next time they scan.
To make Film Negative mode feel intuitive, we had to rethink parts of the processing pipeline so the editing experience would still feel familiar. Because color negatives have a different dynamic range than digital files, we reworked how certain tools behave – adjusting things like Color Balance and Levels – to ensure edits feel natural, flexible, and free of friction.” Sebastian Rydahl, Color Engineer, Capture One
Working with Silver Lab in Copenhagen
We wanted to be sure we were on the right track, so we consulted Silver Lab, one of Europe’s and Scandinavia’s leading analog labs based in Copenhagen. The goal was to understand the needs of both individual photographers and labs, the challenges they face today, and how they see the market evolving.
Many labs rely on legacy systems built for a different time, which are becoming increasingly difficult to maintain, while interest in analog photography continues to grow. At the same time, home-scanning setups are becoming more common, but when it comes to industry-scale workflows, legacy scanners still play a role that newer solutions have not fully replaced.
What became clear in our discussions was the importance of predictability when processing entire rolls. Manual intervention slows things down, and certain steps benefit greatly from being standardized rather than adjusted image by image.
While our current solution is aimed at photographers who are scanning at home, working together created a shared understanding of what matters when film is handled at scale. This collaboration helped shape the feature as it exists today and continues to inform how we think about what might come next.
“At Silver Lab we work with large volumes of film which need to be delivered fast, consistently and of the highest quality. Scanning is of course an integral part of the process, so being able to help develop an excellent solution for consistent color control is a huge deal for us. We believe this update is comprehensive, and we are very excited to implement it into our process.“
– Andreas Olesen, Co-founder, Silver Lab
Summary: what had to be right
In the end, the work behind Negative Film Conversion came down to a few core priorities.
The conversion needed to respect the character of the film, revealing what’s already in the negative rather than imposing a predefined look. It needed to hold up when applied across entire rolls, behaving predictably and efficiently for larger batches. And, it needed to feel like Capture One, fitting naturally into an existing workflow rather than introducing a separate way of working.
Those principles shaped every part of the feature. The result is a focused conversion step that creates a reliable and honest conversion for analog photography. We hope you enjoy it.