
Personal work is very important to me. Perhaps it doesn’t pay off straight away, but it gives you a lot of exposure online and usually leads to commercial work. So I tend to say I earn all my money with my commercial work and spend it on my personal work!
“Do what makes you happy and see what happens”
One of previous personal projects “Flower Man” was shot in Calcutta. CNN has just picked that up for example, but it is always difficult to know what is going to work and what isn’t. I think you should just do whatever makes you happy and see what happens!
An obvious choice
I have been using Capture One for some years now, and I although I wouldn’t say I use every feature in Capture One, there are a few standout features that make it an obvious choice for me. I was one of the first photographers who had early access to the new Phase One XF camera, which has just been launched. I had to make a choice on what medium format camera system to go for a few years back and due to Capture One, I chose Phase One. The integration between the software and the camera is so important and I am happy to see that improved again with the New XF and Capture One.
A lot of my personal work is extremely detailed, with many layers in Photoshop separating the model from the background and other elements. But this really takes a lot of time and for some commercial work I need a smooth and fast way to adjust and process a lot of images quickly. This is where Capture One wins!
Hollywood street characters
In this blog post I have decided to use an image from my next personal project – Documenting Hollywood street characters. The idea came to me on an editorial assignment a few months ago. I went to Los Angeles to shoot a cover story for a Danish magazine and my hotel was located close to Hollywood Boulevard where all the street characters are. These characters pose with you for a photograph in exchange for a ‘tip’ of a few dollars.
Spidermen and Minnie Mouse
What really fascinated me was the difference in the characters, some of them look actually like the real deal and others just look like they just came back from a big night out in a funny costume. I like the fact that there are always several Spidermen on the boulevard and the spiderman that I ended up shooting was actually an african american guy….and who would have thought that inside Minnie Mouse there is and old Mexican women?
I didn’t just want to show their characters, I also wanted to show the person behind the mask. It’s the combination of the character and person that really fascinates me.
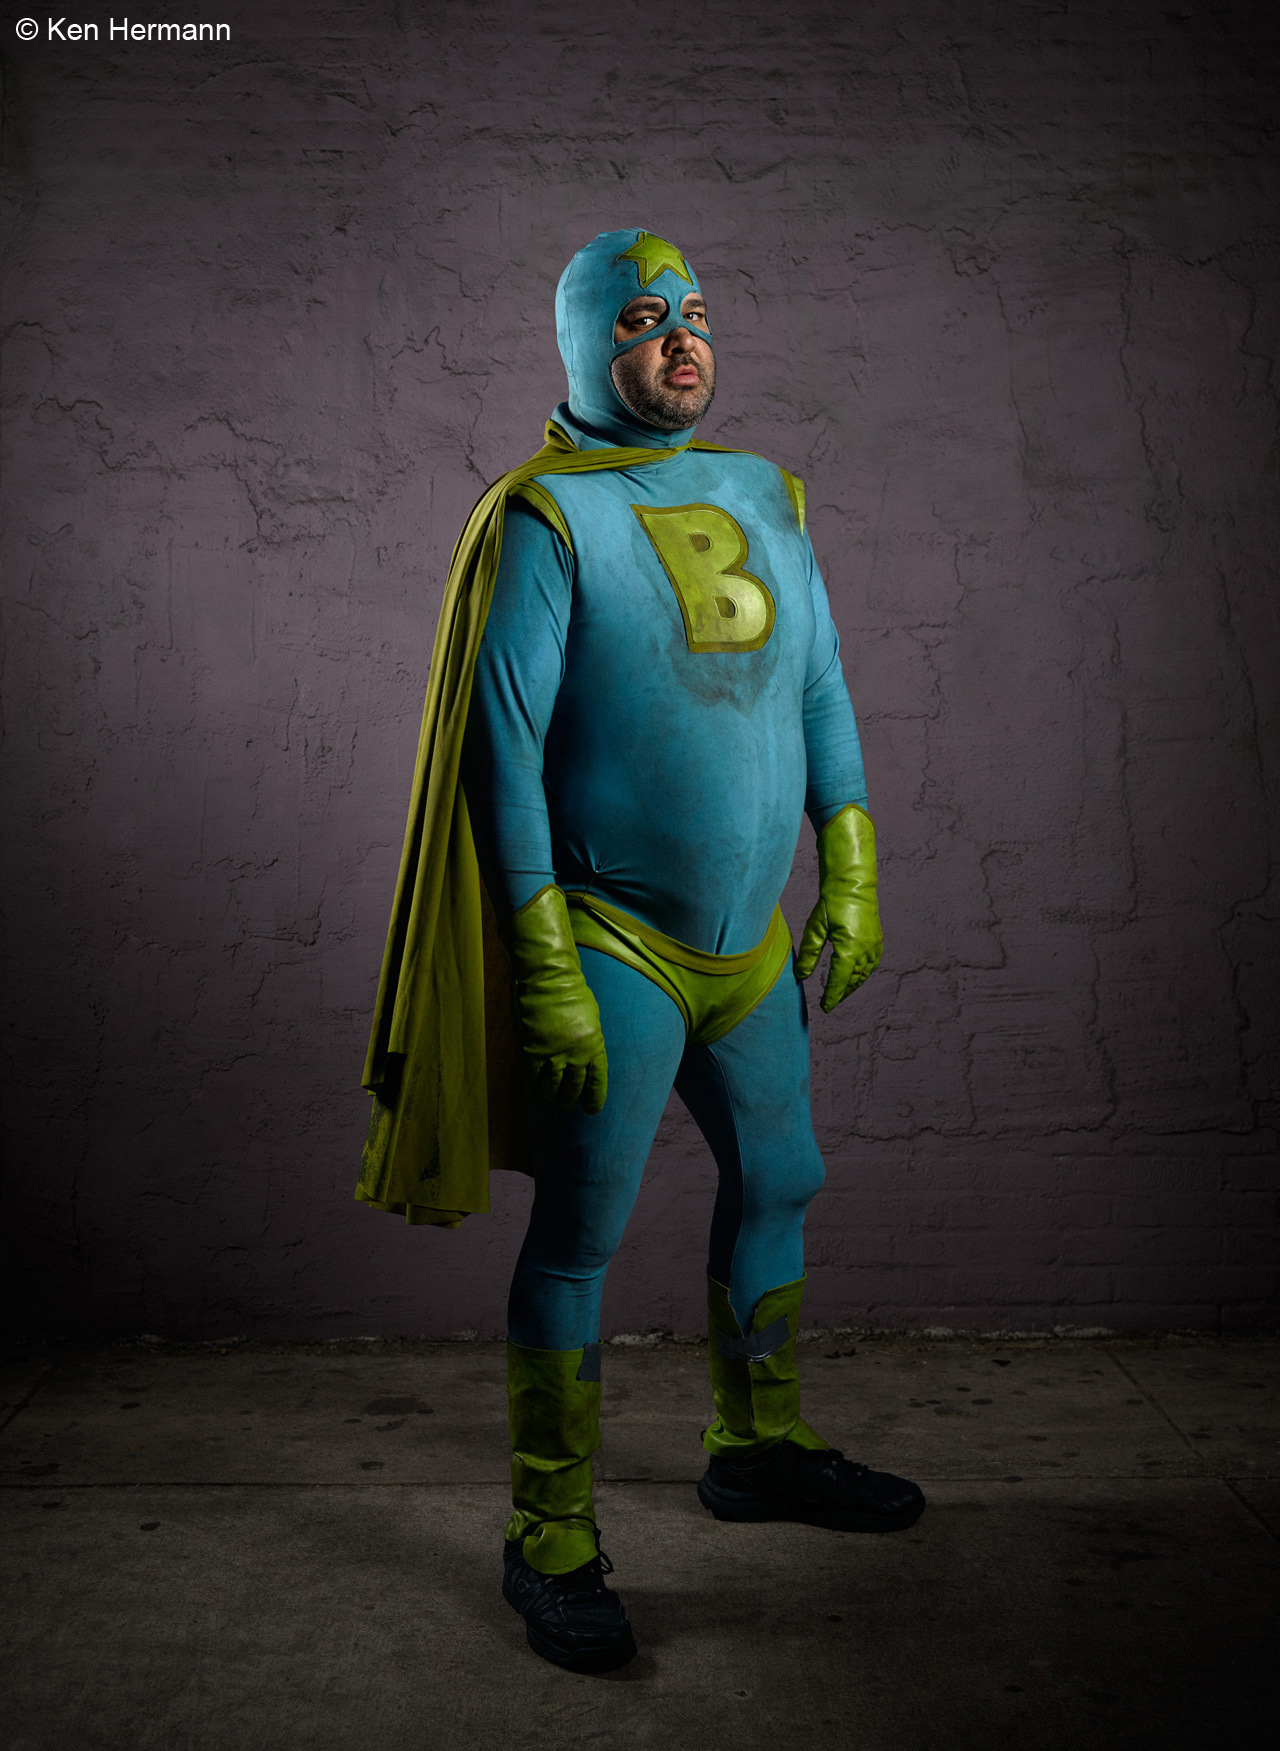
Meet Captain Boulevard
This image is of Captain Boulevard! One of the features that I use a lot now in Capture One is Local Adjustments. Before I would develop three of four images from Capture One with varying exposure and blend them together in Photoshop. This was hugely time-consuming, especially if the corrections that needed to be done were relatively minor.
This also saves a lot of data. Generating 16-Bit TIFF Files and adding three or four layers to a Photoshop file, soon grows to a lot of Megabytes. Taking care of the layers in Capture One prevents this as I am simply working on the RAW data.
Here is the image straight out of the camera. Obviously, I expect I can make the right exposure, but it still helps to have a file that can stand up to and be pushed in Photoshop if needed.
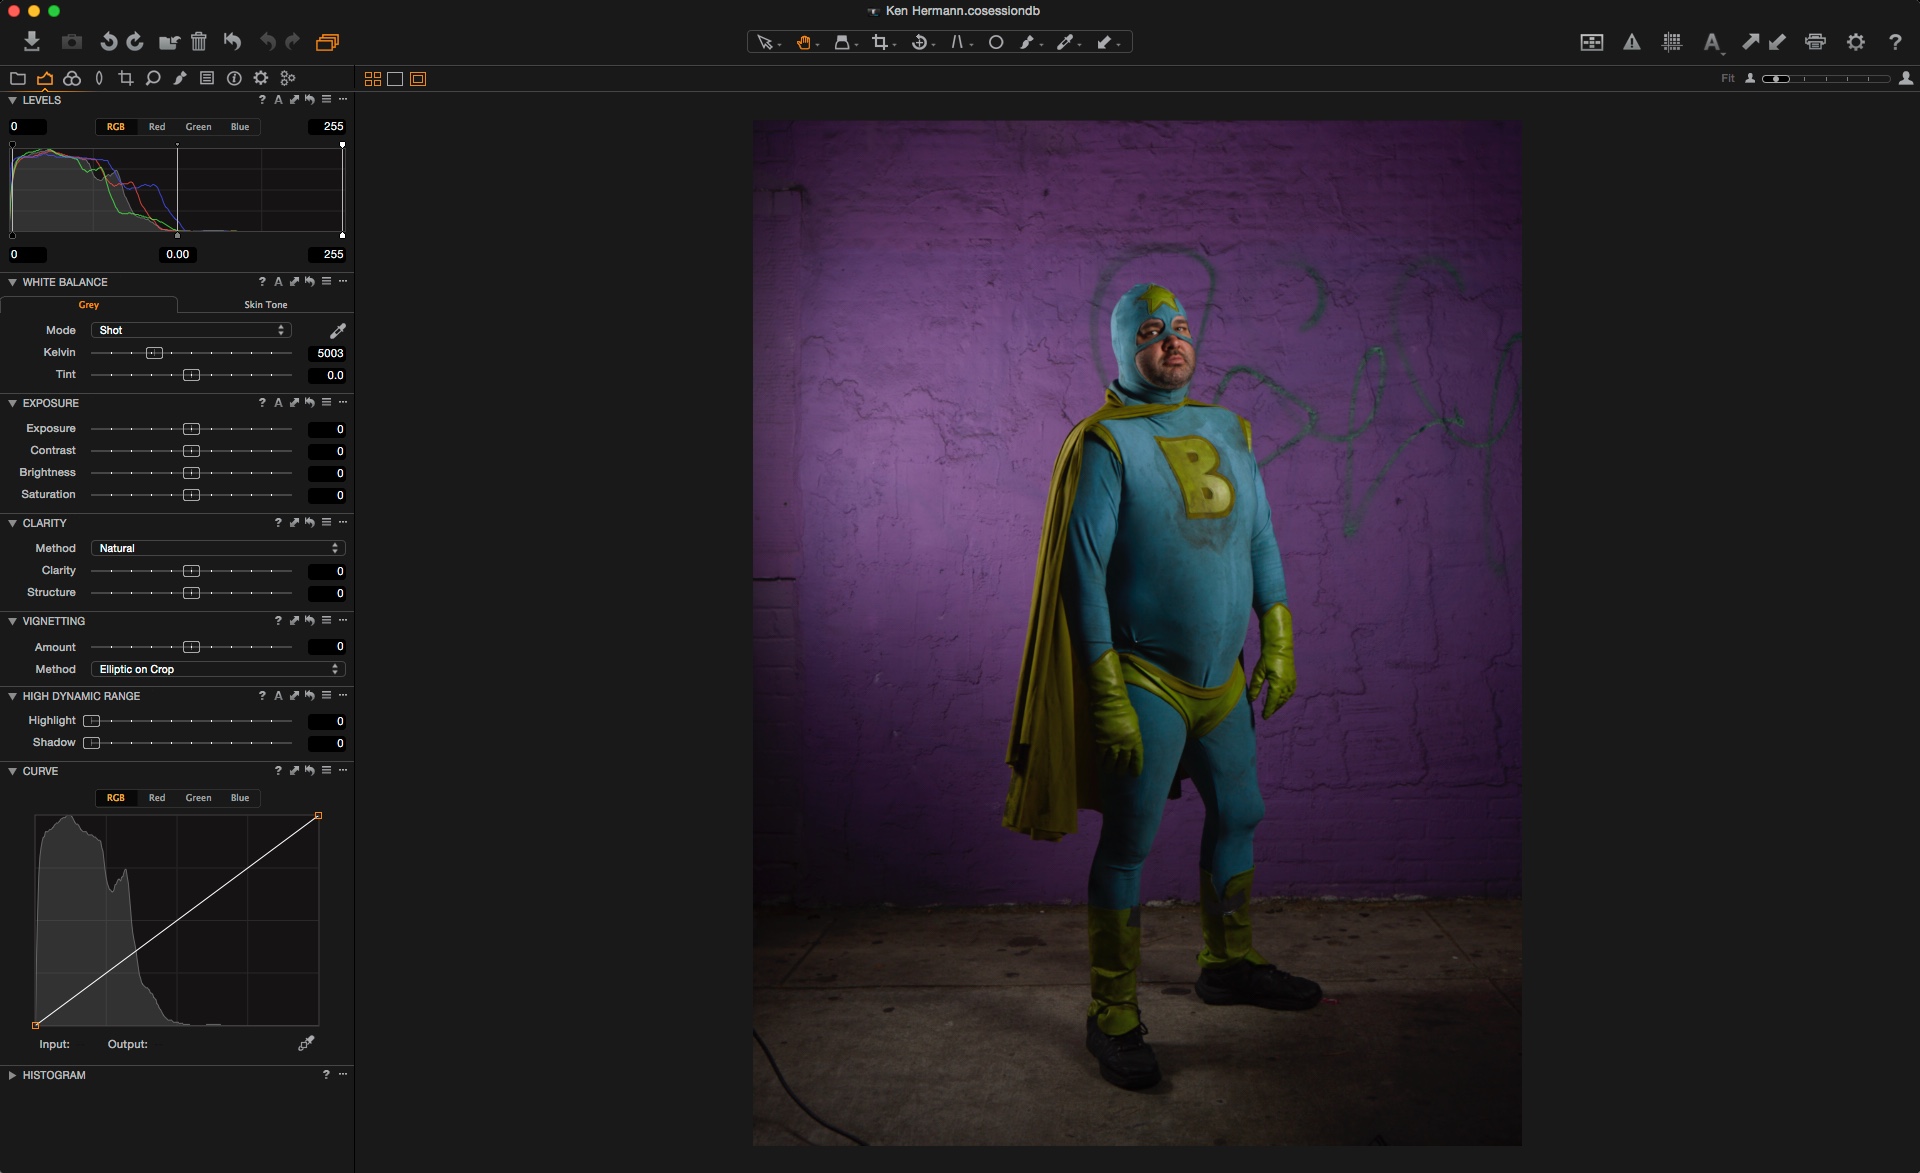
My basic corrections are nothing more than an exposure tweak, setting the White Balance and also a slight vignette.
The Vignetting tool in Capture One is very simple: Just a slider for decreasing or increasing the exposure on the Vignette. But what I like the most is that the overall effect is very natural. It doesn’t look fake but perfectly seamless.
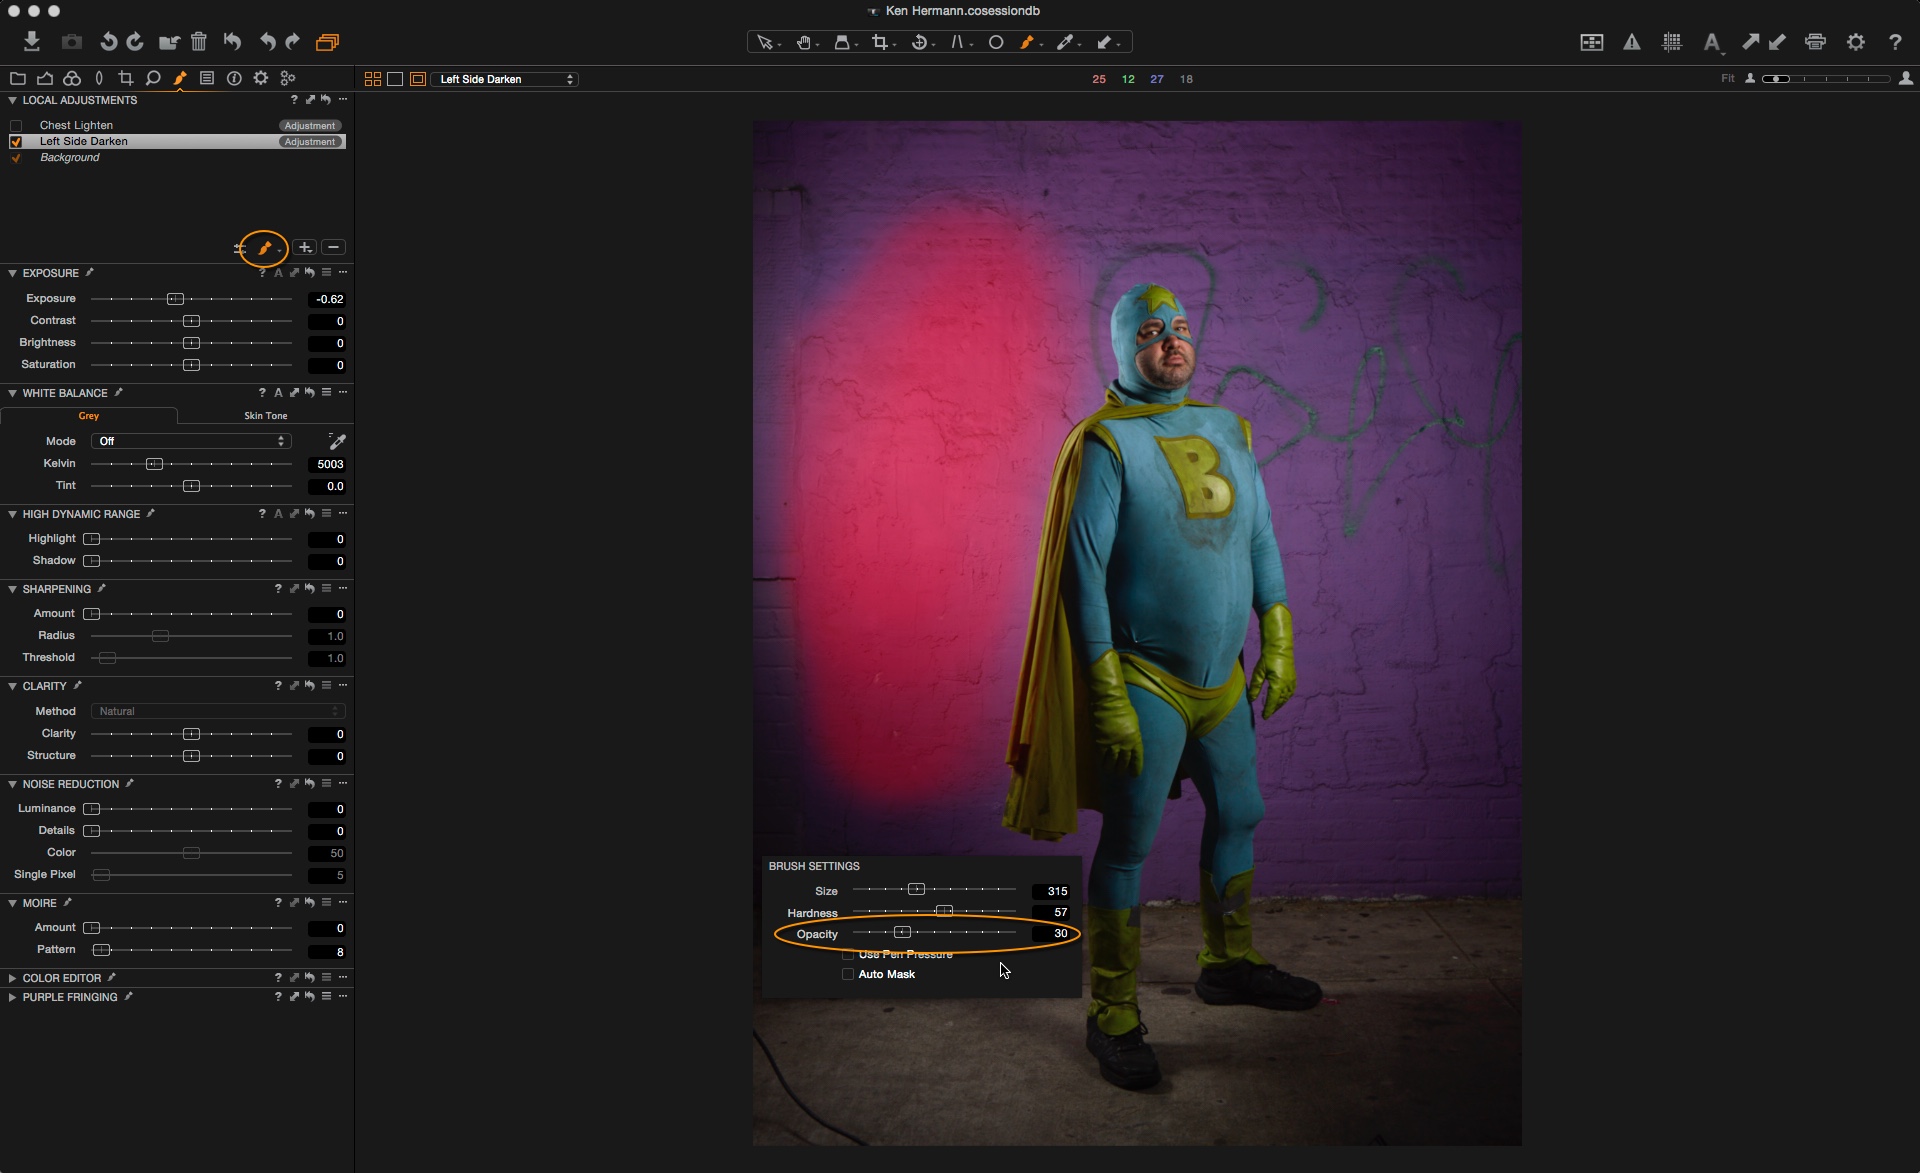
My next step is to apply some very simple Local adjustments.
Using the Brush tool (indicated by the orange circle) I have drawn a simple mask on the left-hand side (shown in Red) just to reduce the exposure down a little. By right-clicking with the Brush tool selected I can change the parameters of the brush. One thing I tend to do is keep the brush opacity relatively low. In my opinion, this makes the adjustments more subtle and gives me the option to increase the effect by brushing over the surface again with a brush set to an equally low opacity.
The next Local Adjustment is on Captain Boulevard’s chest and body. I just wanted to lighten this area a little and add a bit more ‘modelling’. If you haven’t tried this in Capture One, it’s easy to do! Just keep the brush opacity low and make single or repeated strokes over the area. Find the combination of exposure adjustment and brush opacity that works for you and your image.
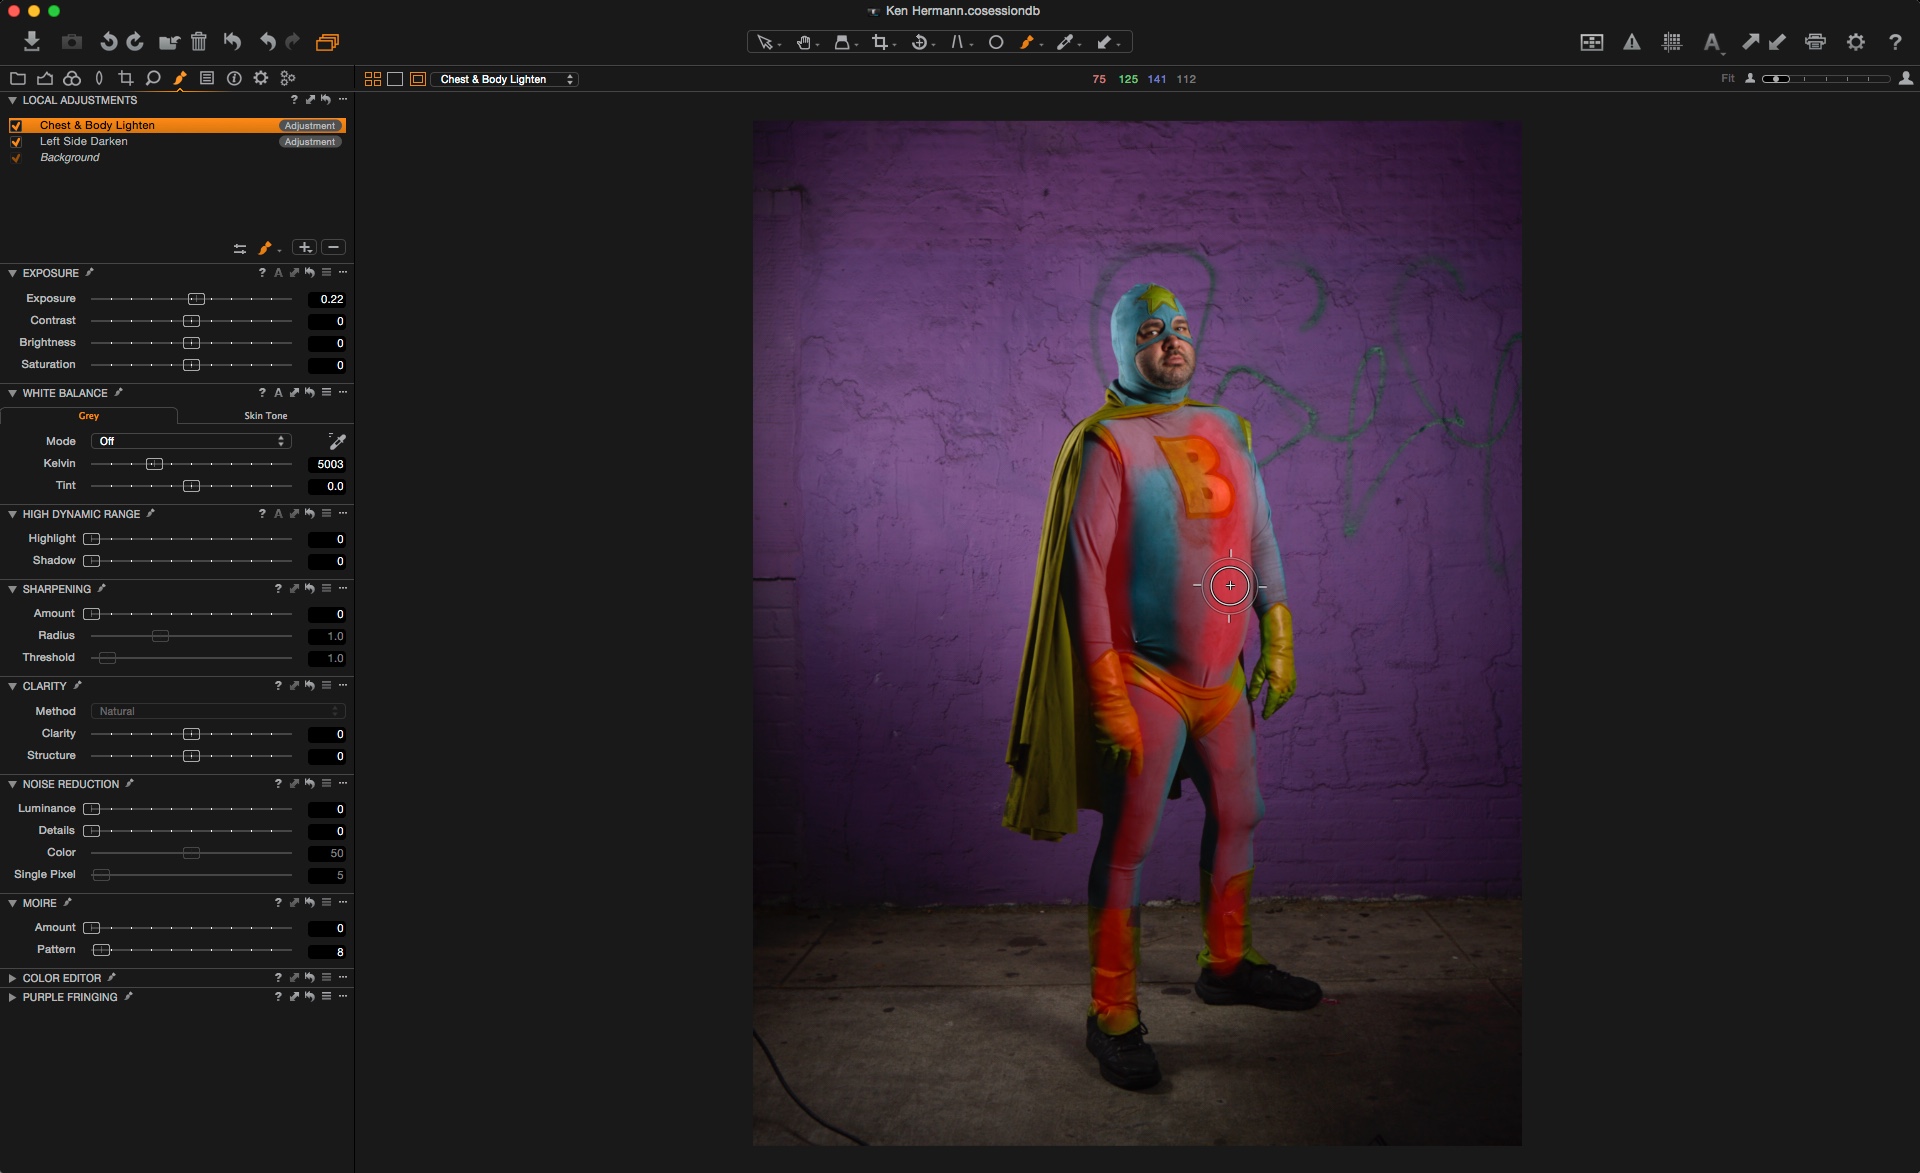
It’s subtle, but I spend a tremendous amount of attention to detail, whether that be in Capture One or Photoshop.
Finally, as is often the way with portraits, I found I preferred the body position of one image and the facial expression of another image!
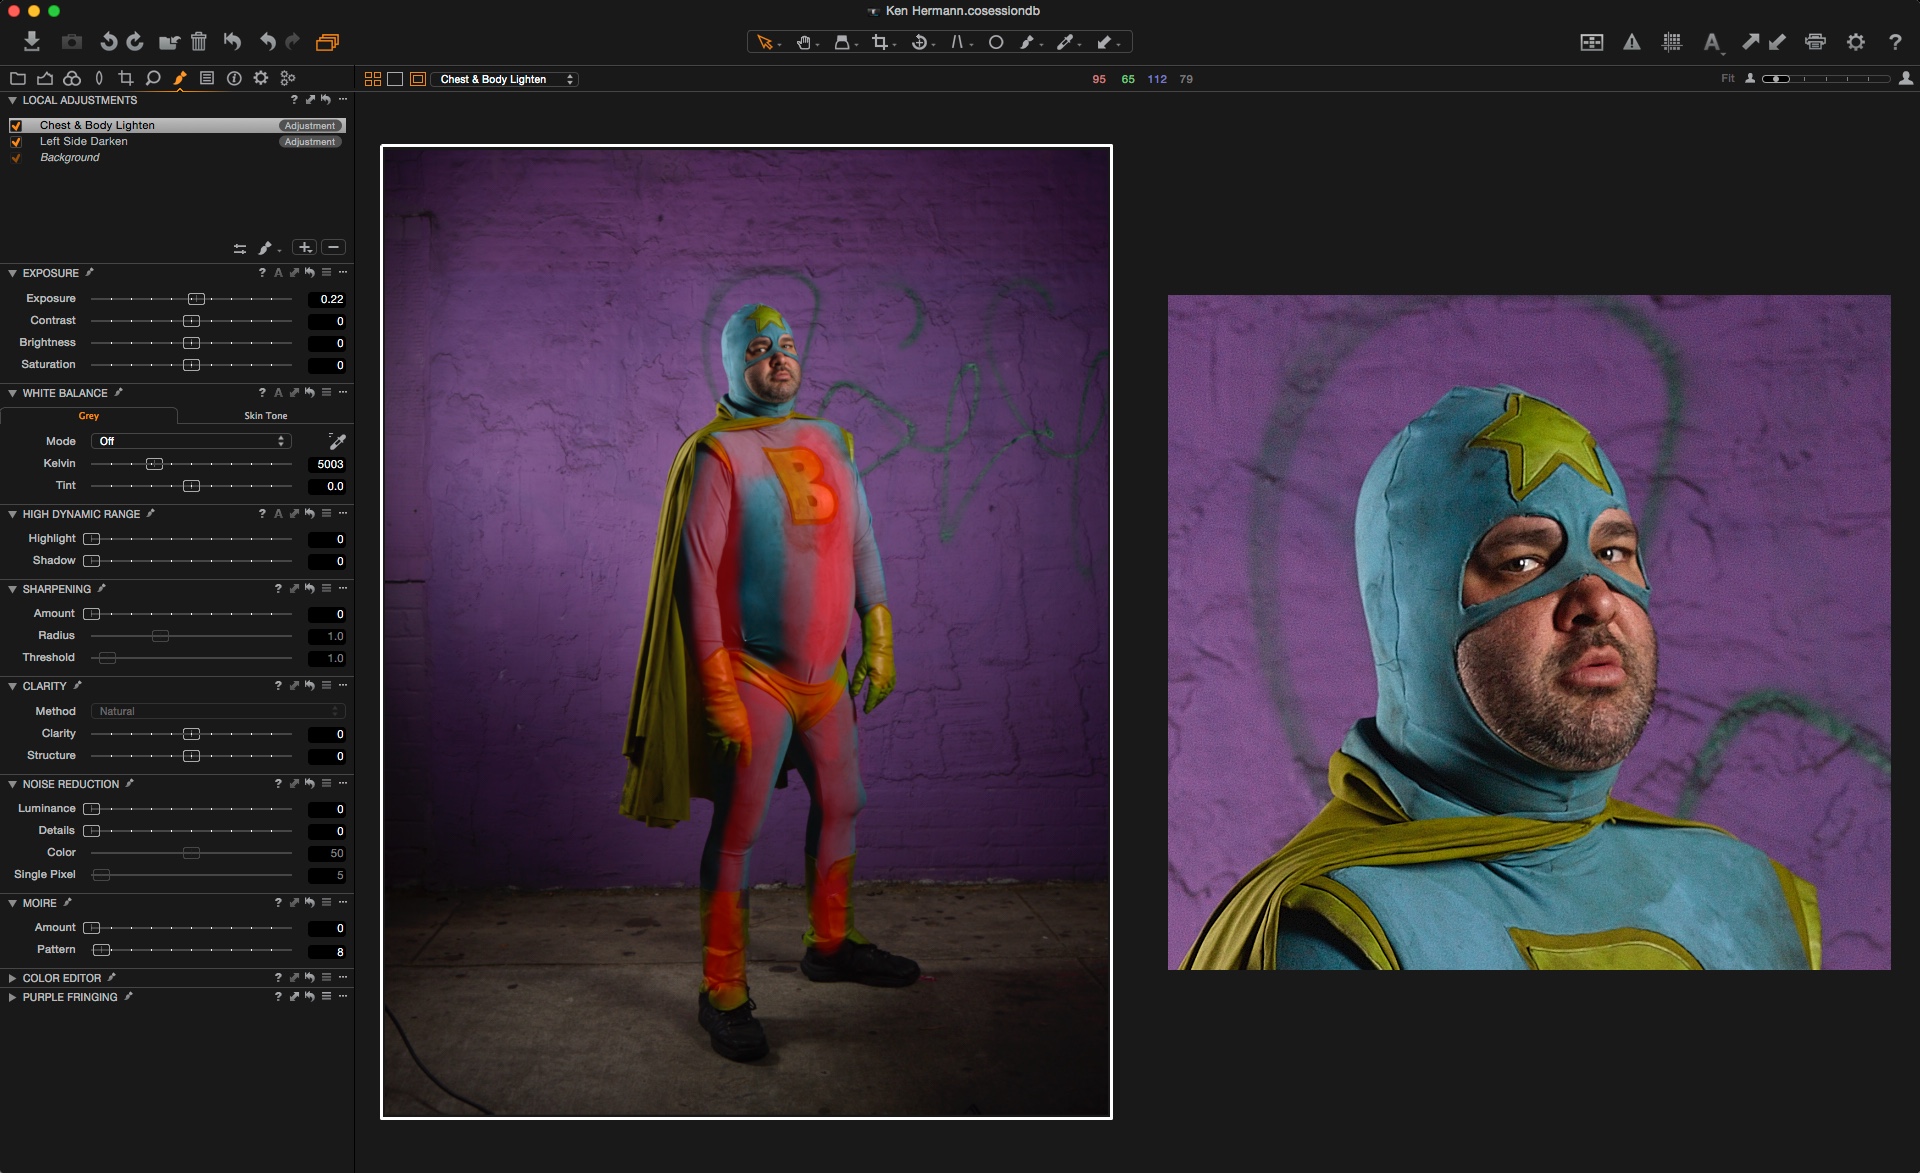
So after exporting the finished body and head from Capture One as 16-Bit TIF files, its over to Photoshop to mask the two together. Here is the final image…
Check out more of my work here
All the best,
Ken Hermann
Ken Hermann
Based in Copenhagen, Ken Hermann possesses a natural urge to explore photography and world alike. He has traveled extensively, from secluded regions of India and Ethiopia to modern metropolises like New York. From every location, no matter how small or large, Hermann draws energy and inspiration; exploration of people, culture, and life is a central facet to his work, which is full of texture, volume, and atmosphere. From these experiences, he applies a cosmopolitan aesthetic to his commercial and editorial work.


Fantastic work, Ken! I can only encourage other readers to check out the Projects on your home page. Omo valley and coal mines beeing my personal favourites.
Thanks Thies, I really appreciate your comment 🙂
Thanks Thies, Im glad you like my work!