Color is one of the most effective ways to shape an image. A subtle shift in hue can change the mood of a photograph, while a small adjustment to saturation can make a color feel entirely different. Getting those changes right, however, requires more than moving a slider.
The Advanced Color Editor has always been Capture One’s tool for precise color adjustments. With version 16.9, we’re building on that precision. You can now even out color variations with Uniformity, visualize and control color transformations directly on the color wheel, and enter exact RGB or HSL values to achieve a specific result.
Let’s take a closer look at how these updates give you more control over the colors in your images.
Section 1: Understanding the Advanced Color Editor
A different approach to color editing
Every color in your image occupies a specific position on the color wheel. The Advanced Color Editor lets you select those colors and define exactly how you want to adjust them.
The Basic Color Editor works with eight predefined color ranges (red, orange, yellow, green, cyan, blue, magenta, and pink), each with its own Hue, Saturation, and Lightness adjustments. The Advanced Color Editor lets you select any color directly from your image and shape the selection yourself. You can define its exact center, adjust its width, and control how gradually it transitions into neighboring colors.
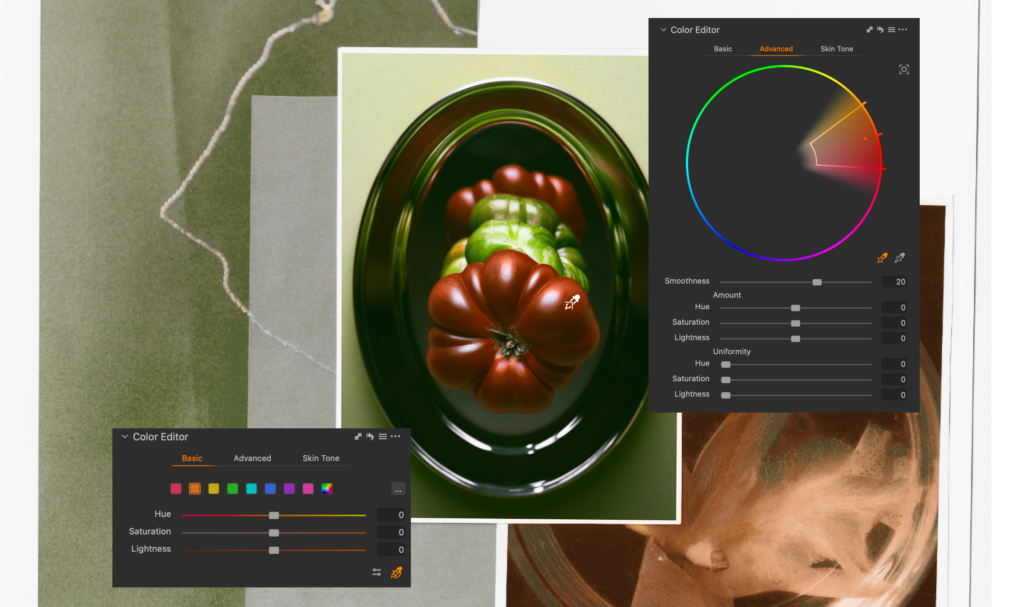
The wheel provides a visual representation of your selection. Hue runs around the ring, while saturation extends from the neutral center to the fully saturated outer edge. A wireframe shows the selected range, with handles that let you adjust its boundaries and falloff.
You can also create up to 30 independent color corrections in a single image. Each correction can be adjusted separately or switched on and off, so you can work with multiple colors without compromising one adjustment to make another.
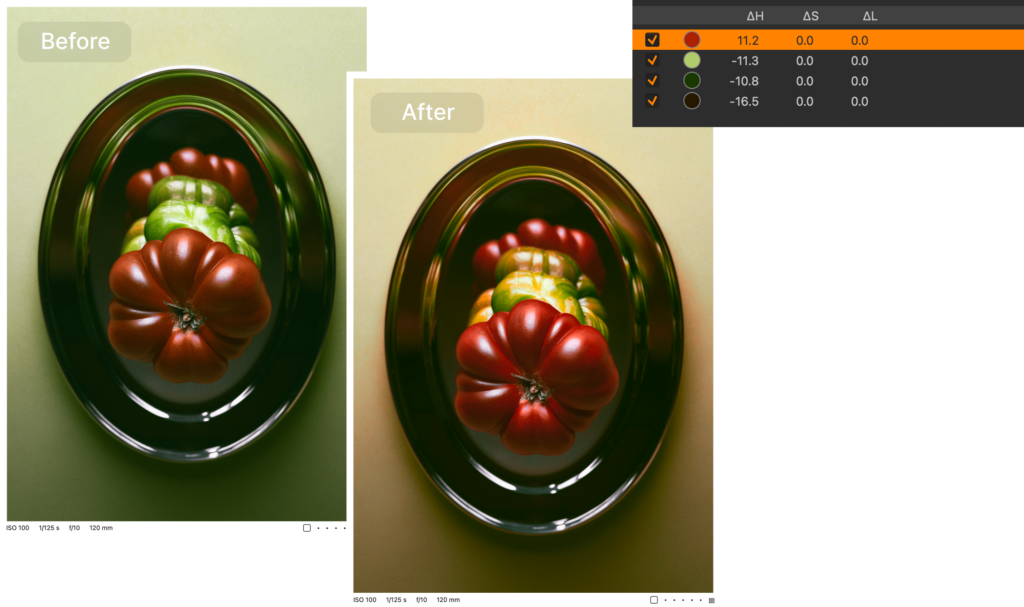
Visualizing color transformations
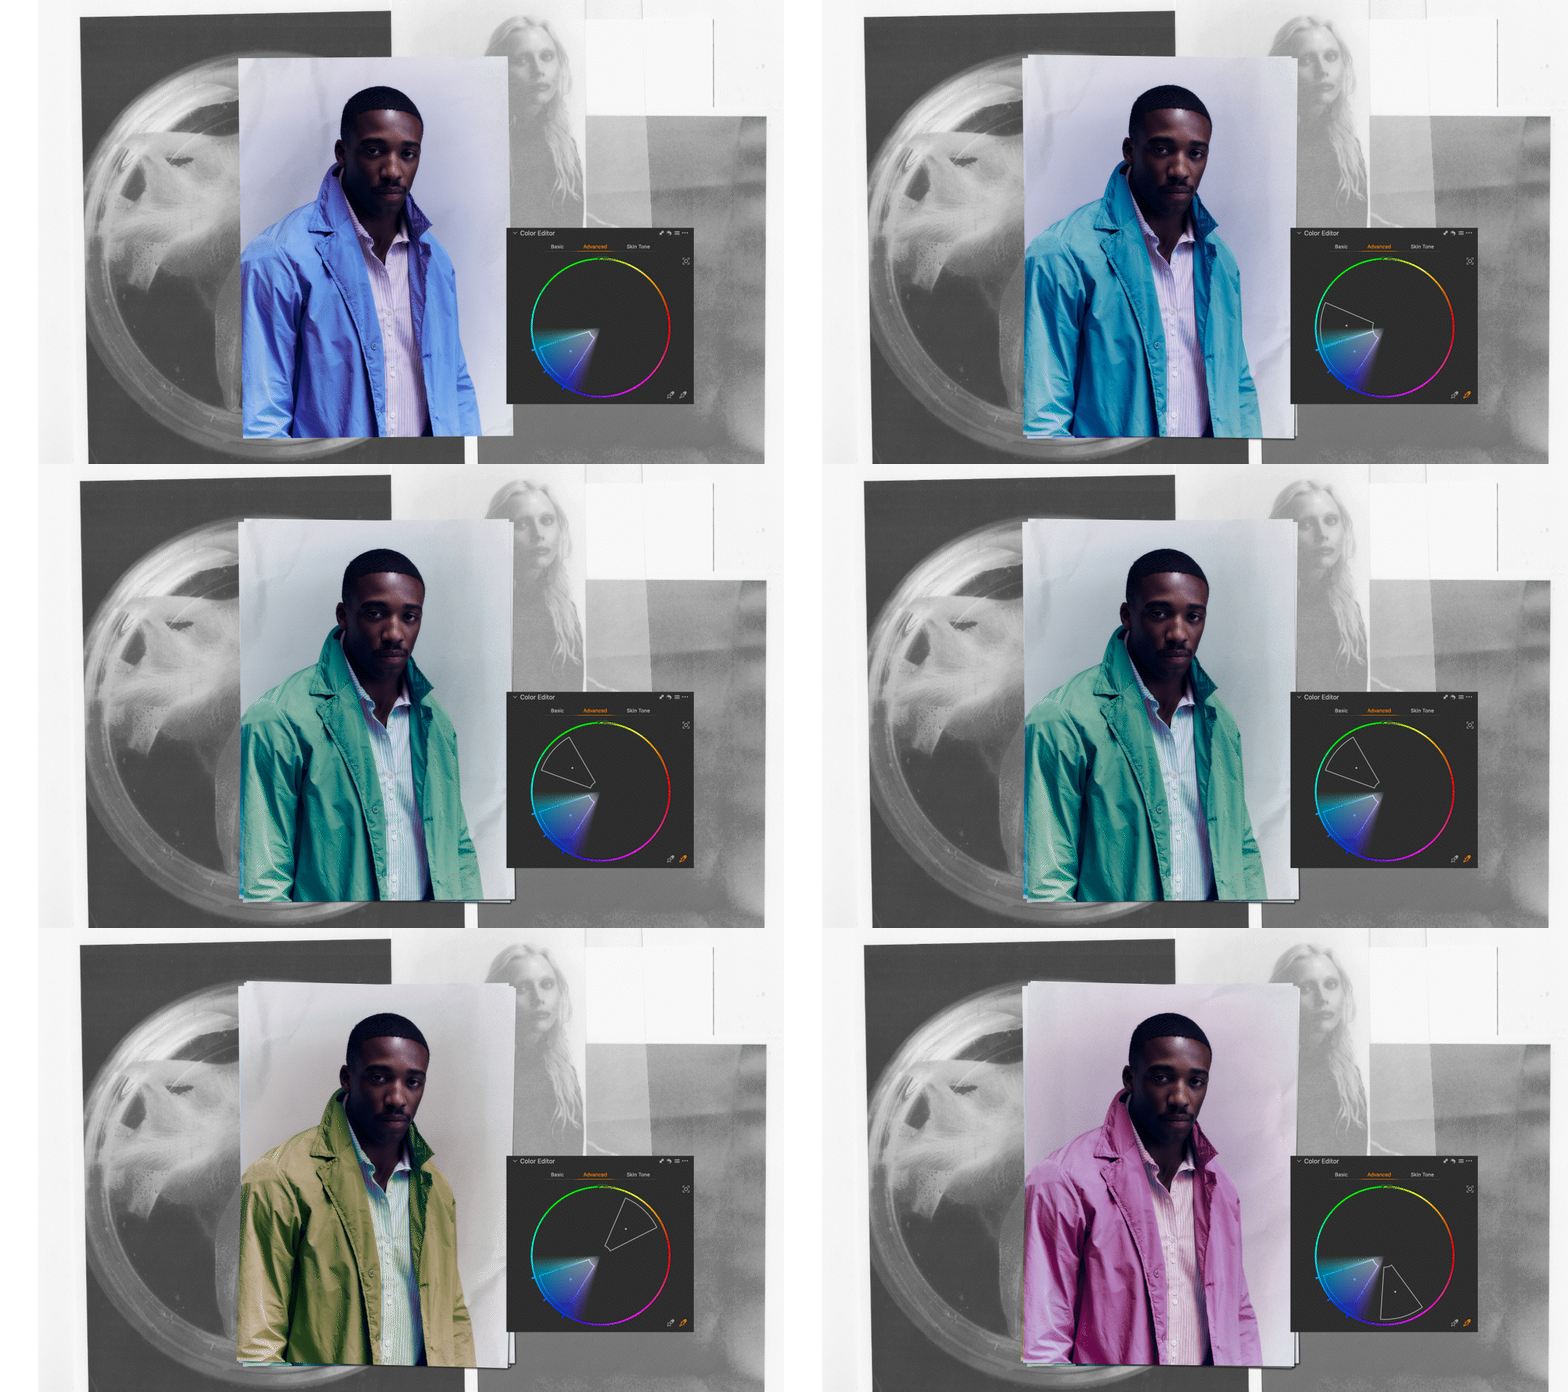
With version 16.9, we’ve introduced a new way to visualize color transformations in the Advanced Color Editor. The color wheel now displays both your original selection and the resulting color range, making it easier to see how an adjustment moves colors across the wheel.
Rather than judging the transformation from the image alone, you can see where the selected colors started and where they’re going. This makes it easier to understand the shift and fine-tune your adjustments.
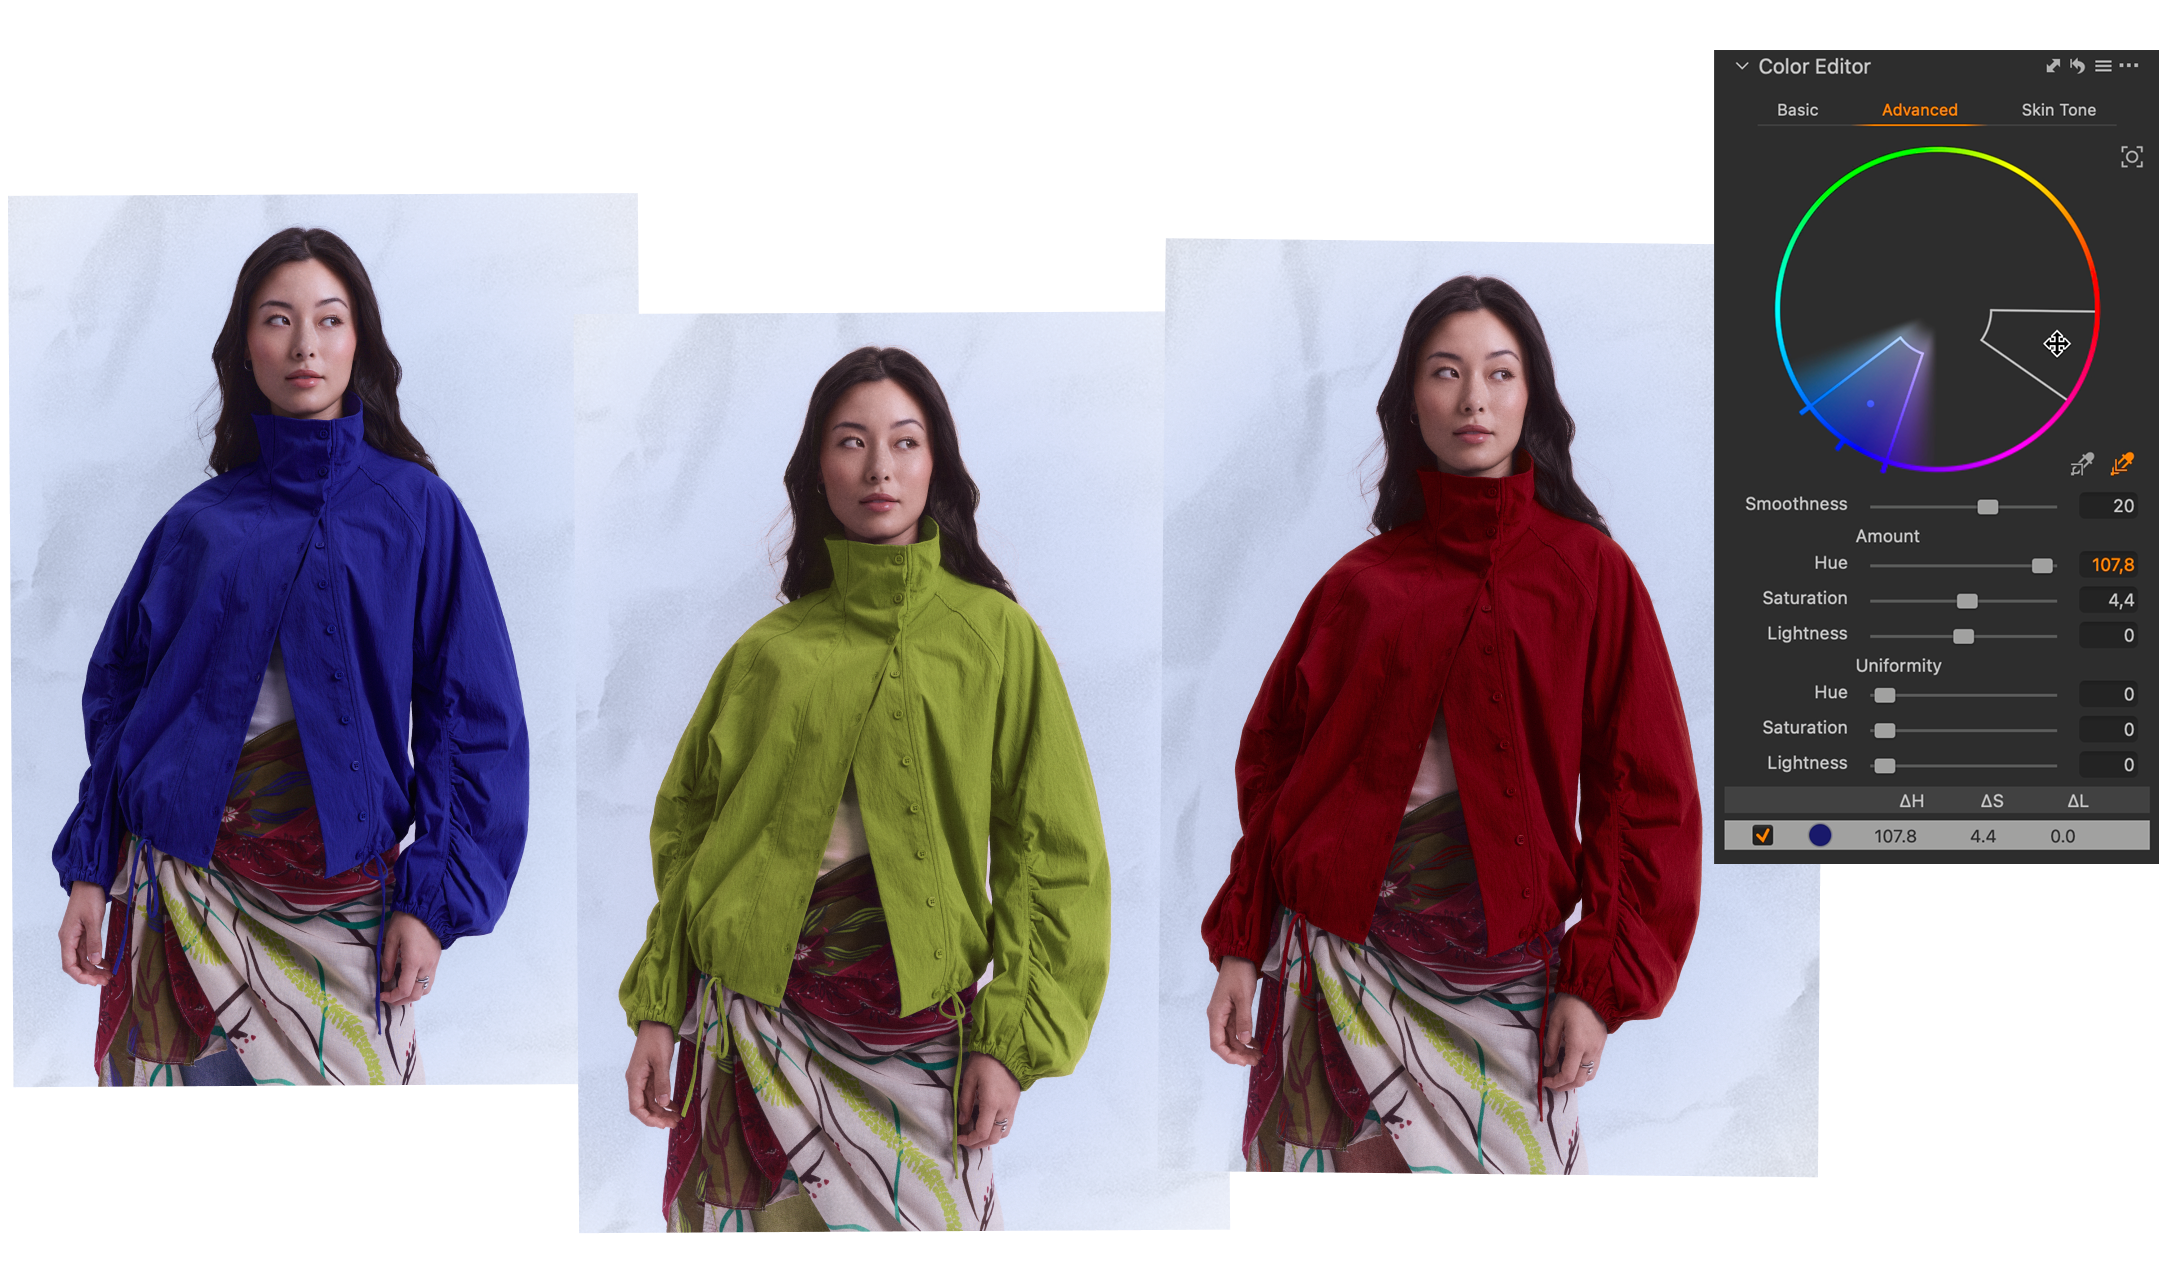
Beyond color adjustments
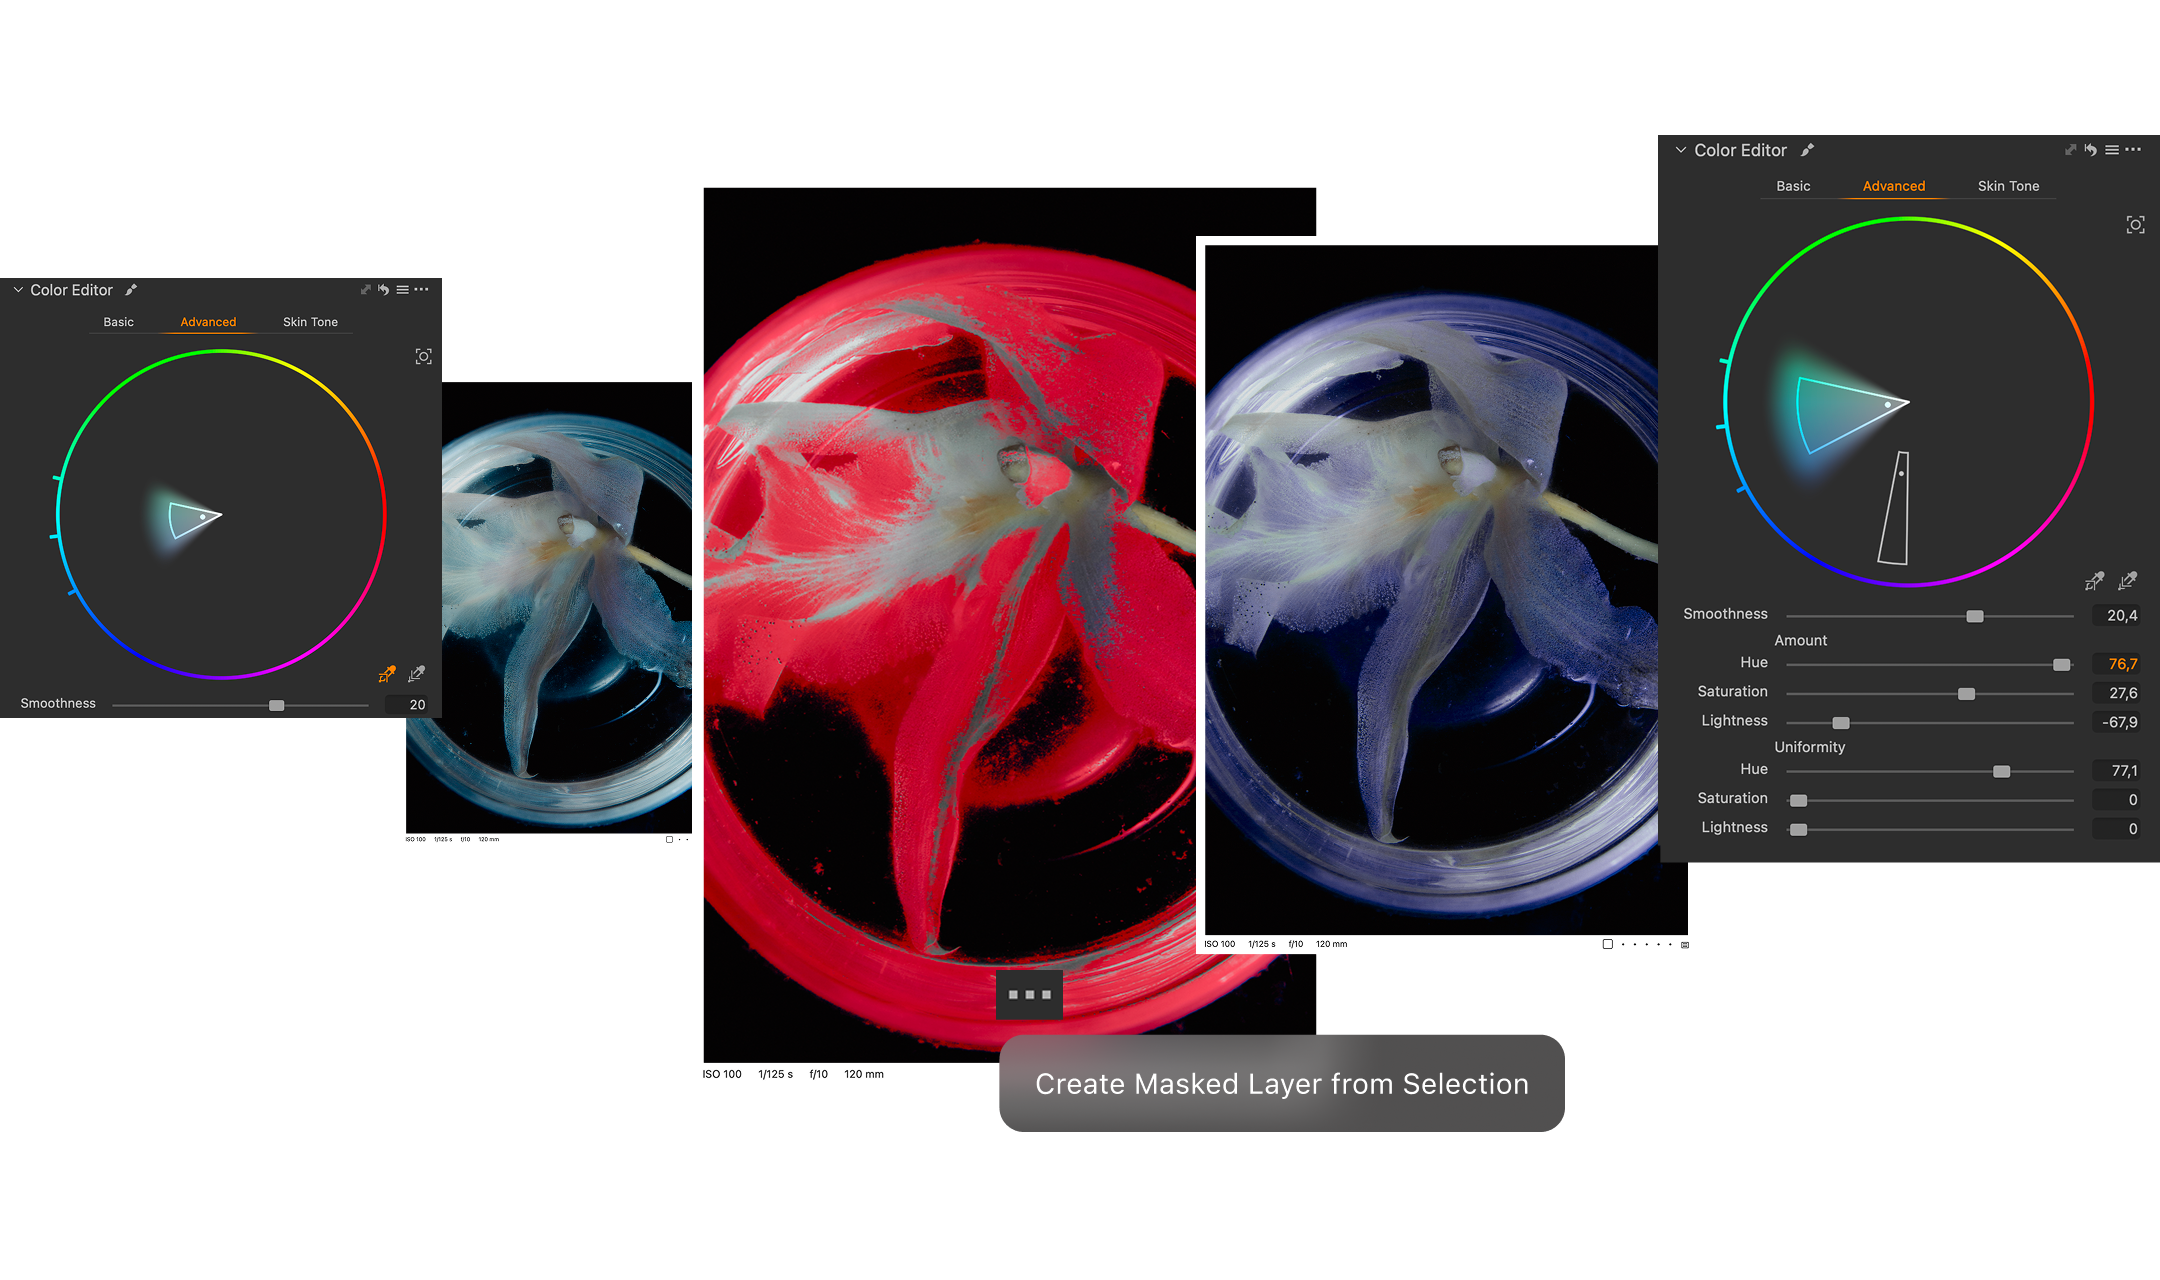
A color selection can also be used beyond color adjustments. You can turn any selection into a mask and use it with other tools in Capture One. For example, select a garment by its color, create a mask, and apply Exposure, Clarity, or a Curve to just that area.
When working on a layer, you can create separate, localized corrections for different parts of an image. For example, you could create one correction for the person on the left and another for the person on the right, each masked to its respective subject.
Section 2: What’s new in the Advanced Color Editor
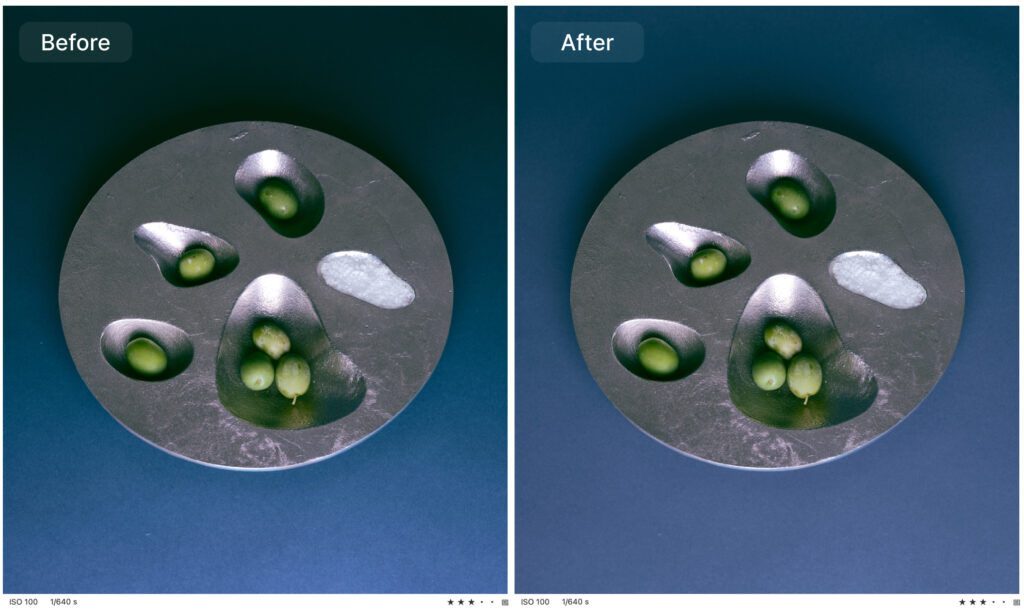
1. Uniformity: Bring consistency to uneven colors
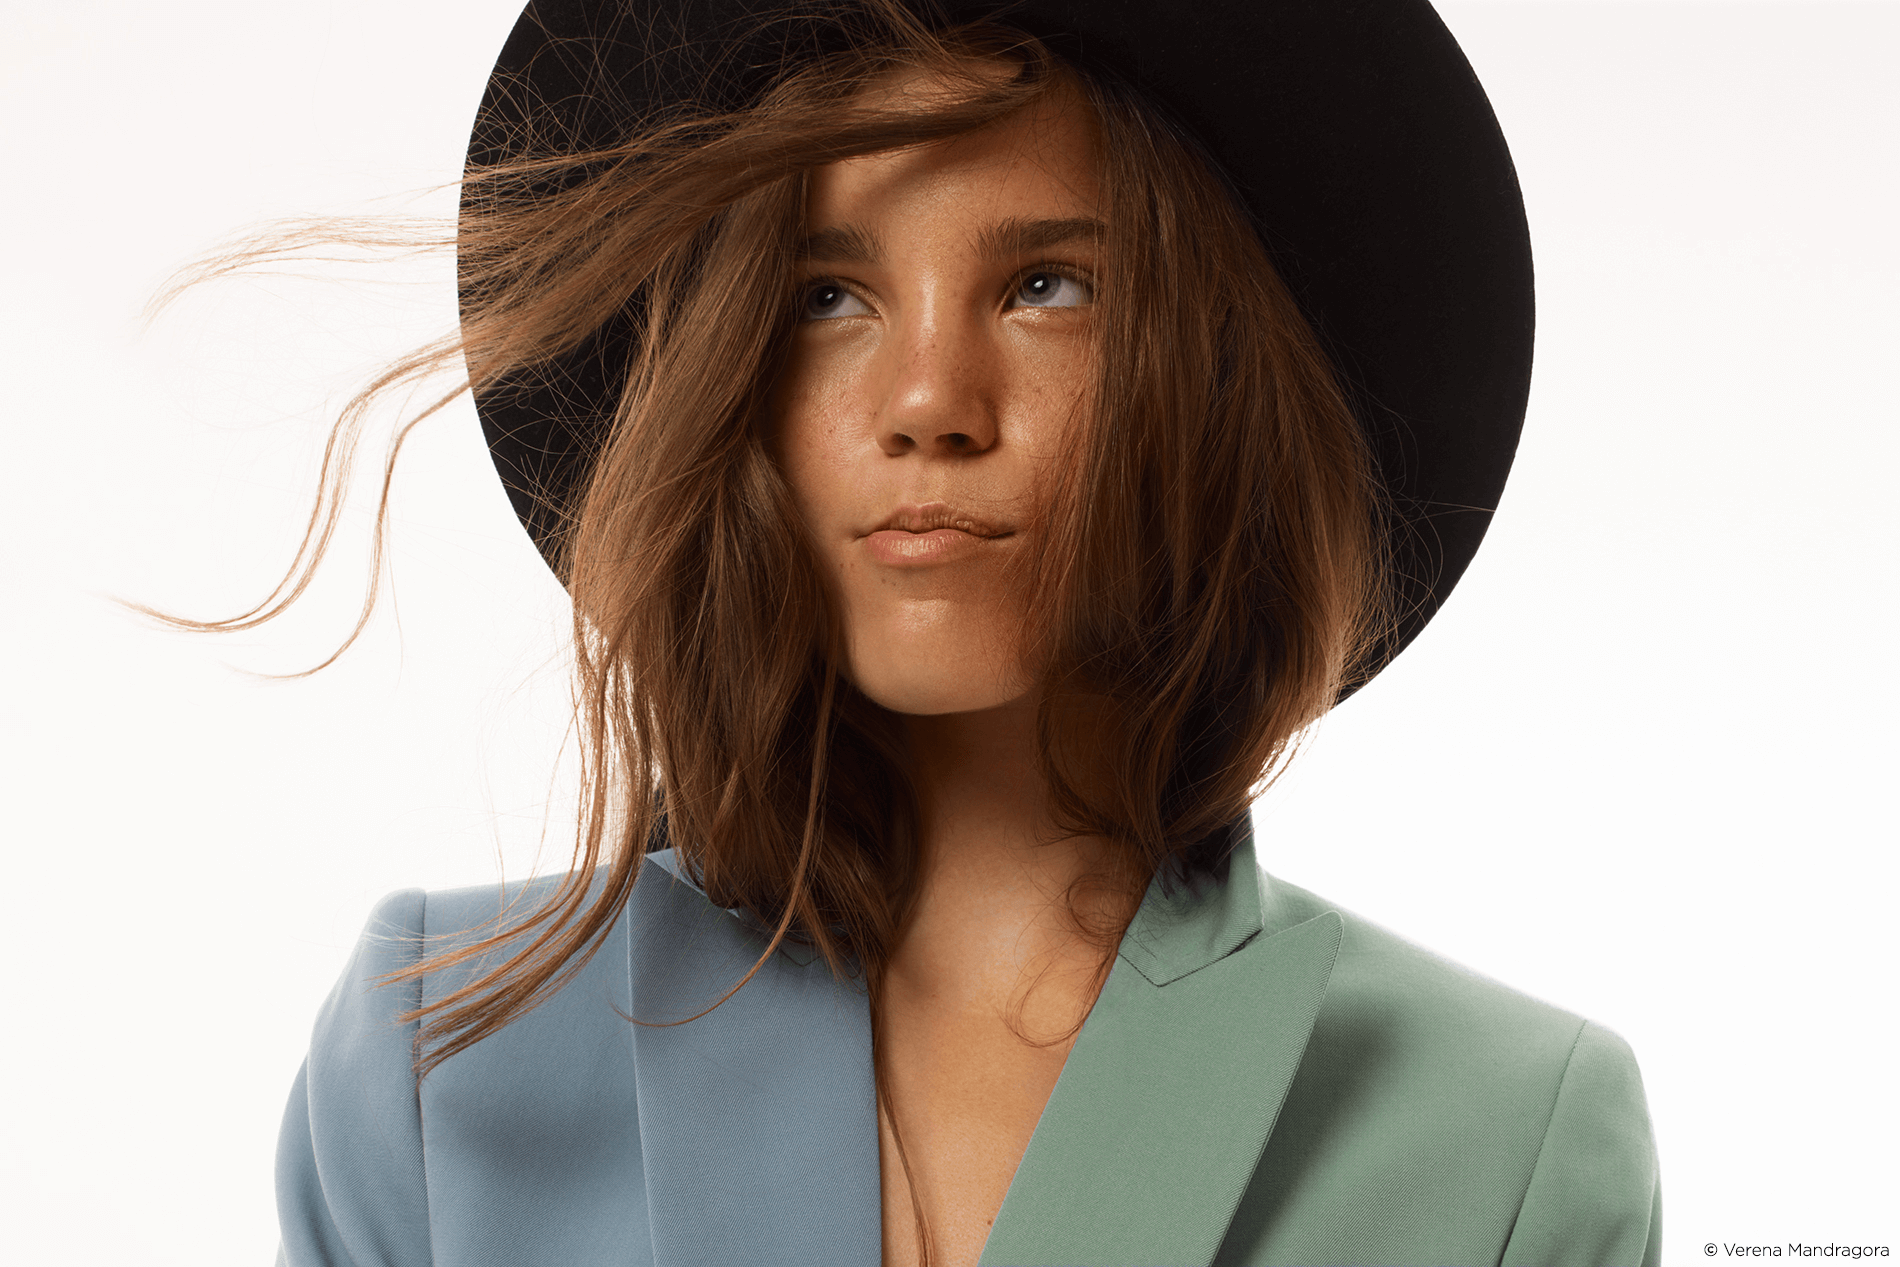
Colors don’t always appear evenly across an image. A garment might be lit differently from one side to the other, a painted wall might vary in tone, or foliage might shift between sunlight and shade. Uniformity helps bring these variations closer together, creating a more consistent appearance across a selected color range.
Separate Hue, Saturation, and Lightness sliders let you choose which aspects of the color to even out.
Previously available only in the Skin Tone tab, Uniformity was limited to a single correction per image. It’s now part of the Advanced Color Editor, where it can be applied independently to each selected color range. This means you can even out a jacket, backdrop, and prop within the same image, without creating separate layers for each correction.
2. Recoloring: Take control of your target color
The redesigned color wheel now shows two points: your original selection and the target color. The original point stays in place, while the target point shows where the selected color is moving. By dragging the target around the wheel, you can adjust the color and see the result update as you work.
The new target picker also lets you sample any color directly from your image and use it as the destination. For example, if you want to match the color of one garment to another, you can select the original color and sample the desired color as its target.
3. RGB and HSL input: Get the exact color you need
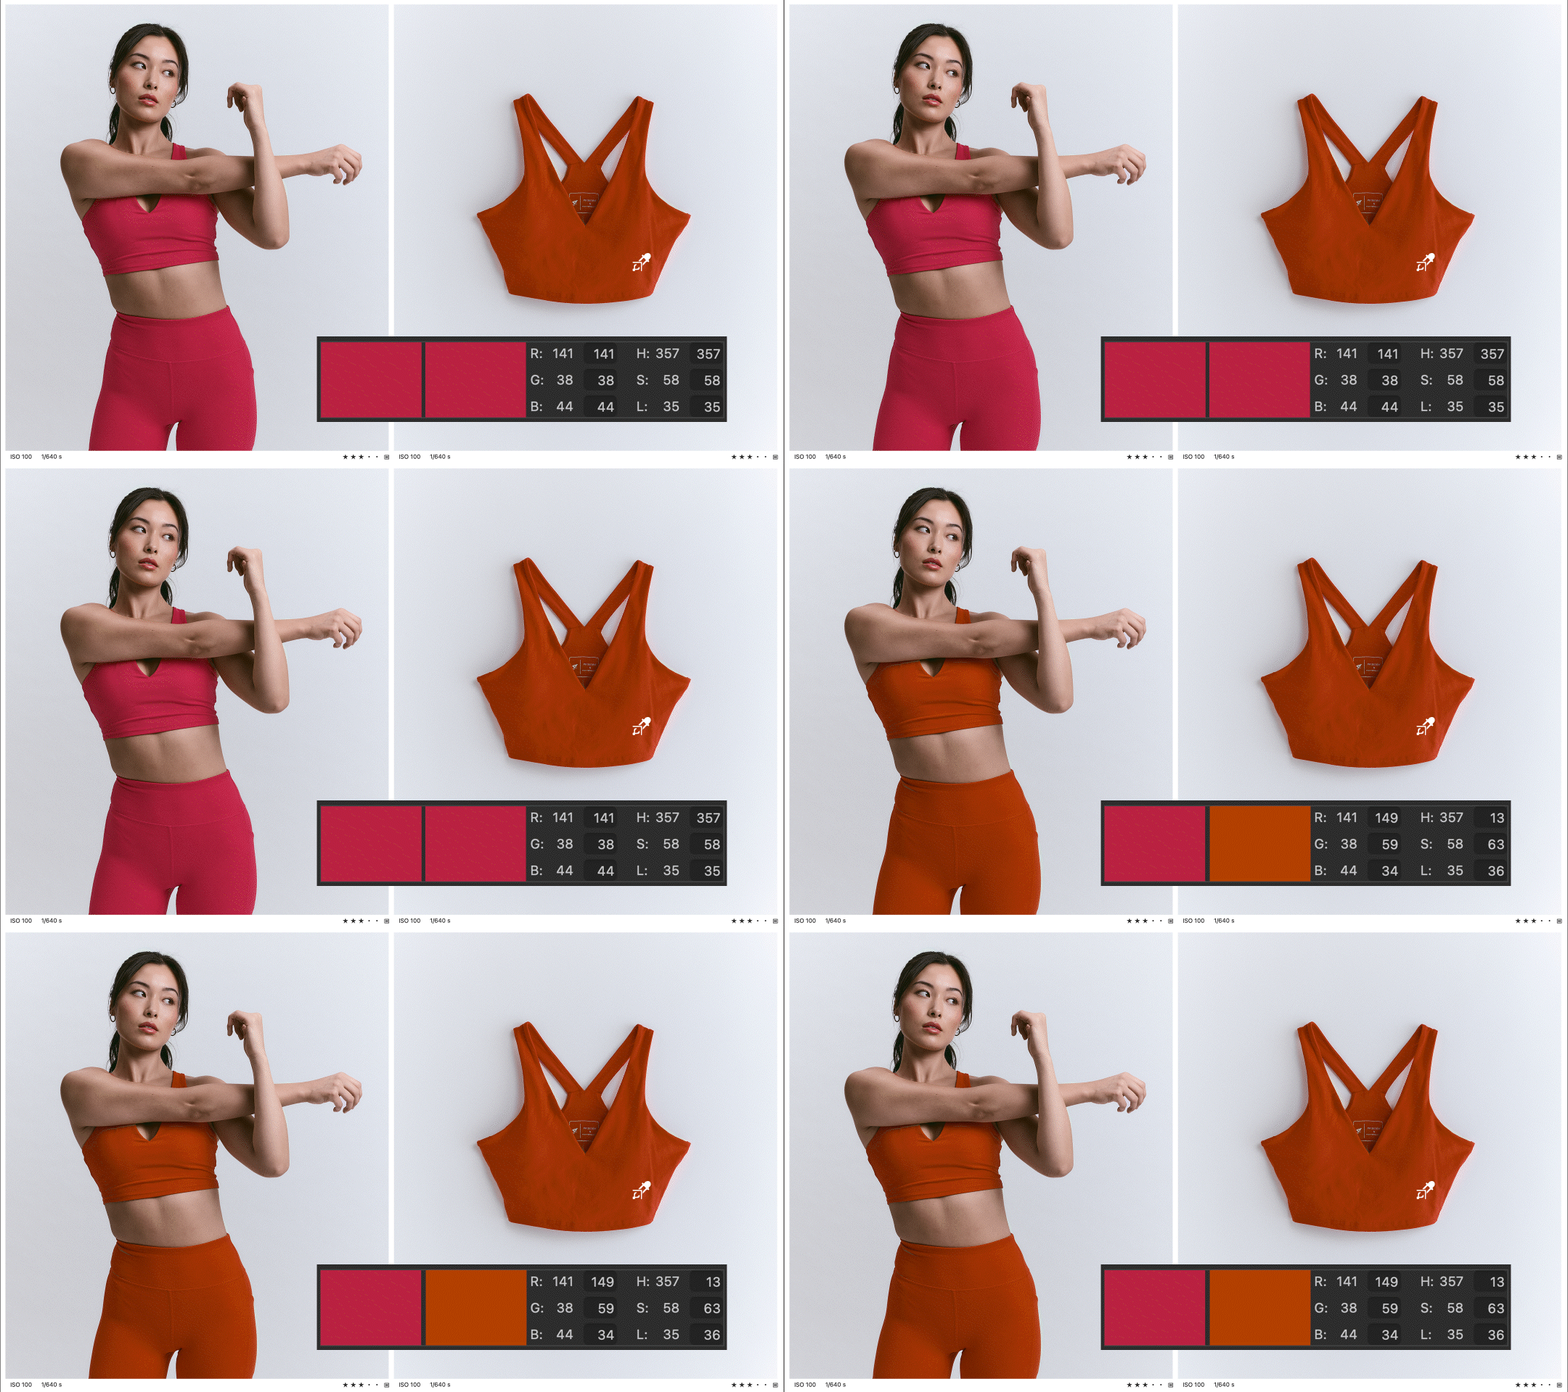
Sometimes you already know the exact color you’re aiming for. It might be a brand’s RGB value, a specific swatch, or a color that has already been approved.
The target readout is now editable, allowing you to enter precise values directly into the RGB or HSL fields. Capture One calculates the adjustment needed to move your selected color to those exact values, updating the result live as you type.
This is particularly useful when you need to match a specific color rather than adjust it by eye.
The Advanced Color Editor gives you precise control over individual colors in your images. With Uniformity, you can even out color variations across different ranges, while the redesigned color wheel and direct RGB and HSL input make it easier to achieve the exact colors you’re looking for.
Explore the new controls and see how they fit into your editing workflow.
Read the full release notes from Capture One 16.9