
The green in fluorescent light, the red of the sunset at the beach, or the colored light at your big birthday party last year can spoil the fun when the images are ready.
Back to Levels & Curve
In this third blog post on Levels & Curves I am going to make advanced color adjustments with both the Levels and Curve Tools by using one or more of the Red, Green, or Blue color channels. I call this kind of use for channel mode.
Note that this feature is only available in Capture One Pro and DB 7, and not in Express 7.
When you are serious about using channel mode, I have a power user tip first: create a workspace with four Levels Tools shown, one for each color channel.


Level your power
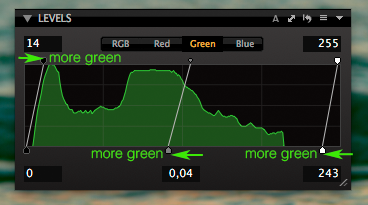
Let’s start with Levels in channel mode. You will discover that it is an extremely powerful color editing tool. It allows you to add or remove color. All the markers of the tool are at your disposal.
In the screenshot below I made comments on how to add a color. By using the opposite marker you remove color.
If you want to read more about how Curves and Levels Tools work and the distinction between input and output Levels, click here.
The markers at the left (top & bottom) affect the dark tones in your image, the ones at the right affect the highlights and the marker in the middle affects the mid tones. This way you can easily adjust a color based on its brightness!
Sunset Boulevard
For demonstration I use a sunset image with the obvious reddish/purple cast and low contrast. Thanks to a low camera position I get the maximum reflection of the sky in the water and in the wet sand.
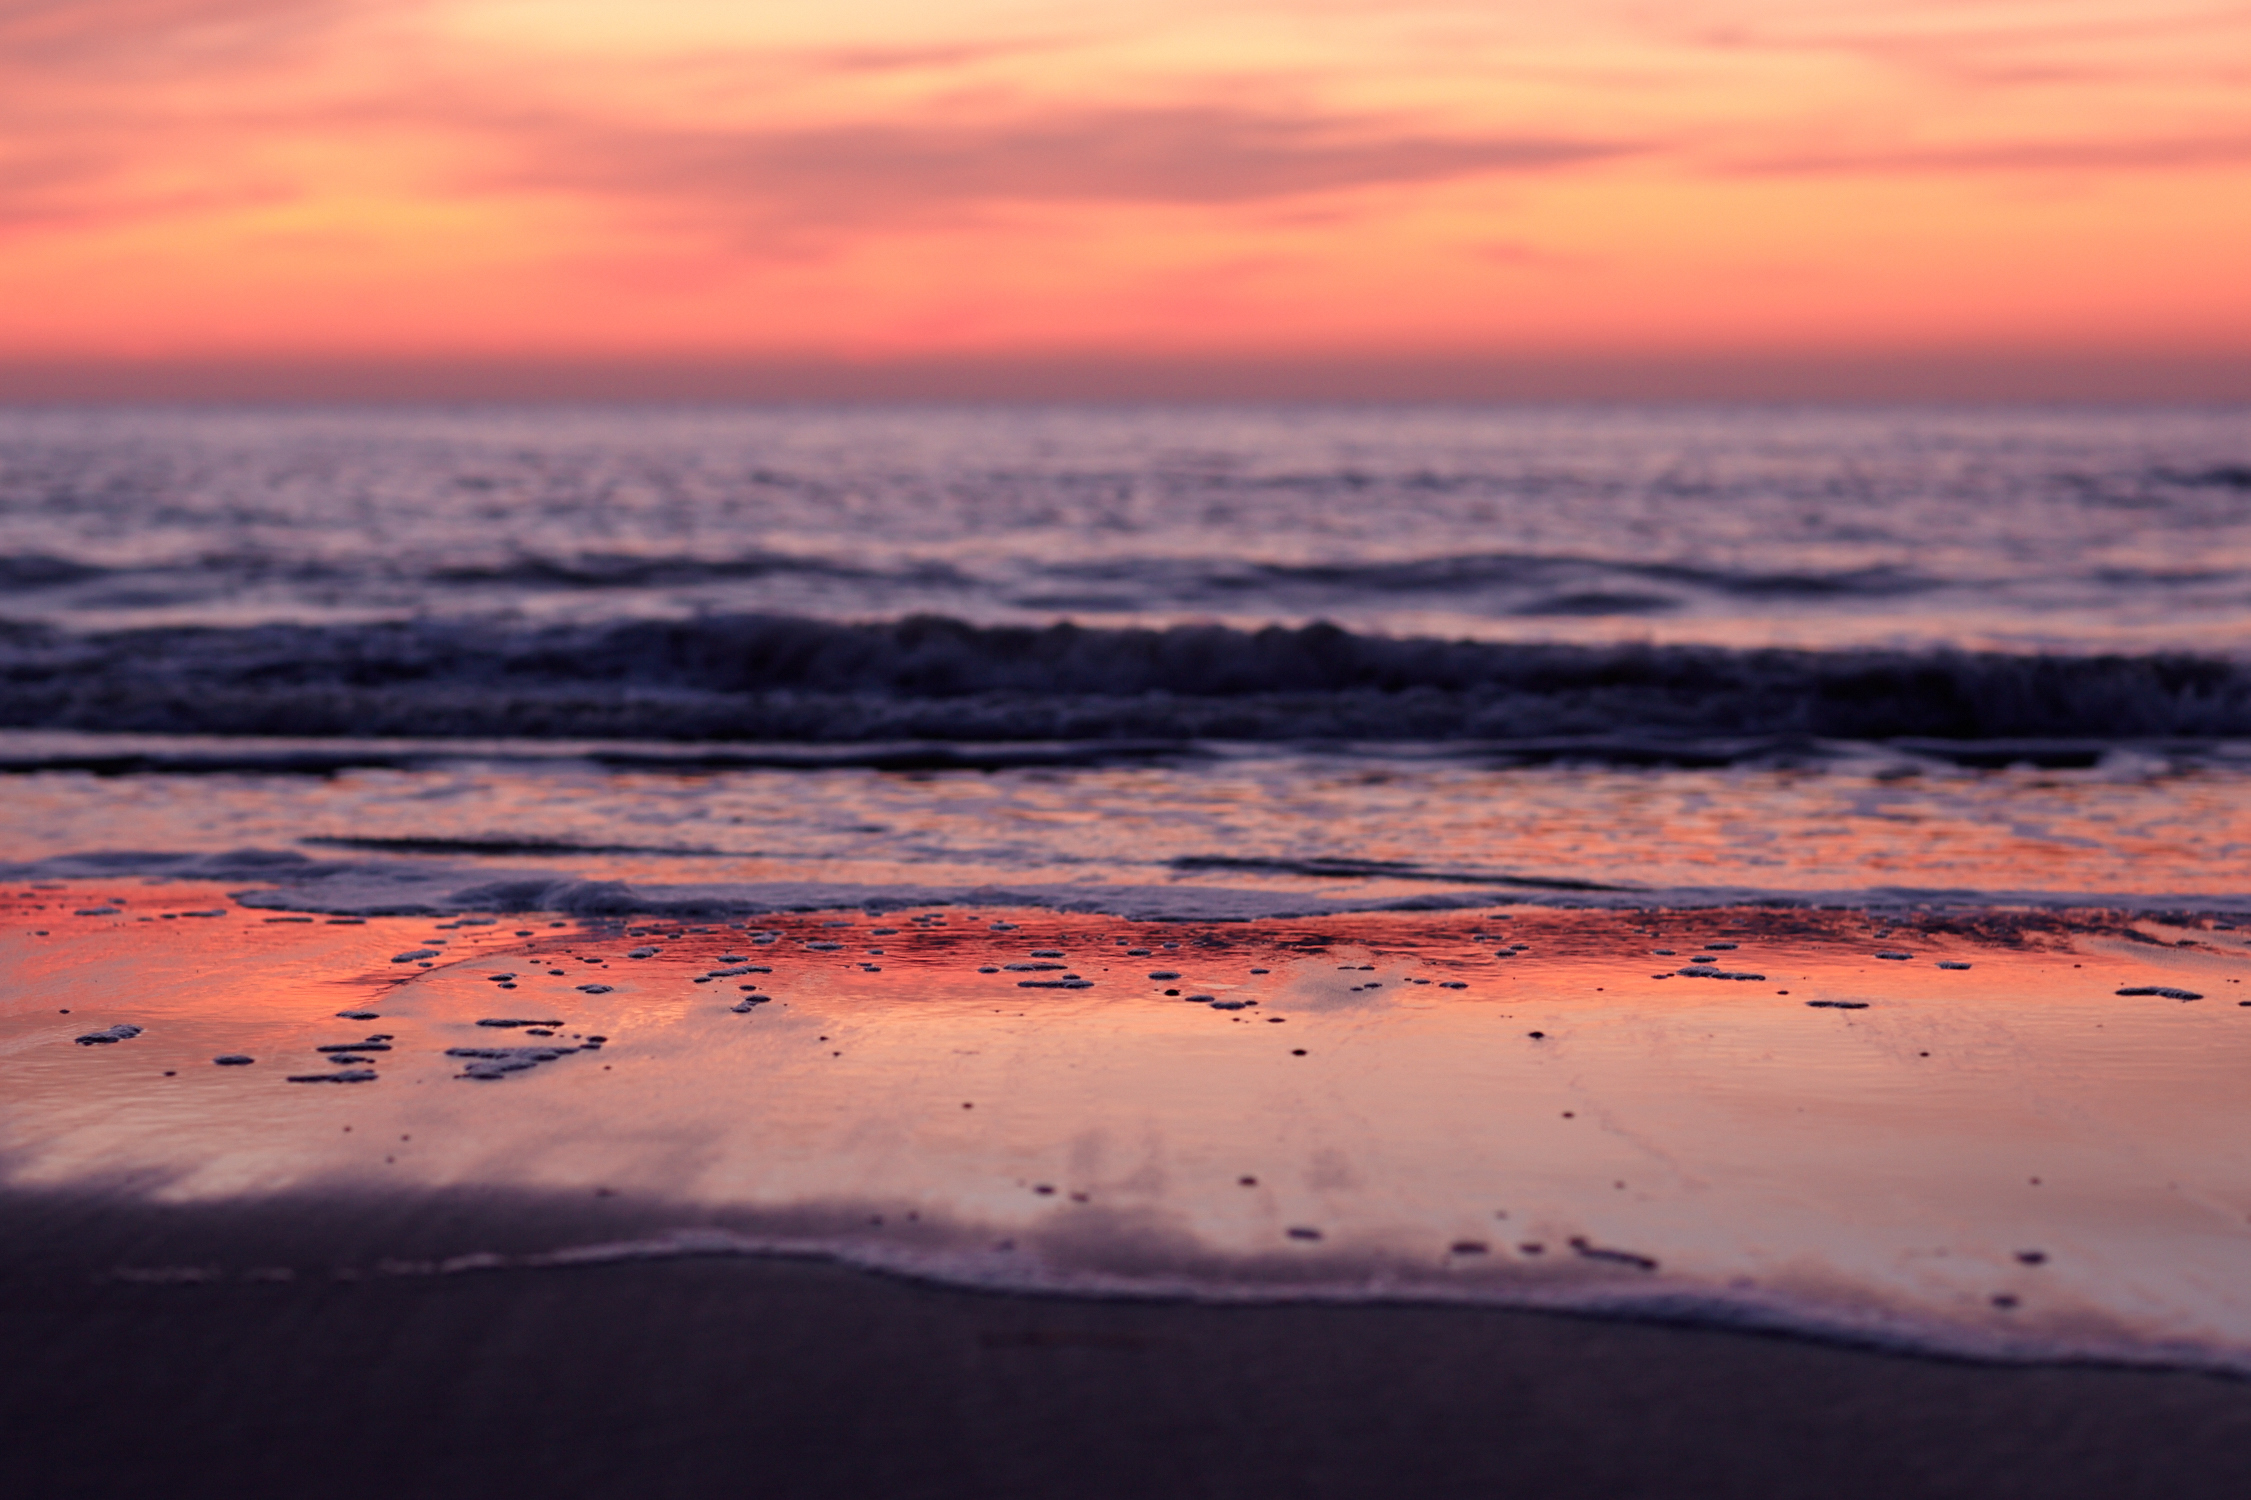
I like the sky but the foreground is too colored (purple). I also need to improve the tonal scale with black and white point. I need to take the purple color out but in the dark tones only. That is exactly what I am going to do with the Levels Tool’s Red and Blue channels.
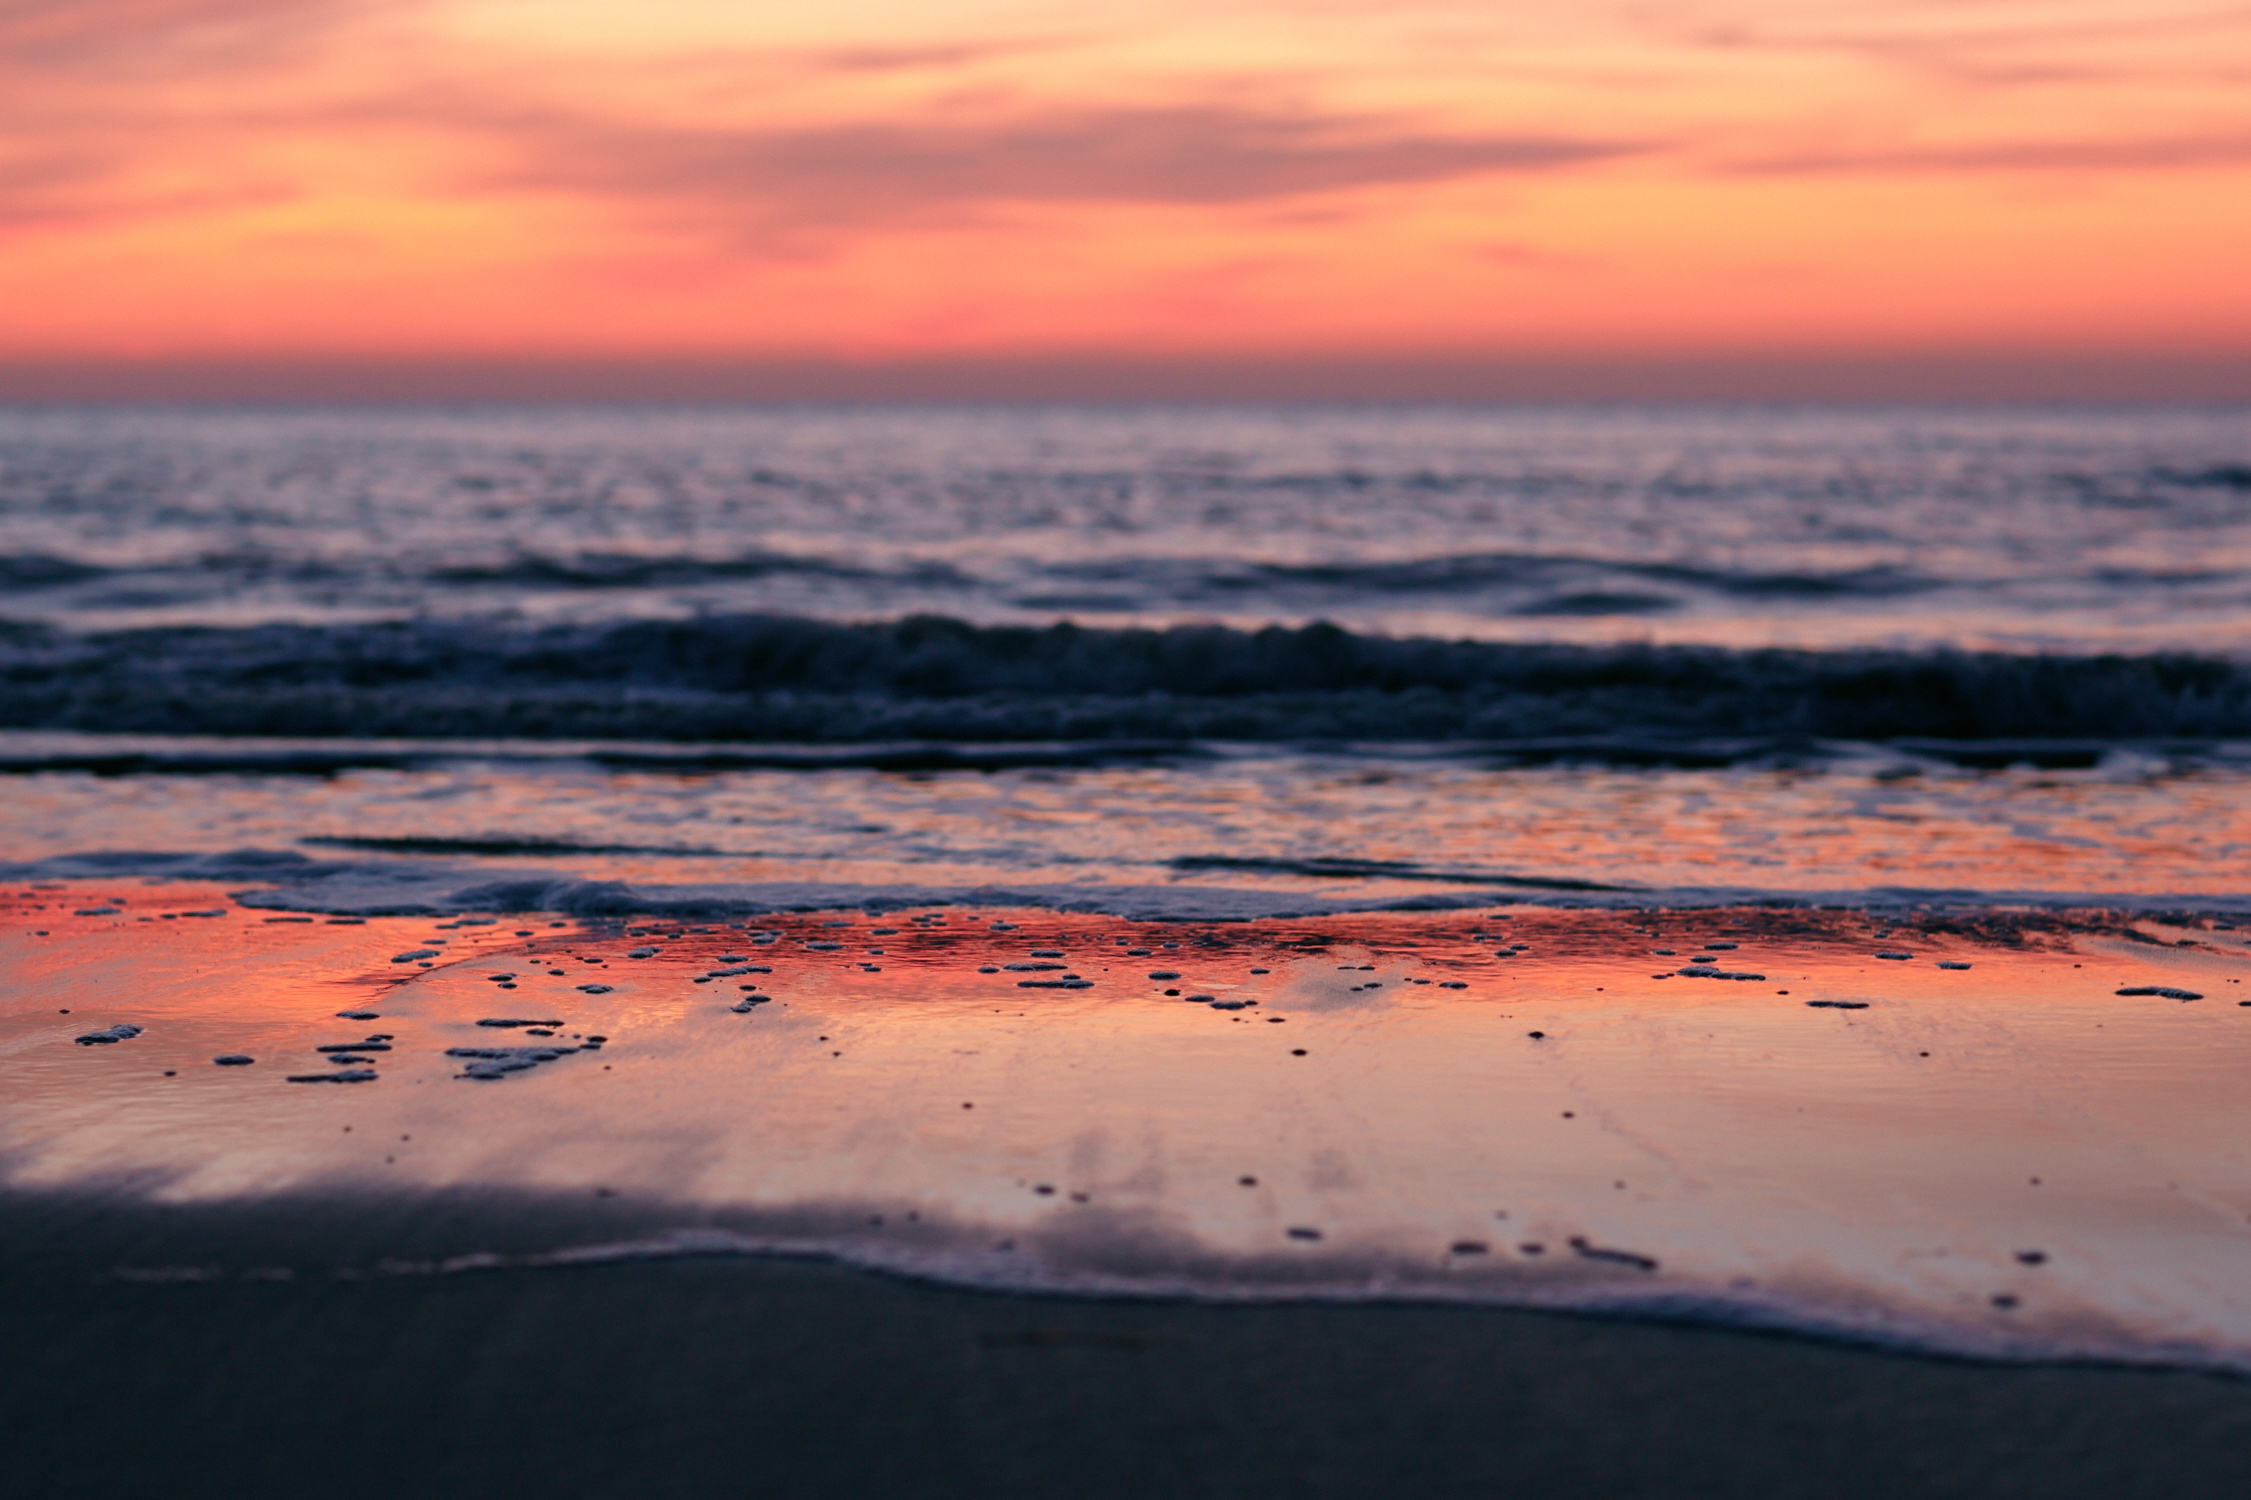
 I raise the dark tone marker at the bottom left to remove the color in both the Red and Blue channel. This removes the purple cast in the shadow.
This is basically the same as setting a black point in the RGB mode of your Levels Tool as I discussed in an earlier blog post. You remove the gray cast to make it black.
Next, I like to weaken the overall red cast with the mid tone marker (move it to the right) of the Red channel. This is the result:
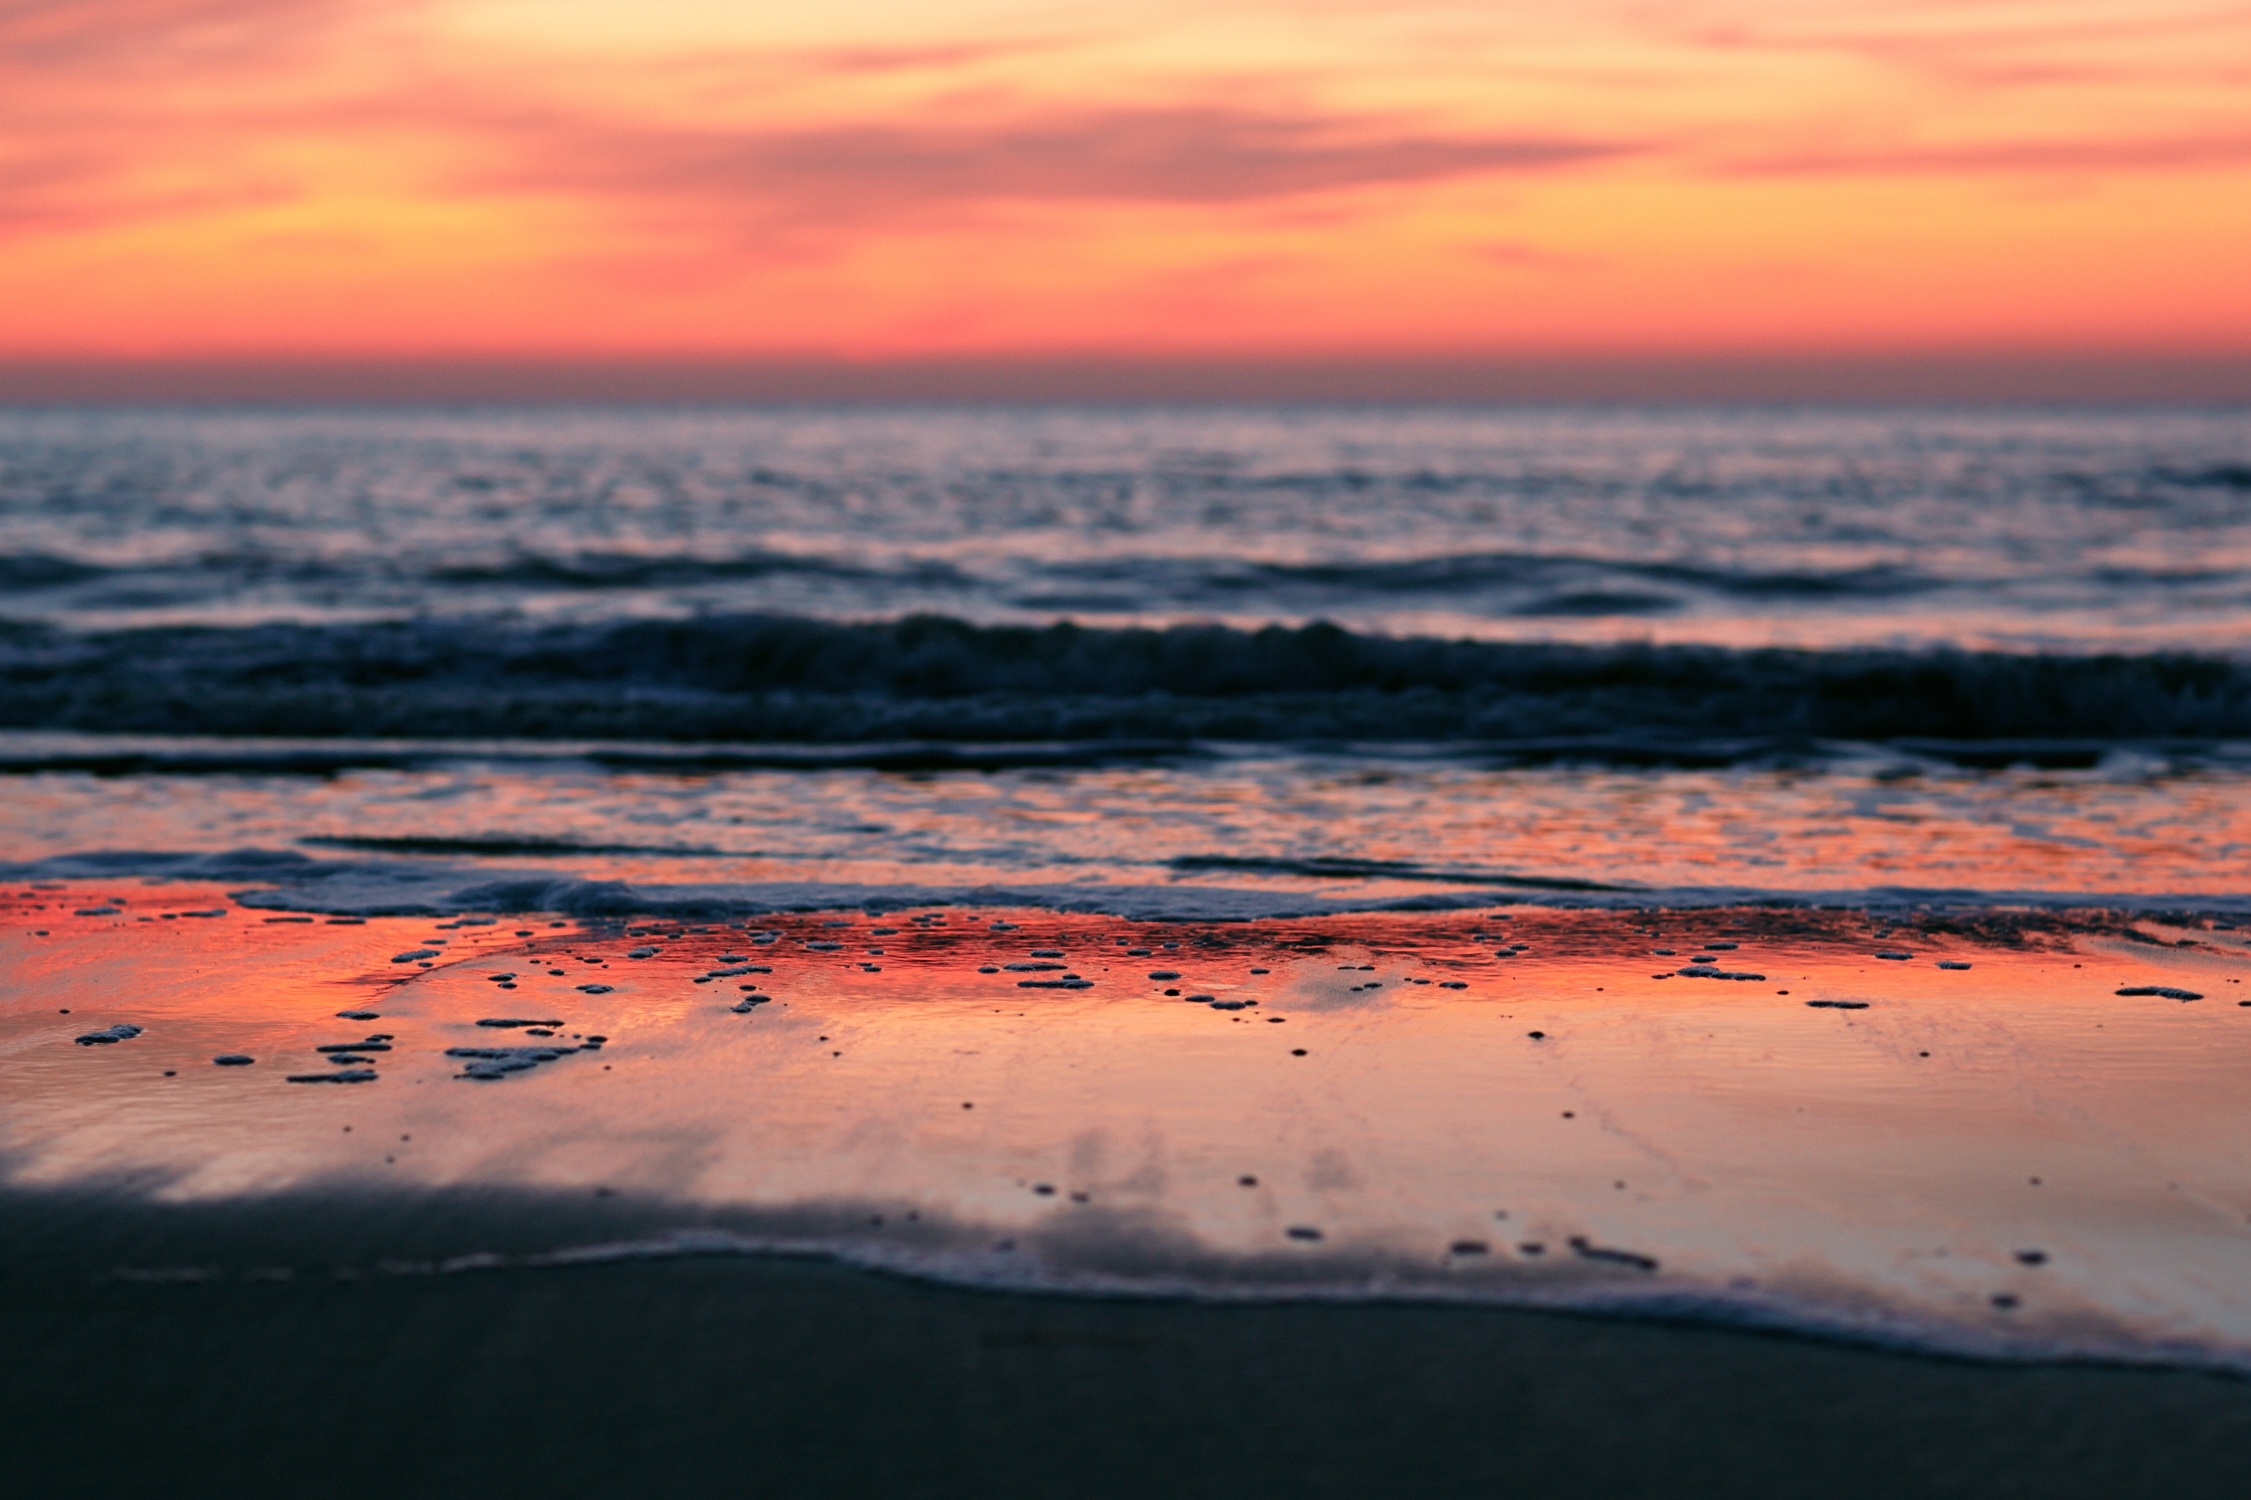
Now I have the right color at the right places in my image and I have emphasized the romantic mood.
Ease your Levels, enter the Curve
Right, you thought we were done now? Not completely. The Levels red mid tone slider did a nice job, but if you read my previous post on Curves you know that the Curve Tool can do a better job. The warm tones of the sunset can create more of an impact if there are parts that do NOT have that color to increase color contrast.
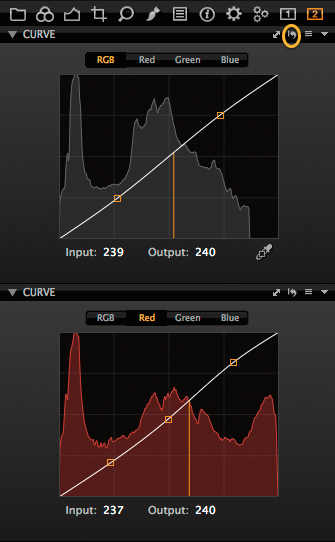
Also, the general contrast needs a boost too. I use the Curve Tool for both, one curve in the general RGB tab, one curve in the Red tab. Note that I first placed the mid tone marker of the Red channel in the neutral position because the Curve is taking care of that now.
This is the end result I like most:
And here are my Curve settings:
Tips
Two final tips to wrap up this blog post: tool reset and workspace.
1) Reset all Levels or Curve Tool modes
You know the tool reset: the curved arrow icon at the top. It will reset only the adjustments on the selected tab (channel or RGB mode). To reset ALL adjustments of the tool (all tabs: RGB, R, G, and B) at once use Cmd+click (Mac) or Ctrl+click (Windows) with the reset icon.
2) Workspace
To work with all channels in Levels and Curve, you might want to see them all at the same time. Create multiple Levels or Curve Tools as floating tools or create a tool tab for them. Set each to each channel. Save your workspace for future use.
I hope you enjoyed it and will get more out of your images with the Capture One Pro 7 tools Levels and Curve!
Best regards,
Paul Steunebrink
Paul Steunebrink
Besides being a photographer in the field of architecture and landscape, Paul prefers to teach and preach the better photographic workflow. He is also a regular contributor to the Phase One moderated user-to-user forums.


Wonderful post and information. Thanks a lot.
Hi Marinus,
Thank you for your nice comment. I am happy you enjoyed it.
Best regards,
Paul
Thanks Paul for another insightful post, looking forward to giving this a try.
Hi Calvin,
Great you’re back again. Using the color channels in these tools are often great for resolving the unresolvable color cast. Enjoy!
Best regards,
Paul
A big thank you Paul for this demonstration.
this tutorial will serve me to simply remove the dominant color of my films scanned TIFF 48bits.
I know this is a long learning work, and I am pleased to take expert advice as you.
I am very interrese by any information on this subject.
Thank you again.
Hi Pascal,
Thank you very much for your kind remarks. If you have a common color cast in your scans, and when levels or curve (or any other tool) comes to the rescue, you can make a preset or style to apply it easily more often, at any occasion or to a series of images.
Best regards,
Paul
Hi Paul
Oh, thanks a lot for your advice to use the curves by color channel. How many time I have forgotten this!
And the test image is great, indeed!
Hi Jean Pierre,
Thank you for your comment. I do hope you will remember these great tools when you need them. Enjoy.
Best regards,
Paul
Thanks Paul, for another useful addition. The curve presets can make all the difference, is there anywhere I can send a couple of images to you that have been toned using levels and curves for you to see what you think?
John
Hi John,
I will contact you shortly to see what you’ve created with levels and curves.
Best regards,
Paul
Hi Paul,
Won’t let me reply to the above but here it is…
I have since been using these techniques to revisit troublesome photos and have seen improvements in colour, shadow detail, and also contrast.
One thing I have been doing for high contrast photos, is importing as a linear response and then later applying contrast later through the curves, rather than working back over from a film standard import. I have found this helps retrieve shadow and highlight detail better. Also on portraits I now have better control over the softness of skin.
As always I look forward to seeing any further posts you make.
Thanks a bunch,
Calvin
Hi Calvin,
Nice workflow, sounds good. Thanks for sharing
We’ll see what blog I may come up with. 😉
Best regards,
Paul
This has made a really big difference for me. Something came together reading your article.
I had known about the trick to adjust color balance using the endpoints of RGB levels. A factor in choosing C1 v. LR was that C1 allowed this and LR didn’t. Still, I didn’t use the trick much because I thought it made the images too contrasty…
But I hadn’t really looked into curves…
Color Readout, variant, and curves.
I can’t say my pictures are great but they are more better for me!
(To be clear about LR for any other readers, I believe newer version allow individual adjustment of RGB channels in Levels. I am not sure how LR handles channels for Curves.
Hi Tan68,
Thank you for your post. I believe that (m)any image improves from a curve adjustment. And some with a curve in a channel.
We all tend to forget the no-so-obvious adjustments. Hence, I made a reminder. Enjoy!
Best regards,
Paul
wow, this is great editingediting tools.Is this tool what I can use on PC?