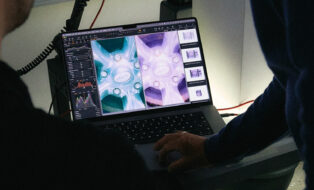
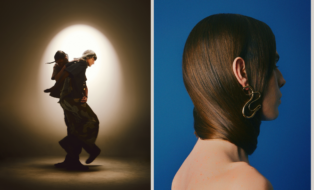
Portrait editing, especially retouching, shouldn’t be a time sink or an afterthought. The tools in Retouch Faces deliver clean, natural-looking results without the need to export or rely on third-party apps. It’s fast, built-in, and designed to fit seamlessly into your workflow.
Here’s how it works and why it’s a game-changer for portrait photographers and beyond.
How to access Retouch Faces
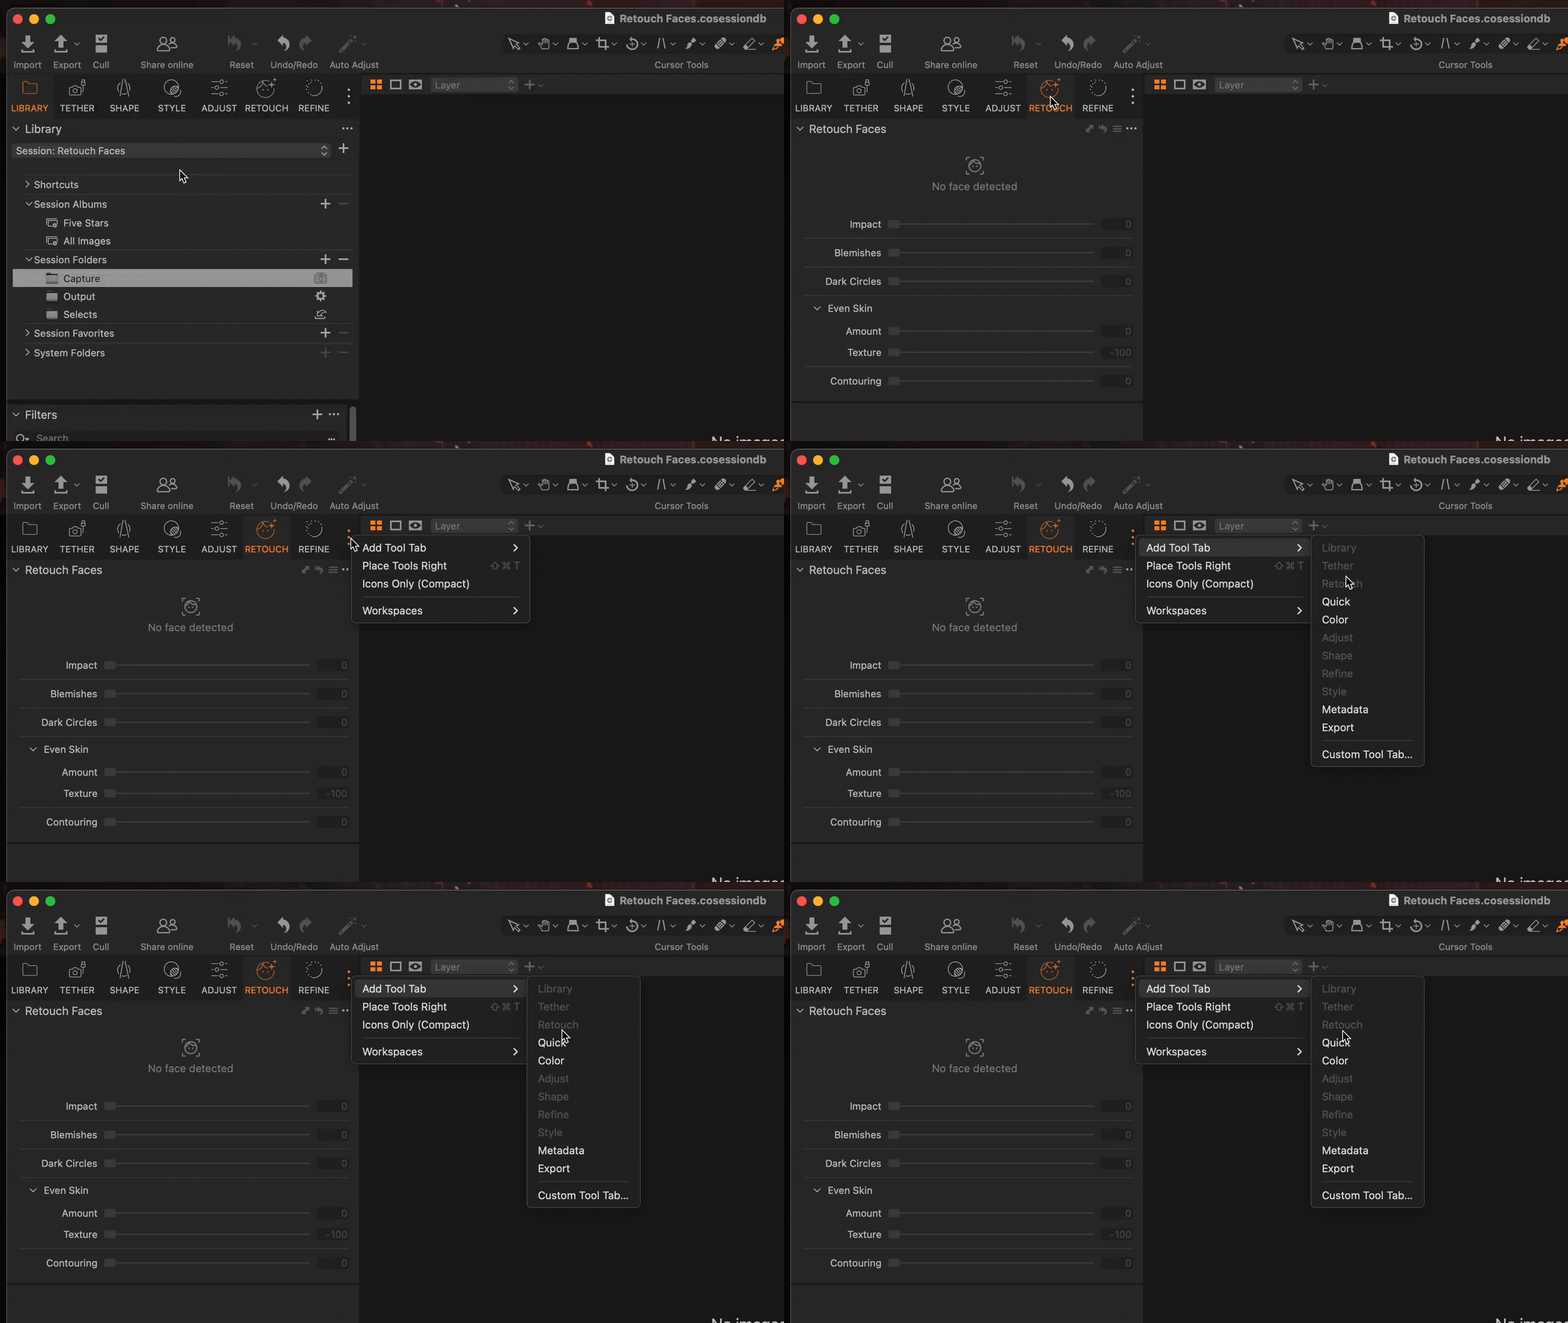
You’ll find the tools in the Retouch Tool Tab. It’s part of the default workspace in our May 2025 release (16.6.0) and newer, so you’re ready to go right out of the box.
If you’re using a custom workspace and the Retouch Tool Tab isn’t visible, just click the three vertical dots next to the Tool Tabs > Add Tool Tab > Retouch Tool Tab.
See this Help Center article for details: Customizing user interface.
Retouch individual faces or all
Whether you’re editing a group shot or a single portrait, you can apply changes to all detected faces, or fine-tune each one individually. You can automatically detect up to 32 faces per image, provided each face is at least 200 pixels on its shortest edge. Ideal for studio sessions, events, or anything in between.
To reset edits for a specific face, click the reset button on the frame of the face.
See this Help Center article for details: Resetting adjustments.
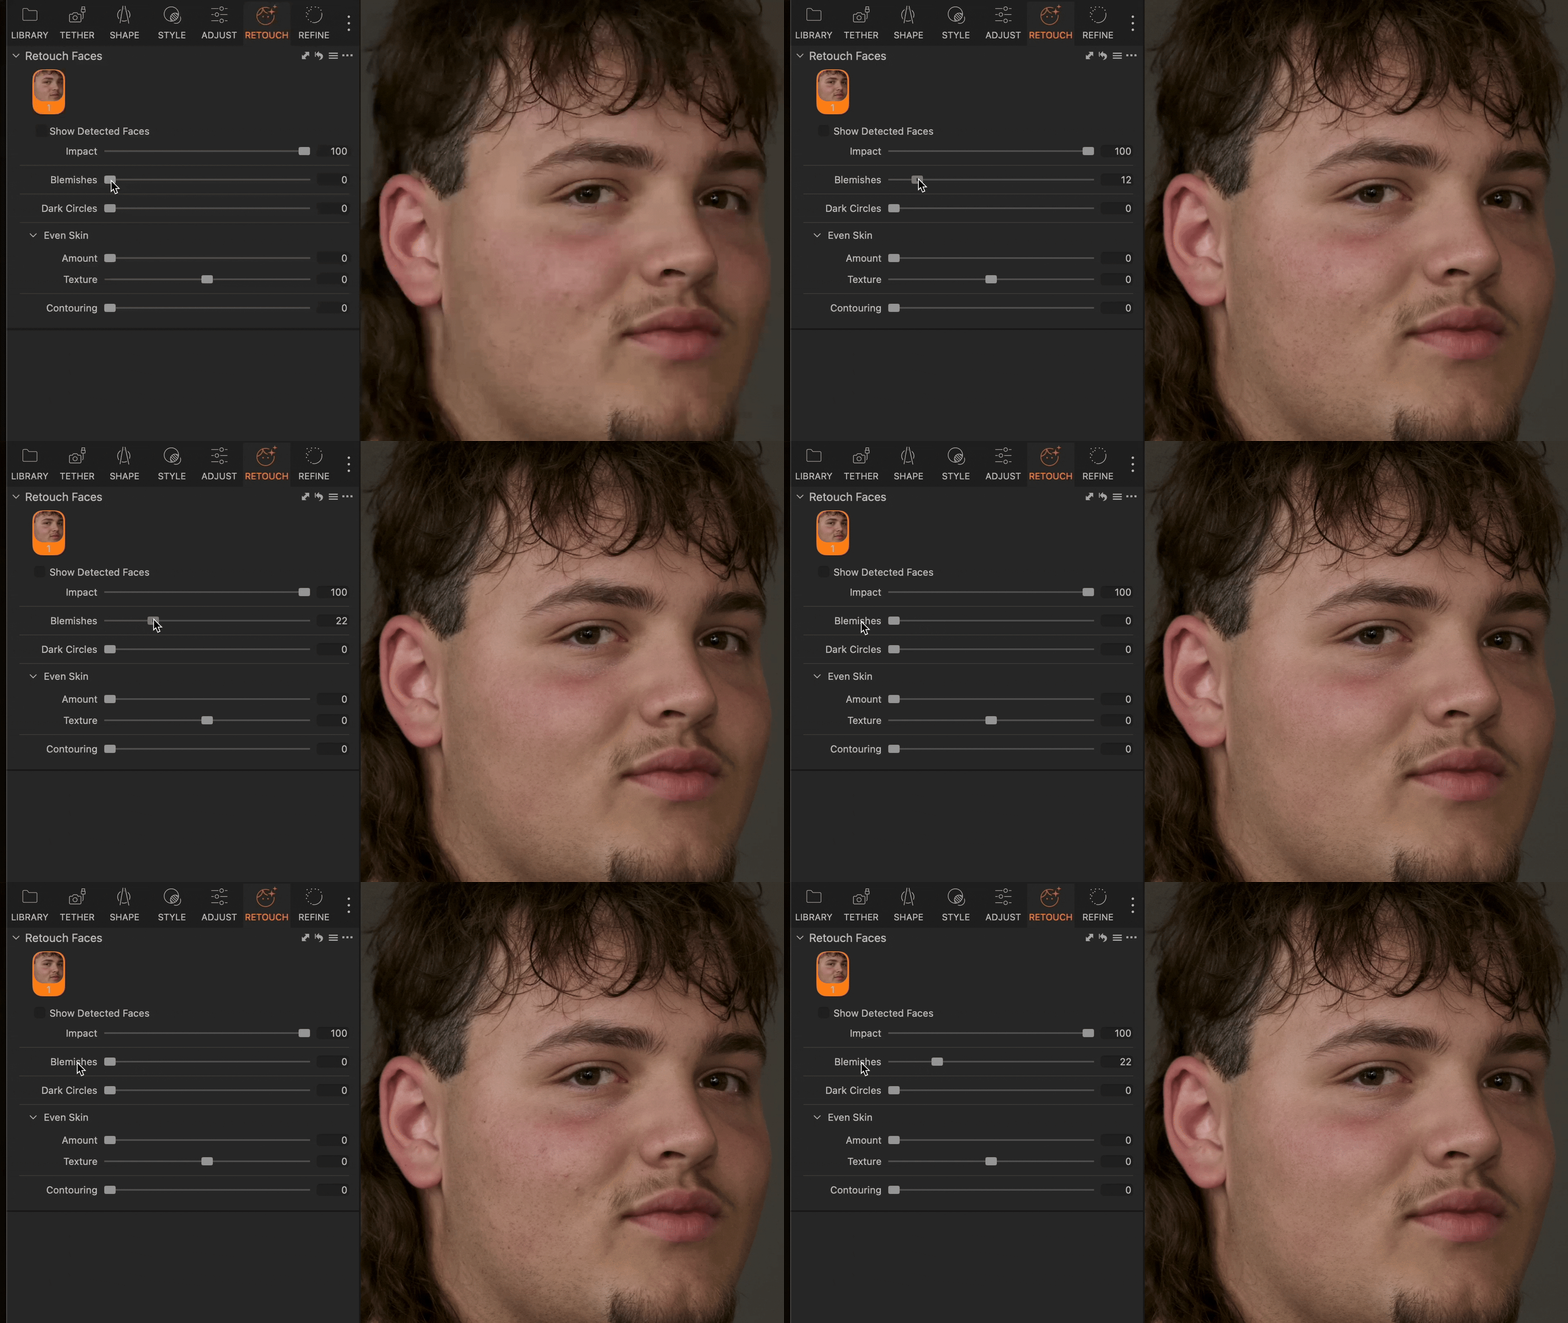
Refine skin details with the Blemish slider
Use the Blemish slider to clean up minor distractions, anything from pimples to rough patches. It starts by targeting larger imperfections and, as you increase the value, it gradually picks up smaller ones.
Start between 0 and 40 to avoid over-editing and preserve natural skin texture.
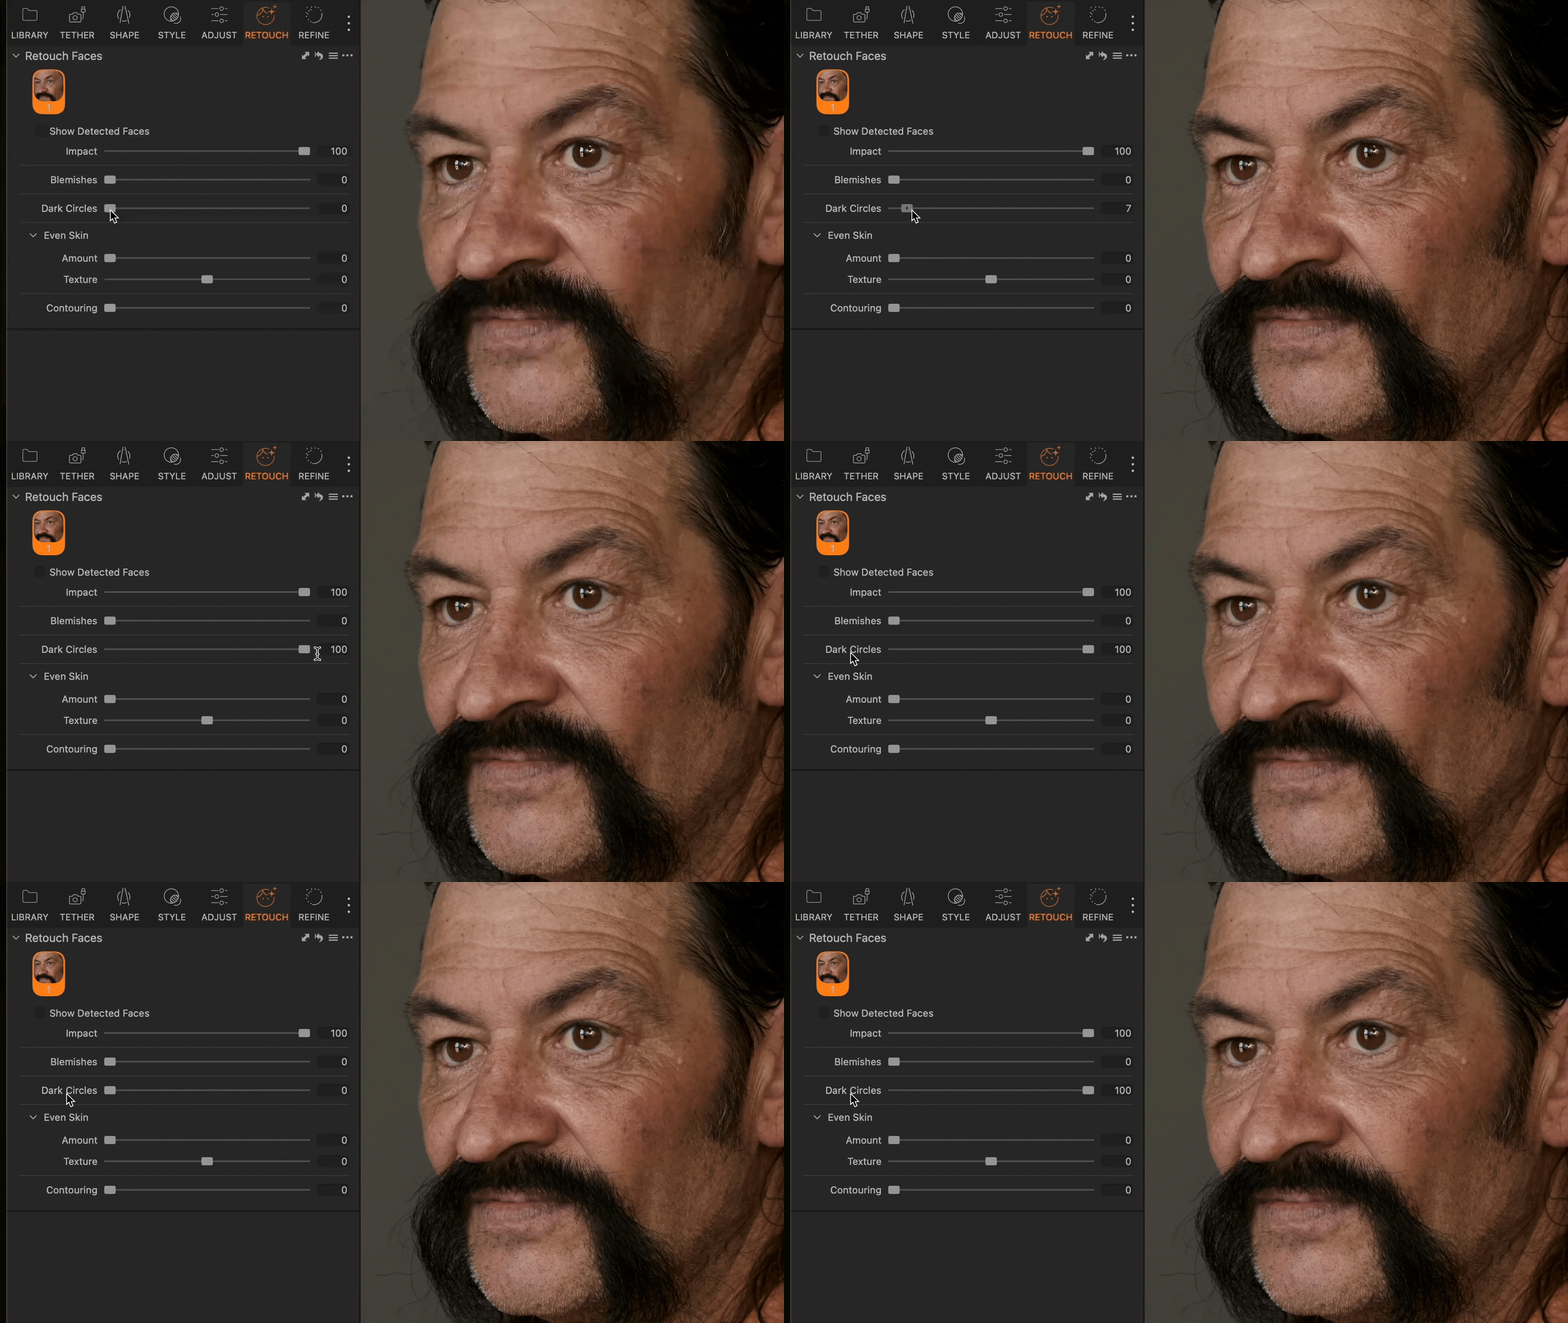
Reduce under-eye shadows with the Dark Circles slider
Tired-looking eyes can dull a portrait’s natural glow, but with a simple slider, you can bring the intensity back. Our Dark Circle Reduction tool softens shadows under the eyes while maintaining natural detail. Great for headshots, corporate portraits, or anyone who needs to look sharp and well-rested.
Smooth skin contrast with the Even Skin sliders
The Even Skin sliders help even out broad contrast inconsistencies while keeping natural texture and lighting intact, ideal for everything from fashion to school portraits. Use the Amount slider to control how much smoothing is applied, and Texture to decide how much fine detail stays in.
Try different combinations for different results: a high Amount with low Texture (like 80 / -70) gives a polished, editorial look; a lower Amount with higher Texture (around 40 / 50) keeps things natural. Pair this with light Blemish adjustments to refine skin without making it look overworked.
Add natural contour to portraits with Contouring slider
Give your portraits dimension without manually dodging and burning. The Contouring slider subtly deepens shadows on the face to define cheekbones and jawlines in a natural, flattering way, especially useful in flat lighting or tight headshots.
But it’s not just a blunt tool. Contouring intelligently analyzes the light on the face, skipping over highlights and applying depth only where it makes visual sense. It enhances the natural structure without fighting the lighting or overprocessing the edges.
Adjust overall retouching with the Impact slider
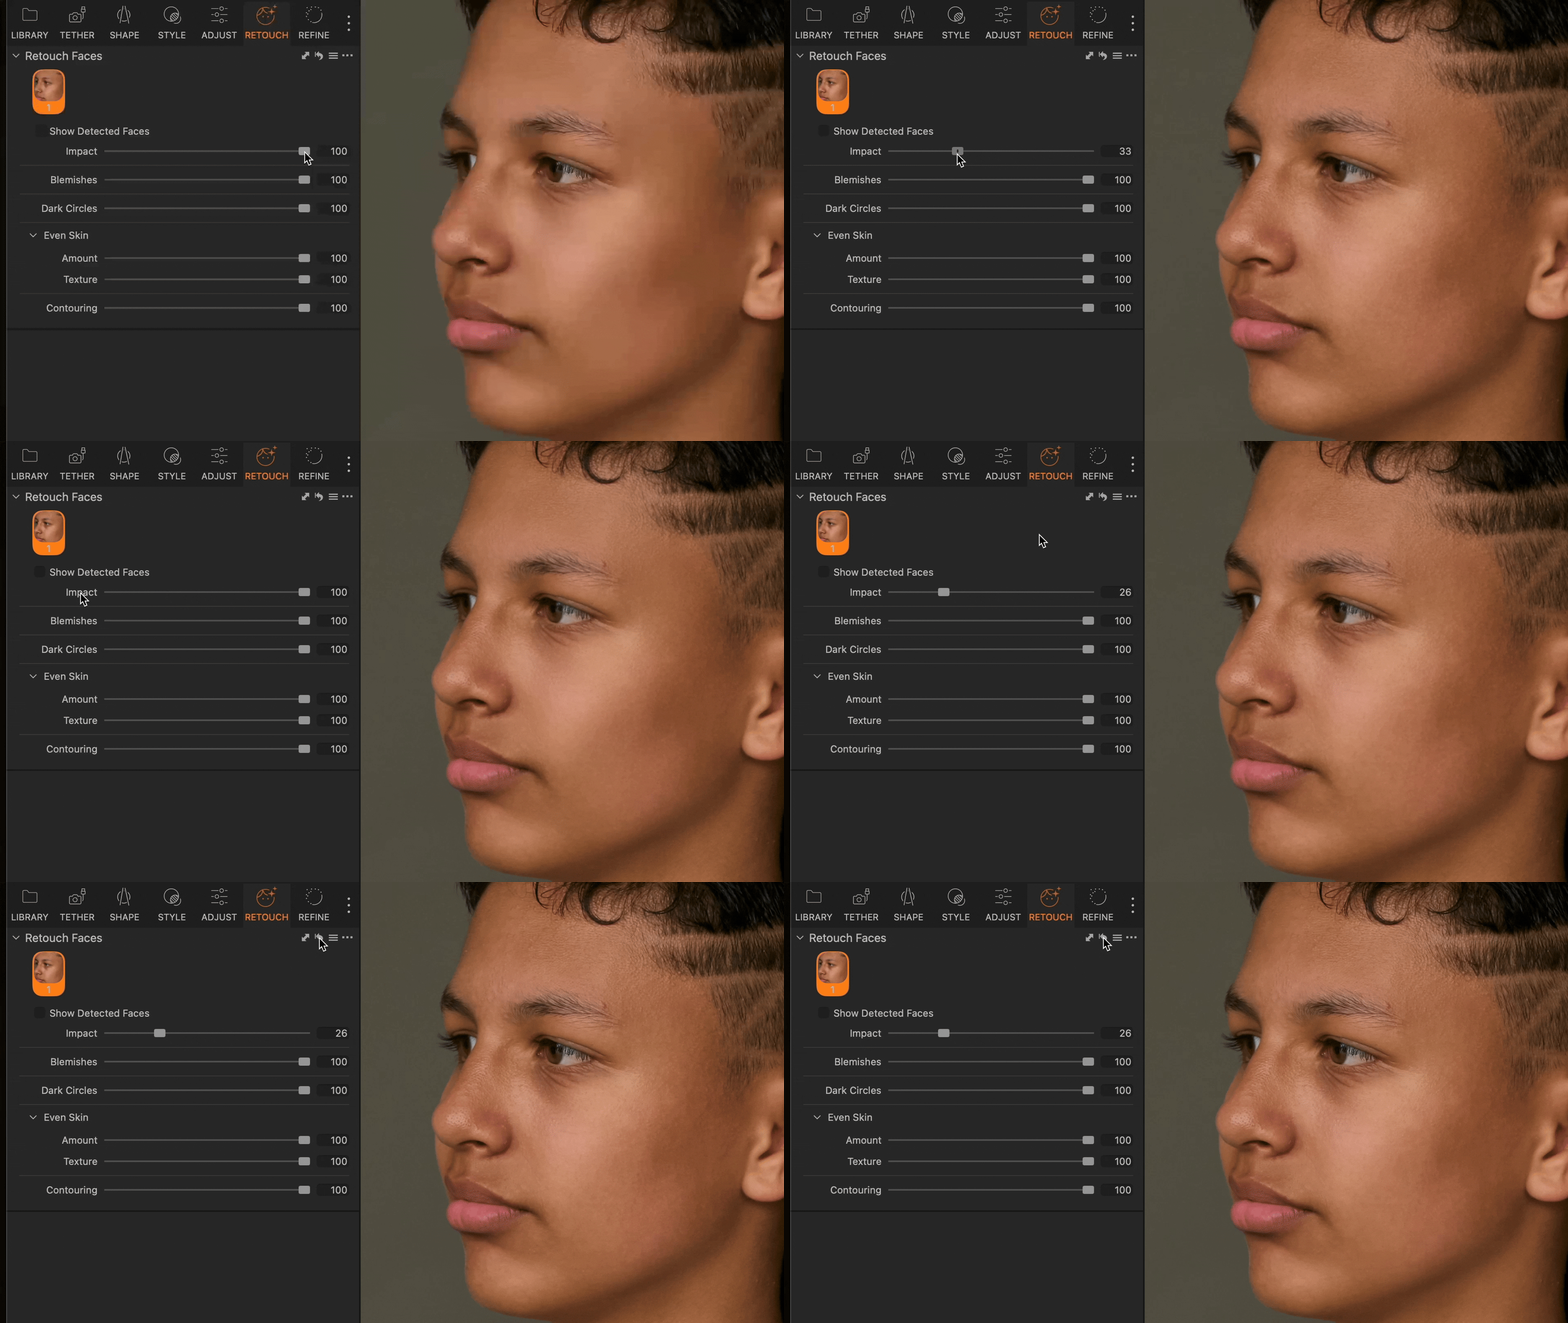
This is your global control. The Impact slider adjusts the intensity of all your facial edits in one go, perfect when you need to make quick calls during live sessions or client reviews. When working with multiple faces, it acts as a master control for all of them, but you can also fine-tune each face’s Impact individually if needed.
Retouch portraits at scale with Styles and Copy/Apply
If you’re shooting dozens or hundreds of portraits, that’s where Copy and Apply comes in. But this isn’t just a simple copy-paste. Capture One intelligently detects new faces in every image, even if they’re different people, in different positions or lighting, and automatically applies your retouching to the right faces.
When copying edits from portraits with multiple individually adjusted faces, Capture One applies those adjustments based on the face order in the source image. As long as the face order stays consistent, the retouching maps correctly to the right features on each subject.
It’s fast, accurate, and ideal for high-volume workflows where consistency matters.
See this Help Center article for details: Copy and Apply adjustments and layers.
Want to take it further? You can save your global Retouch Face adjustments as a custom Style, so they’ll be applied to all faces in an image automatically. Assign that Style to a custom keyboard shortcut, and you’ve got a rapid-fire retouching setup—perfect for flying through sessions with just a few keystrokes. It’s a powerful way to turn hours of work into minutes.
See this Help Center article for details: An overview of Styles.
Connect your camera and retouch portraits while tethering
One of the most powerful use cases: tethered portrait shoots. With Retouch Faces and Next Capture Adjustments, every portrait you shoot is instantly retouched. The edits carry over from shot to shot, so you’re always showing your client the best version, live on set. That means faster approvals, fewer reshoots, and less time in post. It’s a workflow that makes you efficient.
See this Help Center article for details: Adding adjustments automatically while capturing.
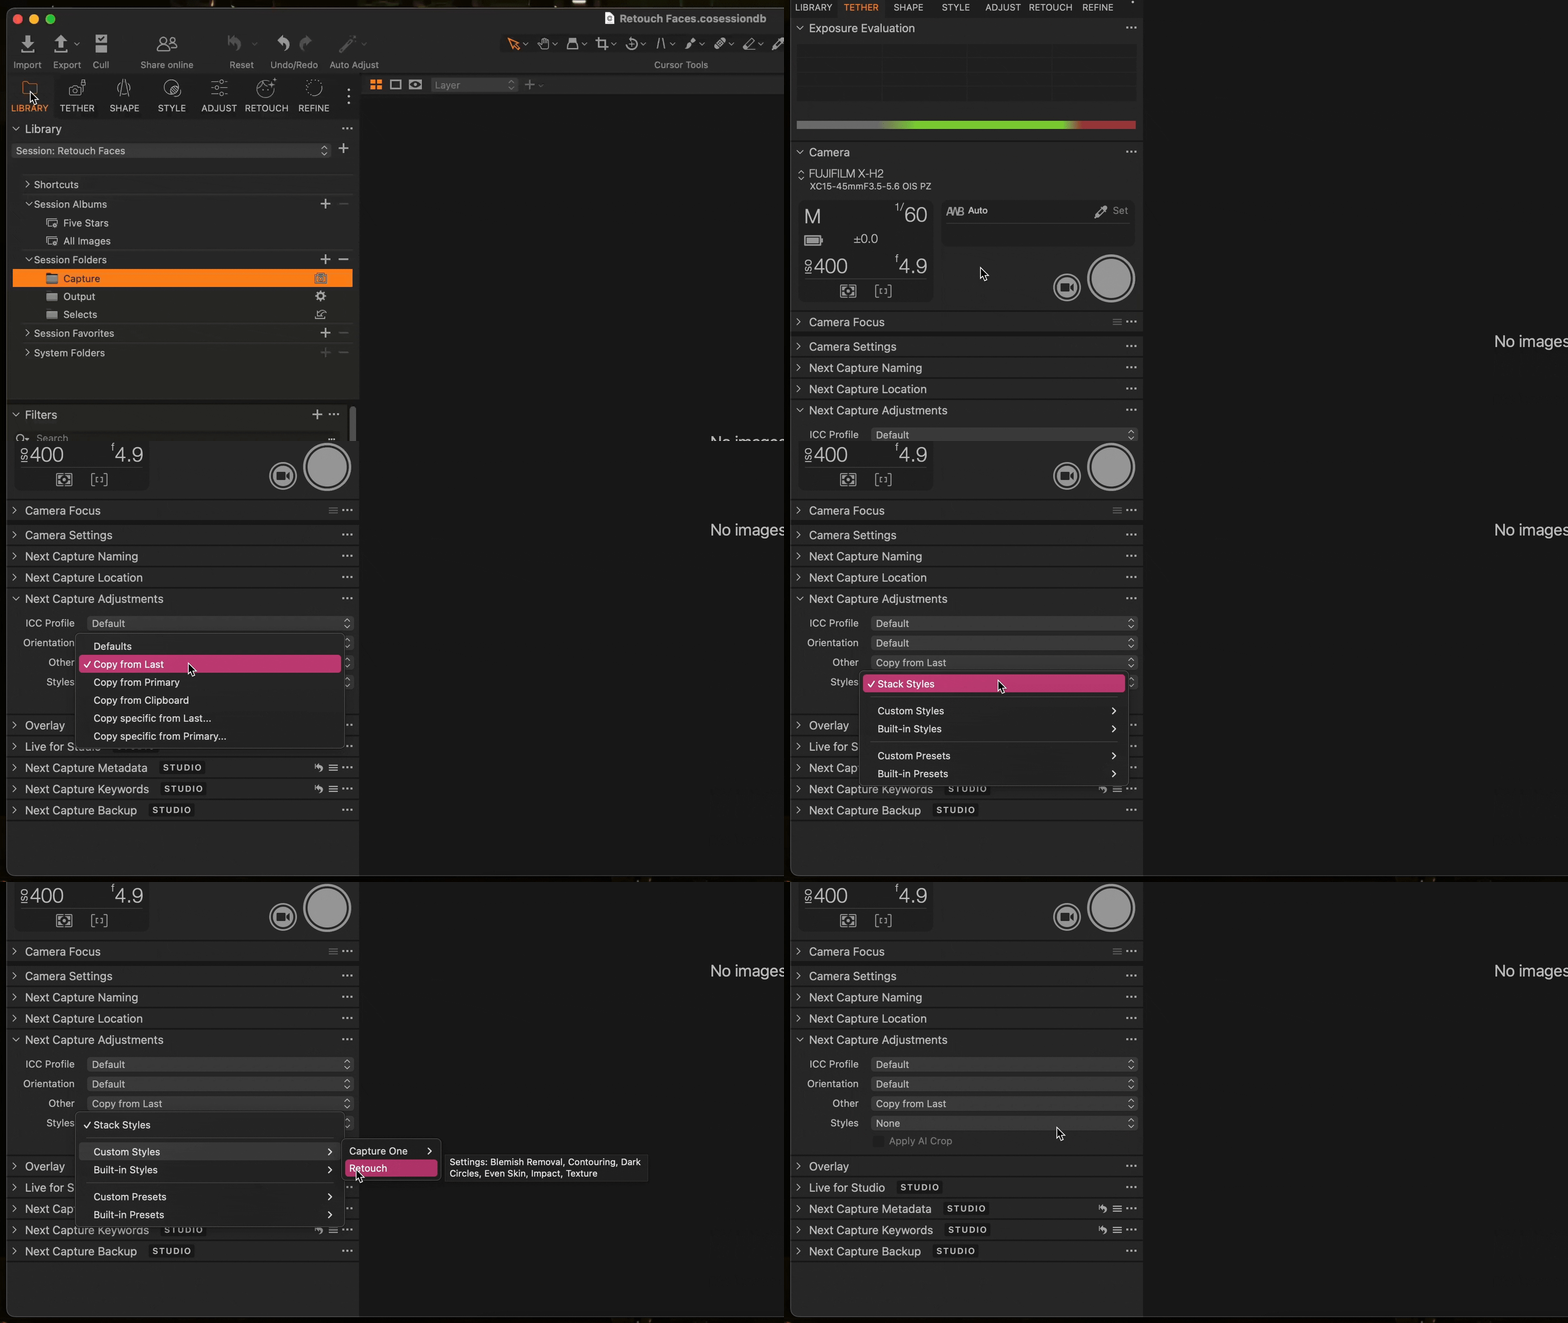
Build a scalable headshot photography workflow with AI Crop, AI Retouching, and tethering
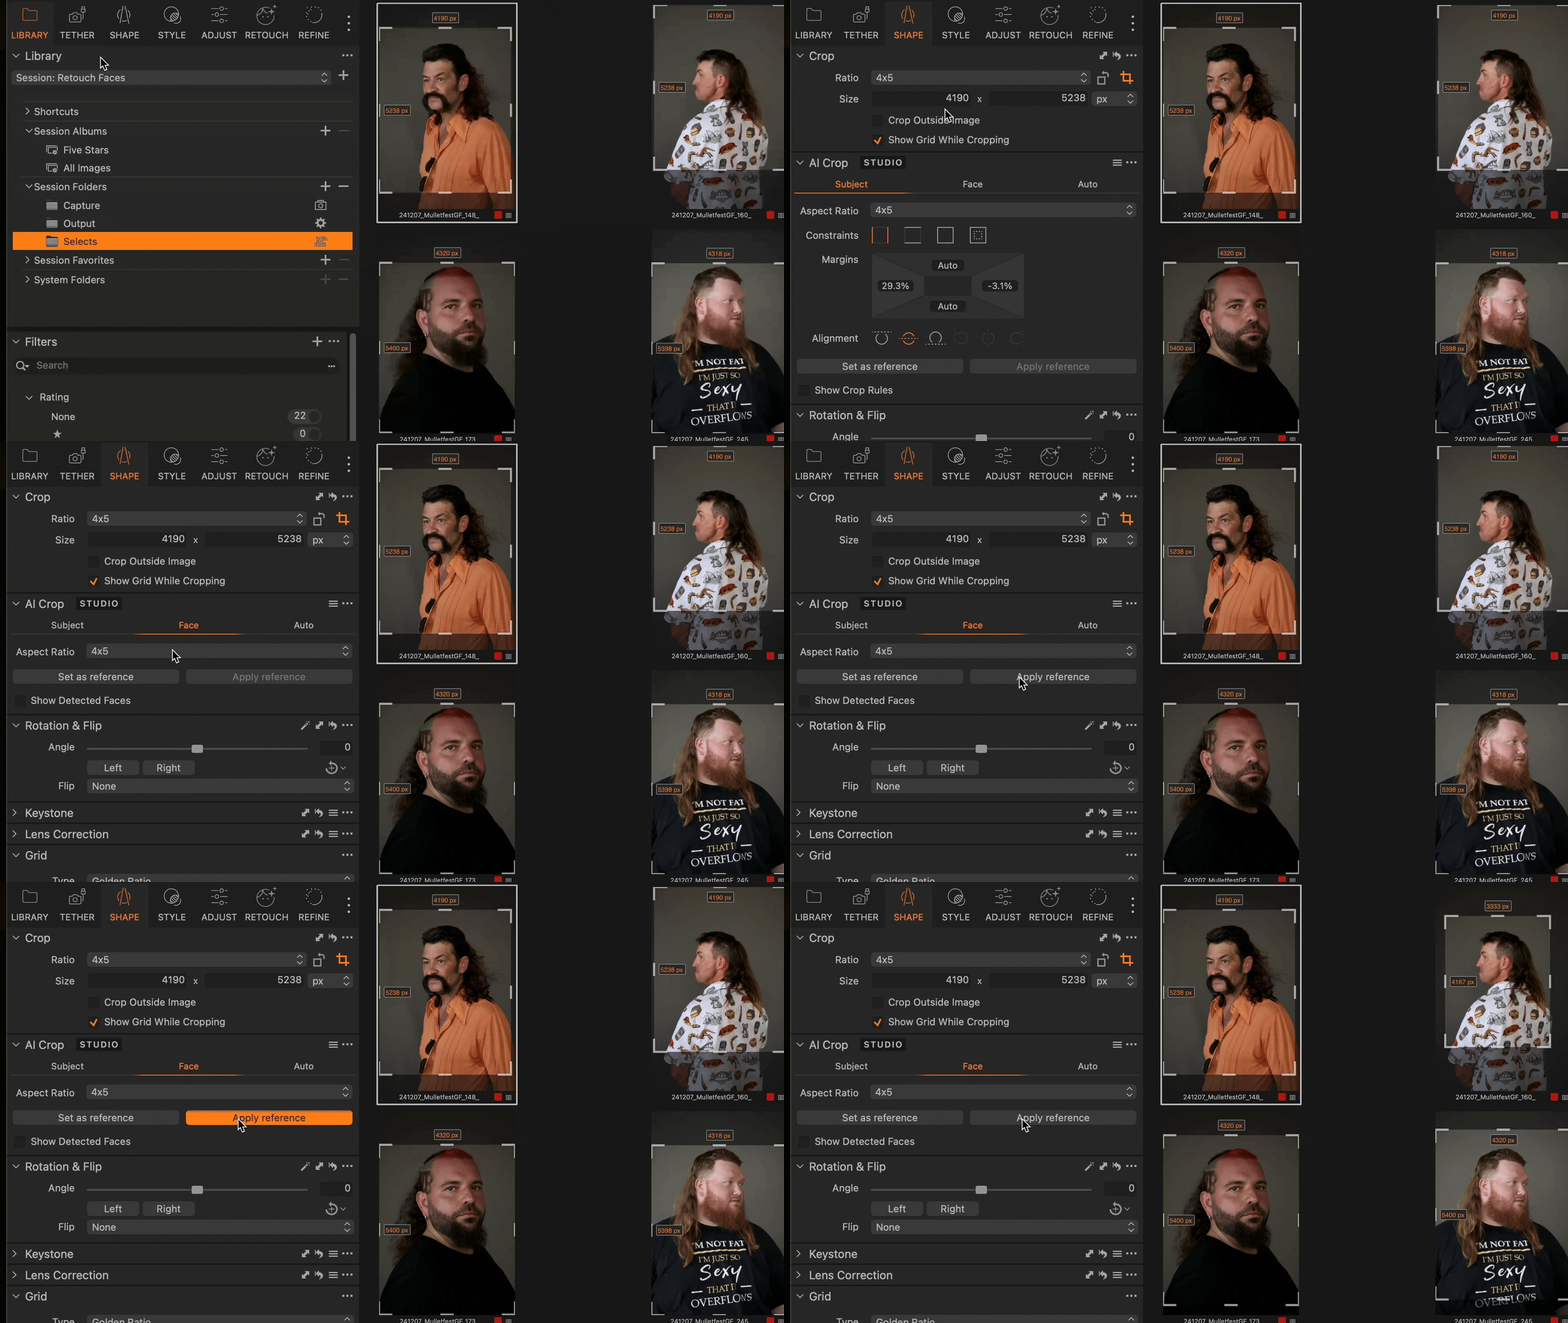
With these new updates, headshot photographers have everything they need to scale—fast, natural edits, automatic framing, and live previews.
Use AI Crop for perfect framing from the start.
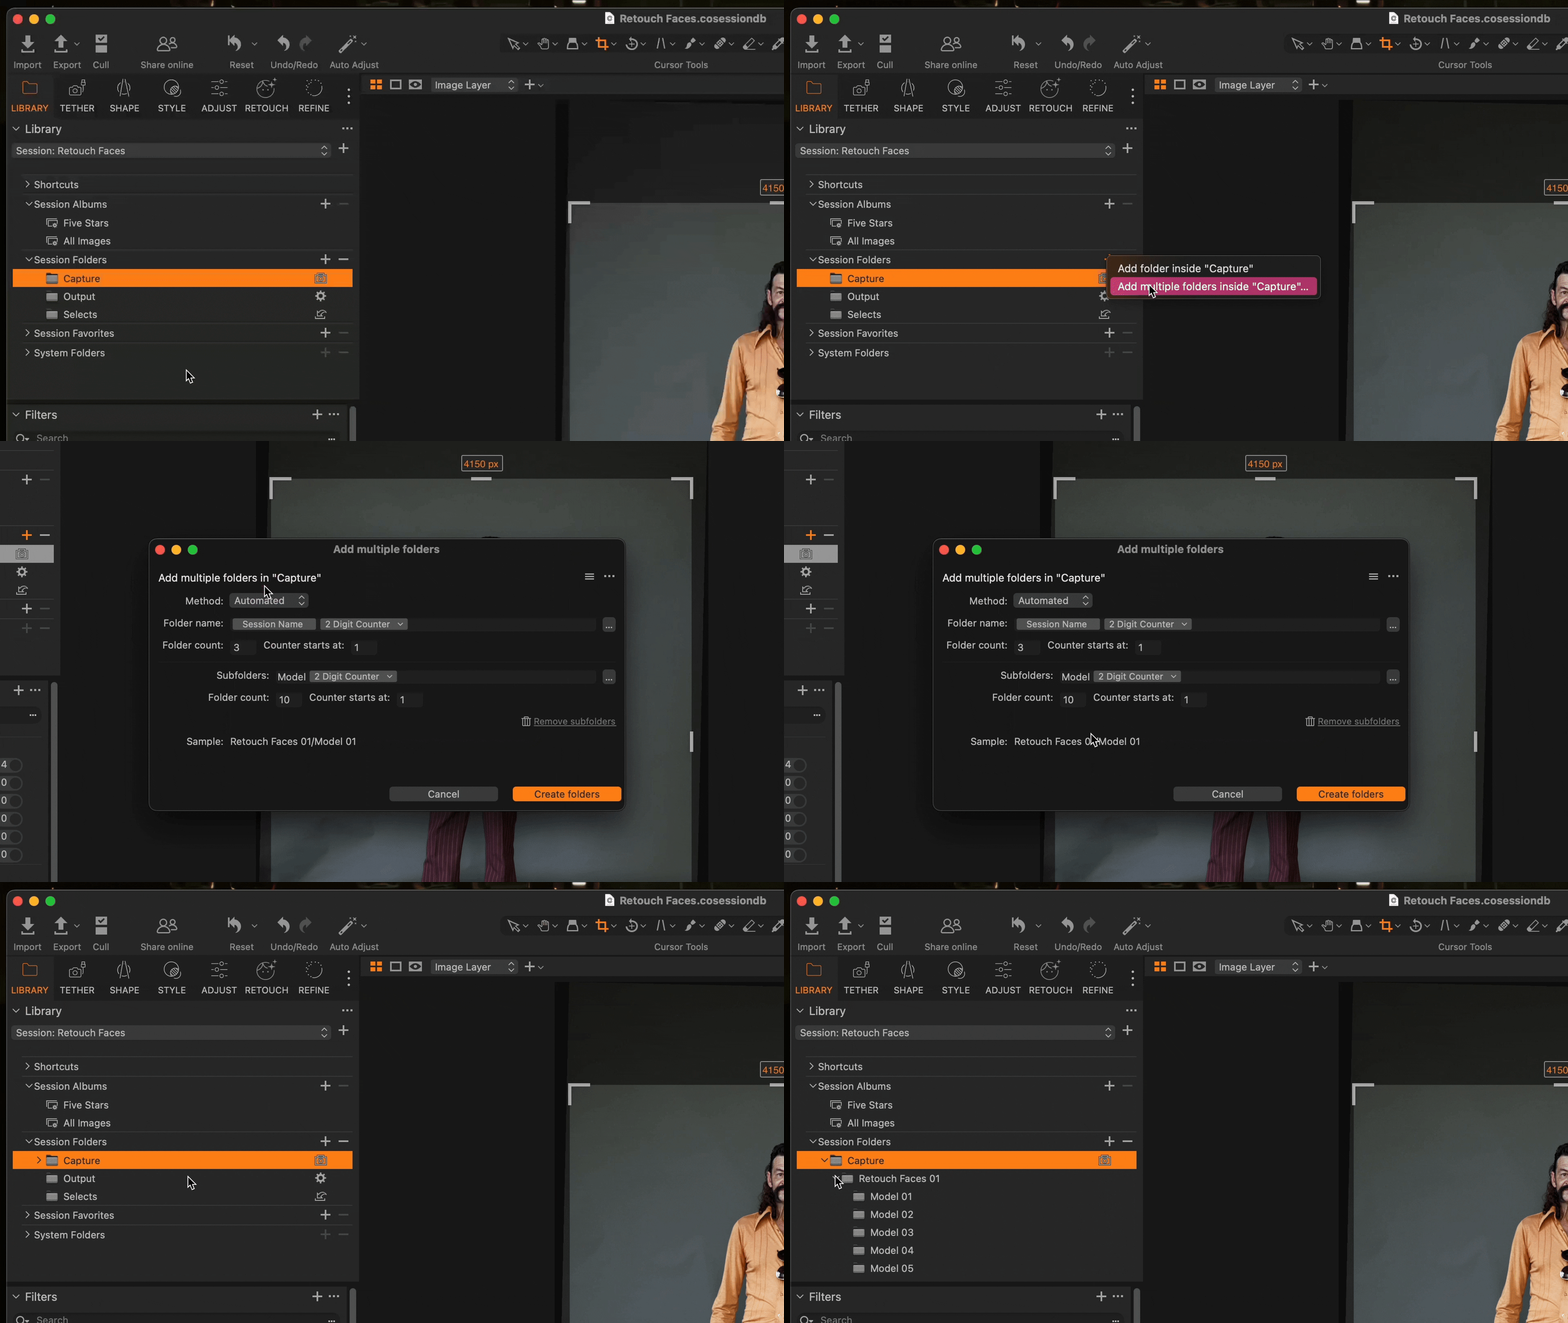
Use Session Builder with Tokens to organize files as you shoot.
Combine all that with Retouch Faces while tethered shooting plus Next Capture Adjustments, and your clients see final-quality results the second the shutter clicks. That’s a major advantage for studio work, team portraits, and high-volume bookings.
See these Help Center article for details: AI Crop, The Complete Guide to Sessions in Capture On: Session Builder.
What’s next for portrait retouching in Capture One?
We’re not done yet. In upcoming Capture One releases, we’re working on a new feature that lets you protect beauty spots and other skin details you want to keep during retouching. It’s a small change that could mean a big leap in creative control.
Right now, tools like Blemish Removal may unintentionally smooth out marks users want to preserve, like freckles, scars, or moles. This new protection mask will help you retouch with more intention, keeping important facial features untouched while cleaning up distractions.
Stay tuned. And if you’re curious, try Retouch Faces features for free for 7 days here.
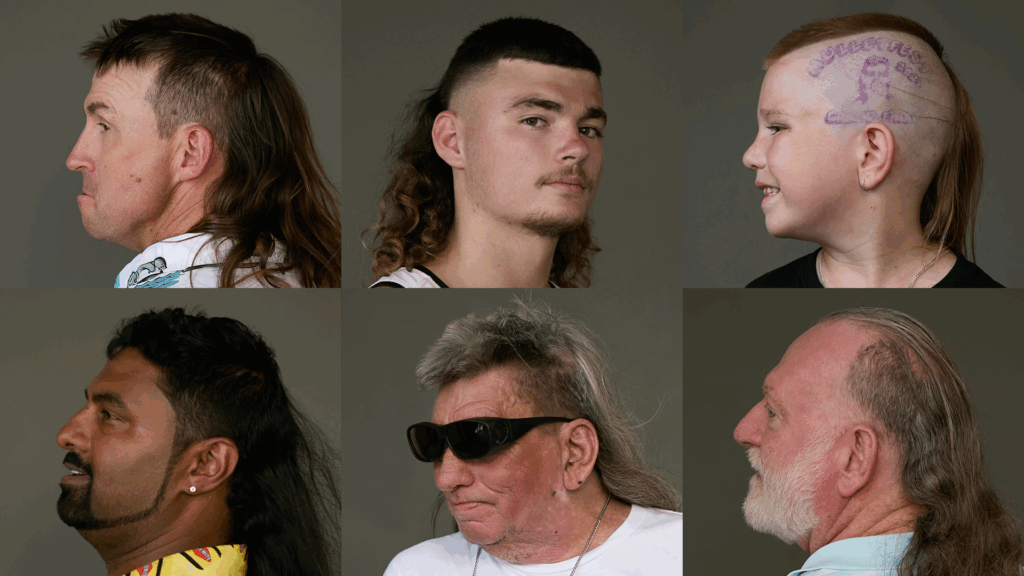
Photos by Mark Dexter, captured on location at Mulletfest with Capture One.
